Advertisement
Table of Contents
- 1 Packing List
- 2 Inserting the I/O Module
- 3 Mounting the VP-4231-CE7
- 4 Configuring the Boot Mode
- 5 Changing the User Interface Language
- 6 Connecting to PC, Monitor and Power Supply
- 7 Using PAC Utility to Manage the VP-4231-CE7
- 8 Using DCON Utility Pro to Configure the I/O Module
- Download this manual
Packing List
In addition to this guide, the package includes the following items:
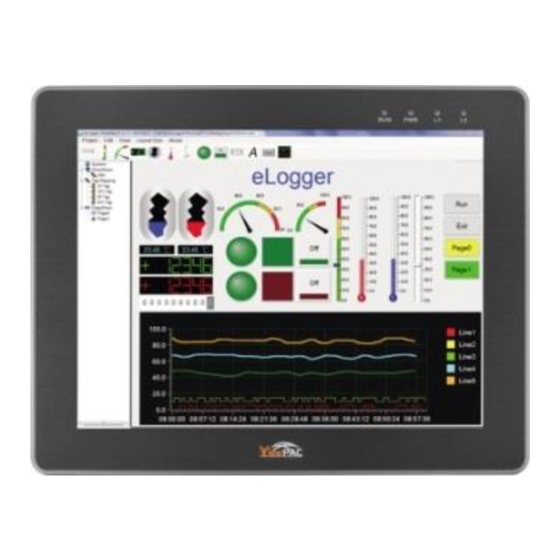
VP-4231-CE7
microSD Card and microSD to SD Adapter
Technical Support
service@icpdas.com
www.icpdas.com
For Desktop Web
VP-4231-CE7 Quick Start
Panel clip * 4
Resources
How to search for drivers, manuals and
spec information on ICP DAS website.
For Mobile Web
Model Name
Model Name
v1.2, September 2023
M4 x 30L Screw * 4
Touch Pen
Screw Driver
P1
Advertisement
Table of Contents

Related Manuals for ICP DAS USA VP-4231-CE7


Summary of Contents for ICP DAS USA VP-4231-CE7
- Page 1 VP-4231-CE7 Quick Start v1.2, September 2023 Packing List In addition to this guide, the package includes the following items: VP-4231-CE7 Panel clip * 4 M4 x 30L Screw * 4 microSD Card and microSD to SD Adapter Touch Pen Screw Driver...
- Page 2 Inserting the I/O Module There is a top case on each I/O socket. Before inserting the I/O module you first need to remove it. Unlock the top case of the I/O slot and then remove it. Hold the I/O module vertically and align the socket and then carefully press the I/O module onto the socket.
- Page 3 Mounting the VP-4231-CE7 The VP-4231-CE7 can be mounted on a panel of maximum thickness 5 mm. Adequate access space can be available at the rear of the instrument panel for wiring and servicing purposes. Tips & Warnings To ensure proper ventilation for the...
- Page 4 Insert the panel mounting clips into the upper and lower ventilation holes Screw the panel mounting clips to the panel. Tips & Warnings Recommended Screw Torque: 3.4 ~ 4.5 kgf-cm.
- Page 5 Connecting to PC, Monitor and Power Supply The VP-4231-CE7 provides a variety of communication interface to suit a range of application. Here is a simple application for using the VP-4231-CE7. Connect the positive terminal (+) of the power supply to the terminal PWR1/2 and the negative terminal (-) of the power supply to the P.GND...
- Page 6 VP-4231-CE7 for changes to take effect Using PAC Utility to Manage the VP-4231-CE7 The PAC Utility is a collection of the VP-4231-CE7 system tool that allows users to manage and configure the VP-4231-CE7 quickly and easily.
- Page 7 Configure IP address (DHCP), FTP Server, Auto Execution files…, etc Reboot the VP-4231-CE7 Using DCON Utility Pro to Configure the I/O Module DCON Utility Pro allows users to configure and manage the I/O modules via Ethernet or serial ports (RS-232/RS-485).
- Page 8 Click the button Configure the communication settings Click the button Click the module name to configure the I/O module...
Need help?
Do you have a question about the VP-4231-CE7 and is the answer not in the manual?
Questions and answers