
Related Manuals for Homelite HBC25SJSN


Summary of Contents for Homelite HBC25SJSN
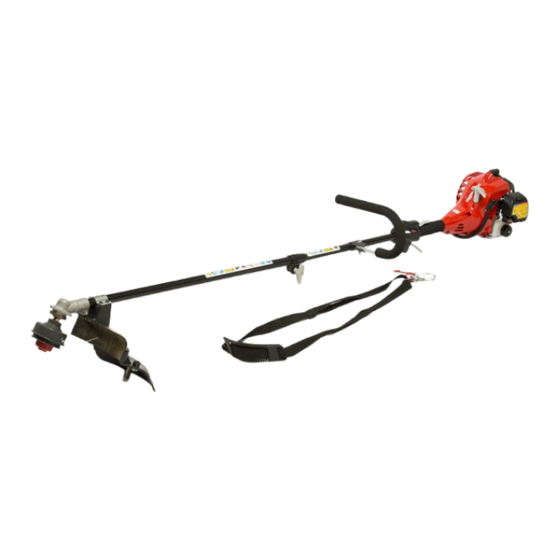
- Page 1 HBC25SJSN STRING TRIMMER / BRUSHCUTTER ORIGINIAL INSTURCTIONS Important! It is essential that you read the instructions in this manual before assembling, operating and maintaining this machine. S ubject to technical modifications.
-
Page 2: Symbols Explanation
ENGLISH (Original Instructions) SYMBOLS Important: Some of the following symbols may be used on your tool. Please study them and learn their meaning. Proper interpretation of these symbols will allow you to operate the tool better and more safely. SYMBOLS EXPLANATION Indicates danger, warning or caution. - Page 3 ENGLISH (Original Instructions) Set the choke lever to "Half" position. Set the ignition switch to the "I" (ON) position. PRIME - press the primer bulb 10 times slowly. Pull the starter rope to start. Squeeze throttle trigger to start/run. Wait 10 seconds. To stop the unit: Place the engine switch to the "O"...
-
Page 4: Intended Use
English (Original Instructions) Thank you for buying a Homelite trimmer/brushcutter. kind, or use with bare feet. ■ Secure long hair so it is above shoulder level to Your new trimmer/brushcutter has been engineered prevent entanglement in any moving parts. and manufactured to Homelite’s high standard for dependability, ease of operation, and operator safety. - Page 5 English (Original Instructions) ■ Allow the engine to cool; empty the fuel tank and ■ The TRI-ARC blade is suited for cutting pulpy weeds secure the unit from moving before transporting in a and vines only. Do not use for any other purpose. vehicle.
-
Page 6: Specifications
English (Original Instructions) SPECIFICATIONS HBC25SJSN Weight - Without fuel, cutting attachment and harness 5.00 kg - Without fuel with bump head 5.64 kg - Without fuel with blade 5.46 kg Fuel tank volume 250cm or (0.25L) Cutting swath - Bump head... - Page 7 ENGLISH (Original Instructions) A-weight emission sound power level - Idling dB (A) 88.9 - Racing dB (A) 109.8 - equivalent vibration total value dB (A) 109.8 Uncertainity dB (A) 44. Spark Plug Boot DESCRIPTION 45. Spark Plug 1. Primer Bulb ASSEMBLY 2.
- Page 8 ENGLISH (Original Instructions) English (Original Instructions) ATTACHING THE J-HANDLE (Fig. 2a) shoulder strap, sharply pull the quick release tab. ■ Loosen the hex nut with wrench. ATTACHING THE POWER HEAD TO THE TRIMMER ■ Insert the J-handle bar into the clamp, align the hole ATTACHMENT (Fig.
-
Page 9: Installing The Blade
English (Original Instructions) turn the drive connector clockwise to remove. WARNING When using the brush cutter blade, the grass ■ Remove the upper flange washer from the gear shaft deflector must be removed from blade guard, and retain for blade installation. When using the line trimmer bump head, the grass NOTE: Store the bump head parts together for later deflector must attached to the blade guard. -
Page 10: To Start A Cold Engine
English (Original Instructions) completely. 5. Set the choke lever to choke position. 6. Pull the starter handle until the engine starts. Do not pull the starter handle for more than 6 times. FILLING THE TANK NOTE: If the engine does not start, return to choke position and repeat the process beginning at step 2. -
Page 11: Maintenance
■ Remove the air filter cover. so. If in doubt, return to a Homelite service centre for ■ Remove the foam air filter and clean it with warm professional assistance. -
Page 12: Idle Speed Adjustment
ENGLISH (Original Instructions) ■ Work two drops of lubricant into the foam air filter. ■ Replace the foam air filter. ■ Replace the air filter cover. FUEL CAP WARNING A leaking fuel cap is a fire hazard and must be replaced immediately. -
Page 13: Troubleshooting
ENGLISH (Original Instructions) TROUBLESHOOTING IF THESE SOLUTIONS DO NOT SOLVE THE PROBLEM CONTACT YOUR AUTHORISED SERVICE DEALER. PROBLEM POSSIBLE CAUSE SOLUTION The spark plug may be damaged, remove it and No spark. check for dirt and cracks. Replace with a new spark plug. - Page 14 ENGLISH (Original Instructions) English (Original Instructions) TROUBLESHOOTING PROBLEM POSSIBLE CAUSE SOLUTION Line welded to itself. Lubricate with silicone spray. Install more line. Refer to “Line Replacement” Not enough line on spool. earlier in this manual. Pull lines while alternately pressing down on and Line will not advance.
- Page 16 Techtronic Industries (Australia) Pty. Ltd. Level 1, 660 Doncaster Road Doncaster, VIC 3108, Australia Techtronic Industries New Zealand Ltd. 18-26 Amelia Earhart Avenue Mangere, Auckland 2022, New Zealand 960994018-04...
Need help?
Do you have a question about the HBC25SJSN and is the answer not in the manual?
Questions and answers