
Related Manuals for XFit TARGET


Summary of Contents for XFit TARGET
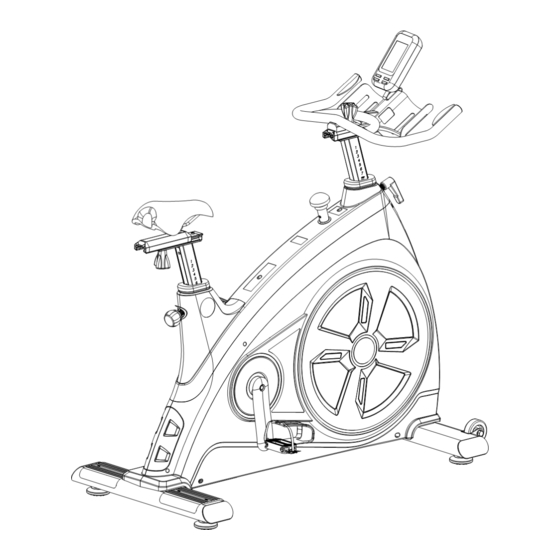
- Page 1 Speeding Bike User’s Manual * Product specifications may differ from the photo and are subject to change without notice.
- Page 3 SAFETY & MAINTENANCE INSTRUCTION 1. Once fully assembled, please check that all hardware parts such as bolts, nuts and washers are positioned and secured firmly. 2. Please check regularly that the safety chain guard that protects the moving parts of the machine is secured and in good order.
- Page 4 SPECIFICATIONS Disc weight: 22 kg Machine weight: 75 kg Drive system: With belt Seat: Aluminum, Adjustable (height & length) Steering: Aluminum, Adjustable (height & length) Maximum user weight: 150 Kg Console: Time, Distance, Speed, Calories, Pulse Dimensions: L: 122cm x W: 60cm x H: 110cm Certification: ΕΝ957 THE WARRANTY IS NOT VALID IF:...
-
Page 5: Exploded View
EXPLODED VIEW... -
Page 6: Parts List
PARTS LIST DESCRIPTION DESCRIPTION Main frame End cap 1 Front stabilizer End cap 2 Hex nut Saddle slider M16*1.5 Adjust footpad Saddle Spacer Ball knob Spring washer L-shape knob Hex bolt Saddle post strengthen board M8*70 Nylon nut Handlebar post Flat washer Cross screw D10XΦ20x2... -
Page 7: Assembly Instruction
ASSEMBLY INSTRUCTION Note: Assembly requires 2 people. Step 1: Attach the Front stabilizer (2) and Rear stabilizer (12) onto the Main frame (1) with the Hex bolt (7), Spring washer (6) and Spacer (5). - Page 8 Step 2: 1.Lock the saddle (27) to the Saddle slider (26). 2.Unscrew the Cross screw (20), End cap (19) and Hex bolt (21). Then slip the Handlebar slider (33) into the Handlebar post (31) and adjust the Slider nut (23) to proper position to make it slip into the groove of Handlebar slider (33).
- Page 9 Step 3: Attach the Pedals (15L/ R) to the cranks (16 L/ R) of the Main frame (1) respectively. NOTE: The marks “L “and “R” on the pedal are for left and right side of the crank. The pedal (L) should be turned counterclockwise to the crank (L).
- Page 10 Step 4: Attach the Computer (44) to Computer bracket (43) with Screw (45) and Flat washer (46). Then insert the computer bracket (43) into the middle of Handlebar assembly (34). Finally connect Sensor wire (42) with Computer (44).
-
Page 11: Console Instructions
1.RESET In any displays, hold MODE button for 2 seconds to reset all the data. 2.SET THE TARGET PARAMETERS When stop exercise (icon not display), press MODE to choose the window to be set or reset, the corresponding window displays SET, meanwhile, the window’s digit flash, press RESET to clear the value, and press SET to set the flashing window’s value. -
Page 12: Warm-Up And Cool-Down
WARM-UP and COOL-DOWN A successful exercise program consists of a warm-up, aerobic exercise, and a cool-down. Do the entire program at least two and preferably three times a week, resting for a day between workouts. After several months, you can increase your workouts to four or five times per week. WARM-UP The purpose of warming up is to prepare your body for exercise and to minimize injuries. - Page 13 TERMS OF WARRANTY • Warranty period is 2 years mechanical and 5 years for the metal frame. • X-TREME STORES S.A. undertakes to repair the machine free of charge in the event of damage due solely to a manufacturing fault. The warranty covers the cost of the spare parts.
- Page 14 NOTES...
- Page 16 Koupi Avenue 34, Koropi P.C. 19441 P.O.Box 6201 Tel.: 210 66 20 921 -2 - FAX: 210 66 20 923 E-mail: info@xtr.gr • f/xtrstores • /@xtr.gr Tel for all Greece: 801.11.15.100 www.xtr.gr...
Need help?
Do you have a question about the TARGET and is the answer not in the manual?
Questions and answers