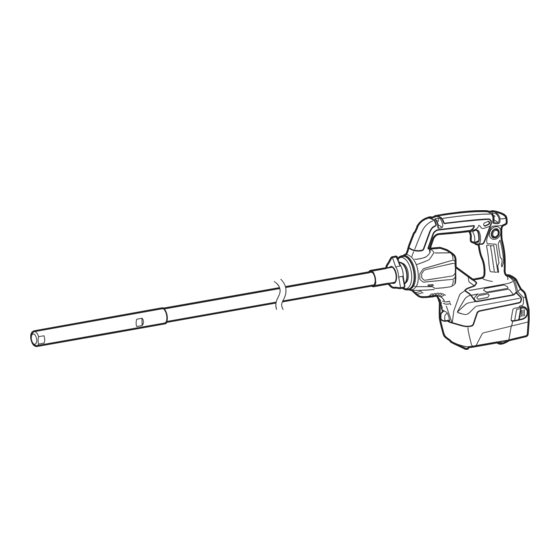
Makita VR004G Instruction Manual
Cordless concrete vibrator
Hide thumbs
Also See for VR004G:
- Instruction manual (89 pages) ,
- Instruction manual (88 pages) ,
- Instruction manual (17 pages)
Summary of Contents for Makita VR004G
- Page 1 INSTRUCTION MANUAL Cordless Concrete Vibrator VR001G VR003G VR004G Read before use.
-
Page 2: Specifications
SPECIFICATIONS Model: VR001G VR003G VR004G Vibrations per minute Normal mode 12,000 min Power mode 15,500 min Vibration head diameter ø32 mm ø38 mm * Supplied as optional accessories ø32 mm / ø38 mm Flexible shaft lengths 1.2 m / 2.4 m... -
Page 3: Safety Warnings
Model VR003G ) : 80 dB(A) Sound pressure level (L EC Declaration of Conformity Uncertainty (K) : 3 dB(A) Model VR004G For European countries only ) : 80 dB(A) Sound pressure level (L Uncertainty (K) : 3 dB(A) The EC declaration of conformity is included as Annex A to this instruction manual. - Page 4 Do not abuse the cord. Never use the cord for carrying, pulling or unplugging the power tool. Keep cord away from heat, oil, sharp edges or moving parts. Damaged or entangled cords increase the risk of electric shock. When operating a power tool outdoors, use an extension cord suitable for outdoor use.
- Page 5 Battery tool use and care Do not use the tool in the rain. Do not clean the Recharge only with the charger specified by tool in water. 12. After operating the tool, switch off the tool the manufacturer. A charger that is suitable for one type of battery pack may create a risk of fire and wait until the vibration of the flexible shaft when used with another battery pack.
-
Page 6: Functional Description
Use of non-genuine Makita batteries, or batteries that have been altered, may result in the battery bursting causing fires, personal injury and damage. It will also void the Makita warranty for the Makita tool and charger. Tips for maintaining maximum battery life Fig.2... -
Page 7: Installation
Slide an optional battery case into the tool. Open Installation the case while pressing the buttons on sides of the Open the battery case while pressing the buttons case. Then tighten the screws to secure it in place. on sides of the battery case. Fig.4 ►... - Page 8 Uninstallation Open the rubber sealing grommet in the battery case. Make sure to squeeze the rubber sealing grommet out of Open the battery case while pressing the buttons the round hole rim from inside the front cover of the case. on sides of the battery case.
- Page 9 Uninstallation Indicator lamps Remaining capacity Open the battery case while pressing the buttons on sides of the battery case. Lighted Blinking Open the rubber sealing grommet in the battery 75% to 100% case. Make sure to squeeze the rubber sealing grommet out 50% to 75% of the round hole rim from inside the front cover of the case.
-
Page 10: Mode Selector
Charge the battery(ies) or replace it/them with recharged battery(ies). Let the tool and battery(ies) cool down. If no improvement can be found by restoring protection system, then contact your local Makita Service Center. Switch action Fig.14 CAUTION: Before installing the battery car- ►... - Page 11 Hold the drive shaft in the tool still using the NOTE: The mode you select will be saved automat- wrench provided. Then hand thread the end fitting of the ically when the tool is powered off. The tool restarts flexible core shaft onto the solid drive shaft in the tool. in the same mode as it previously used when turned on again.
-
Page 12: Operation
If the coupling does not reach or fit securely onto the CAUTION: Be sure to attach the hooks of the male thread of the tool, especially when installing a long flexible shaft, pull the outer casing further towards the shoulder strap to the tool securely. If the hooks are attached incompletely, they may come off and cause injury. -
Page 13: Maintenance
To maintain product SAFETY and RELIABILITY, Fig.26 repairs, any other maintenance or adjustment should be performed by Makita Authorized or Factory Service Centers, always using Makita replacement parts. 13 ENGLISH... -
Page 14: Optional Accessories
OPTIONAL ACCESSORIES CAUTION: These accessories or attachments are recommended for use with your Makita tool specified in this manual. The use of any other accessories or attachments might present a risk of injury to persons. Only use accessory or attachment for its stated purpose. - Page 16 Jan-Baptist Vinkstraat 2, Makita Europe N.V. 3070 Kortenberg, Belgium 3-11-8, Sumiyoshi-cho, Makita Corporation Anjo, Aichi 446-8502 Japan 885992-228 www.makita.com 20220606...


Need help?
Do you have a question about the VR004G and is the answer not in the manual?
Questions and answers