
Related Manuals for RSLAB HiFuge-GJ6


Summary of Contents for RSLAB HiFuge-GJ6
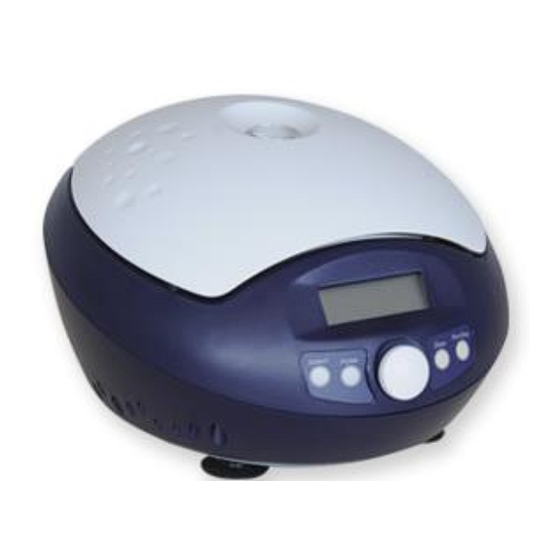
- Page 1 User Manual RSLab microtubes centrifuge, model HiFuge-GJ6 Code: GJC006 Version 1, March 2019 User Manual centrifuge GJC006...
-
Page 2: Table Of Contents
Contents 1. Specifications ............................... 2 2. Required Operational Condition ........................2 3. Installation ..............................2 3.1 Location ............................. 3 3.2 Connection of the power cord and grounding ..................3 4. Structure ............................... 4 5. Operation panel ............................. 5 6. Rotor Preparation ............................6 6.1 Prepare the samples .......................... -
Page 3: Specifications
1. Specifications Maximum speed 15000rpm, increment: 100rpm Maximum RCF 15100×g, increment: 100×g Maximum capacity 2ml×12 Timer 30 seconds -99 minutes-HOLD, continuous operation Driving Motor Brushless DC motor Safety devices Door interlock、over-speed detector、over-temperature detector、automatic internal diagnosis Power requirements Single-phase, 110V-240V, 50Hz/60Hz, 3A (L)255×(W)245×(H)140 Dimensions(mm)... -
Page 4: Location
WARNING: ⚫ Improper power supply may damage centrifuge. ⚫ Make sure the power source conforms to the required power supply before connecting. 3.1 Location (1) Place the centrifuge on a firm, flat and level table, ensure the four feet of this centrifuge stand on the table firmly. -
Page 5: Structure
4. Structure Door lock hook Rotor LCD Display Door release hole Operation panel foot Figure 5.1 Front view of centrifuge View Door Air vents Power inlet Power switch Figure 5.2 Rear view of centrifuge Version 1, March 2019 User Manual centrifuge GJC006... -
Page 6: Operation Panel
5. Operation panel Figure 6-1 Operation Panel Item Symbol Name Function Select button Press the button to choose the program which you want to modify. The speed can be accelerated and held at the speed when Pulse button pressing Pulse on. Clockwise rotate to increase program values. -
Page 7: Rotor Preparation
6. Rotor Preparation 6.1 Prepare the samples 6.2 Inject the samples into tubes. CAUTION: ⚫ Do not overload samples into the centrifuge which will cause leaking. ⚫ Do not exceed the actual capacity allowed in the user manual. 6.3 Keep the tubes balance ⚫... -
Page 8: Operation
7. Operation CAUTION: ⚫ Do not push or lean against the centrifuge while it is running. ⚫ Do not run the centrifuge when fragments or sample solutions are left in the centrifuge chamber. Always keep the centrifugal chamber clean. ⚫ If the centrifuge makes strange noise during operation, stop it immediately and contact our service center. - Page 9 Figure 8-2 the rotor installation 7.1.1.1 Load the rotor to the shaft to ensure rotor is in position until it connected well with the shaft. 7.1.1.2 Rotate the rotor slightly by your fingers to check, if the rotor vibrates, if so attach the rotor again.
- Page 10 to change settings from small → large → maximum → minimum. Rotate the program clockwise to change settings from large → small → minimum → maximum. button anti-clockwise (2)Set the time ⚫ Press button , time value flashes in the time setting mode. ⚫...
-
Page 11: Rcf Operation
7.2 RCF Operation (1) Turn on the power switch. (2) Set a RCF (Relative Centrifugal Force) value. ⚫ and choose speed unit ×g, the speed symbol will flash into RCF value Press the select button input status. ⚫ If no button is pressed after the speed value has flashed for 5 seconds, the input mode will be shut down. - Page 12 solution. ⚫ Sterilize the centrifuge by wiping with a cloth moistened with 70% ethanol solution. (2) Rotor chamber CAUTION ⚫ Do not directly pour water, neutral detergent or disinfectant solution into the rotor chamber. Otherwise fluids may leak into the drive units and cause corrosion or deterioration to the bearings. ⚫...
-
Page 13: Troubleshooting
9. Troubleshooting 9.1 Frequent problems list This centrifuge has a self-diagnostic function. If a problem occurs, an error/warning code will be displayed on the time display screen and the operator can determine the malfunction with the warning code below. Symptom Causes Solutions ·... -
Page 14: How To Open The Door
· · Rotor lid loosed Tighten the rotor lid firmly · · E-02 The door opened in running. Close the door immediately. Door fault · Close the door,and then · button is pressed start to operate. while the door opening. ·... -
Page 15: Instructions Of Rotor And Tube
10. Instructions of rotor and tube CAUTION: ⚫ Read the instructions thoroughly, correct use rotor. ⚫ Do not exceed the allowable maximum speed of rotor、 tube and adapters etc., be care that the allowable maximum speed of some adapters are lower than the rotor’s maximum speed. 10.1 The rotor instructions 10.1.1 Rotor structure Locking nut... - Page 16 10.1.2 Available rotors and adapters Table 11.1 Rotors and adapters Allowable imbalance(*) Maximum Maximum Rotor Model Tubes Adapters Volume code speed(rpm) RCF(×g) type imbalance imbalance(**) 1.5/2.0ml 15000 15100 2.0g/tube 5mm/ tube tube D2012 A12-2 0.2ml PCR A02P2 15000 11700 tube Version 1, March 2019 User Manual centrifuge GJC006...
-
Page 17: Tubes
0.5ml micro A05P2 15000 12780 tube 1.5/2.0ml 15000 15100 2.0g/ tube 5mm/ tube tube D2012 0.2ml PCR A12-2P A05P2 15000 11700 plus tube 0.5ml micro A02P2 15000 12780 tube 10.1.3 Notice ⚫ The centrifuge rotor can separate sample which density lower than 2.0g/ml. if the separated samples density is over 2.0g/ml, please calculate allowable speed depending on the following formula. - Page 18 )30minutes 115℃(0.7kg/cm Autoclaving )20 minutes 121℃(1.0kg/cm )15 minutes 126℃(1.4kg/cm Boiling 15 to 30 minutes Ultraviolet sterilization 200-300nm Gas sterilization Ethylene oxide Formaldehyde PA: Polyallomer;PC:Polycarbonate;PP:Polypropylene 10.2.2 Cleaning PC tubes PC materials are low in chemical resistance against alkaline solutions. Avoid using neutral detergents with pH higher than 9.
-
Page 19: Calculation Relative Centrifuge Force(Rcf
11. Calculation Relative Centrifuge Force(RCF) Relative Centrifuge Force (RCF) can be determined with the following calculation formula. ×10 RCF=1.118×r×n R—rotating radius, unit: cm; n—rotating speed, unit: rpm Version 1, March 2019 User Manual centrifuge GJC006...
Need help?
Do you have a question about the HiFuge-GJ6 and is the answer not in the manual?
Questions and answers