Advertisement
Quick Links
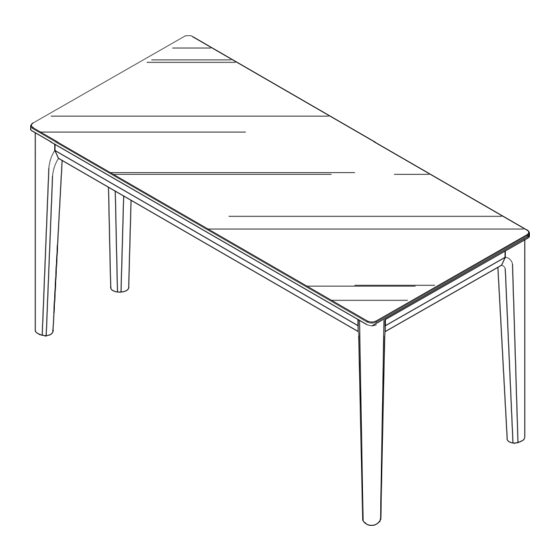
ALLY DESK
24595476/24595483
Thank you for purchasing the Ally Desk. Before you begin to assemble your new
piece of furniture, please check to ensure that all hardware and parts have been supplied. This
page lists all contents included in the carton(s).
Follow instructions closely as deviation from them may present a possible safety risk and may
void your warranty.
It is recommended that assembly is done on a soft surface such as carpet to avoid any damage.
If you experience any problems with your new purchase, please contact Freedom Customer
Service via www.freedom.com.au (Australia) or www.freedomfurniture.co.nz (New Zealand).
Care Information
DO
and petroleum distillate which can damage the surface.
DON'T
to avoid spotting.
GENERAL
Periodically check and re-tighten all fasteners. When moving furniture always lift it rather than drag it.
www.freedom.com.au
www.freedomfurniture.co.nz
Page 1-6
Advertisement

Related Manuals for Freedom ALLY DESK 24595476


Summary of Contents for Freedom ALLY DESK 24595476
- Page 1 It is recommended that assembly is done on a soft surface such as carpet to avoid any damage. If you experience any problems with your new purchase, please contact Freedom Customer Service via www.freedom.com.au (Australia) or www.freedomfurniture.co.nz (New Zealand).
- Page 2 ALLY DESK 24595476/24595483 Hardware (Supplied) M8*65 This assembly requires four people www.freedom.com.au Page 2-6 www.freedomfurniture.co.nz...
-
Page 3: Parts List
ALLY DESK 24595476/24595483 Parts Parts List Description Legs Frame Marble top www.freedom.com.au Page 3-6 www.freedomfurniture.co.nz... - Page 4 ALLY DESK 24595476/24595483 Step 1, M8*65 www.freedom.com.au Page 4-6 www.freedomfurniture.co.nz...
- Page 5 ALLY DESK 24595476/24595483 Step 2, WARNING VERY HEAVY Finished www.freedom.com.au Page 5-6 www.freedomfurniture.co.nz...
- Page 6 2. Loosen Screw A but do not remove. 3. Remove Screw B. Screw A 4. Adjust the drawer up or down as required. 5. Screw in Screw B with a new Screw B hole 6. Tighten Screw A www.freedom.com.au Page 6-6 www.freedomfurniture.co.nz...
Need help?
Do you have a question about the ALLY DESK 24595476 and is the answer not in the manual?
Questions and answers