Table of Contents
Advertisement
Quick Links
Advertisement
Table of Contents

Related Manuals for Crosley Bubbler iJuke CR16


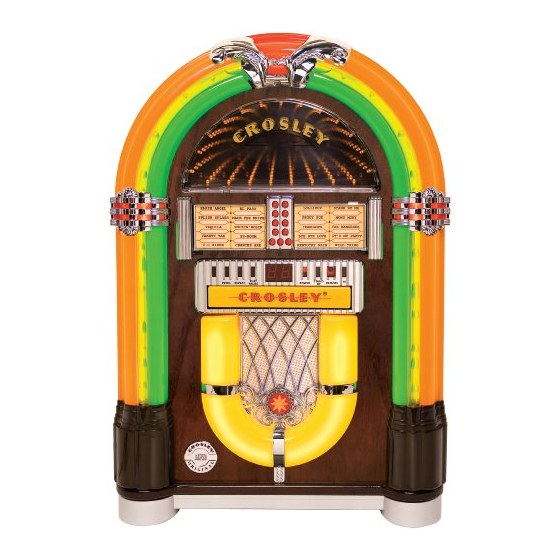
Summary of Contents for Crosley Bubbler iJuke CR16
- Page 1 15-8-07 CR16 Bubbler iJuke Instruction Manual 15-8-07 910-271000-001...
-
Page 2: Important Safety Instruction
Crosley Radio to service the product. This warranty does not cover products sold AS IS or consumables (such as fuses or batteries). This warranty is valid only in the United States. -
Page 3: Troubleshooting
General Troubleshooting There’s no sound? Bubble tubes not bubbling? Make sure the mute function is turned off. Make sure stage lights are on. Check that the volume is turned up by pressing It takes approximately 15 to 20 minutes fro the vol.+ button on remote. -
Page 4: About This Manual
Welcome Table of Contents Thank you for purchasing the the Crosley Bubbler Getting Started iJuke (CR16). Before operating this unit, please read this manual thoroughly and retain it for future reference. About This Manual Basic Operation Instuctions in this manual describe the control functions of the CR16. -
Page 5: Basic Operation
Basic Operation Connecting Optional Equipment Lights / Bubble Tubes External Speakers This radio is equipped with external speaker Gently pull on top right side of tuner door to open. outputs. Press light button in to turn lights on. The speaker jacks for external speakers are located on the back of the radio. -
Page 6: Getting Started
Control Locators Remote Controls Power Back Skip Stop Repeat Program CD / Radio Play / Pause Open / Close Mute Forward Skip Volume Up Volume Down Unpacking Remove styrafoam packing materials. Remove plastic bags covering the jukebox and the power cord. Untie power cord and remove the plastic safety cover from the plug end.
Need help?
Do you have a question about the Bubbler iJuke CR16 and is the answer not in the manual?
Questions and answers