Sign In
Upload
Download
Table of Contents
Contents
Add to my manuals
Delete from my manuals
Share
URL of this page:
HTML Link:
Bookmark this page
Add
Manual will be automatically added to "My Manuals"
Print this page
×
Bookmark added
×
Added to my manuals
Manuals
Brands
Davey Manuals
Water Pump
VM Series
Installation and operating instructions manual
Davey VM Series Installation And Operating Instructions Manual
Vertical multistage centrifugal pump 50 & 60hz
Hide thumbs
1
Table Of Contents
2
3
4
5
6
7
8
9
10
11
12
13
14
15
16
17
18
19
20
21
22
23
24
25
26
27
28
page
of
28
Go
/
28
Contents
Table of Contents
Bookmarks
Table of Contents
Table of Contents
Applications
Identification of the Pump
Structure
Installation Instructions
Starting and Maintenance
Dismantling and Assembly
Order of Assembly for Diffusers and Impellers
Fault Finding
Davey Warranty
Advertisement
Quick Links
1
Applications
2
Installation Instructions
3
Starting and Maintenance
4
Dismantling and Assembly
Download this manual
VM Series
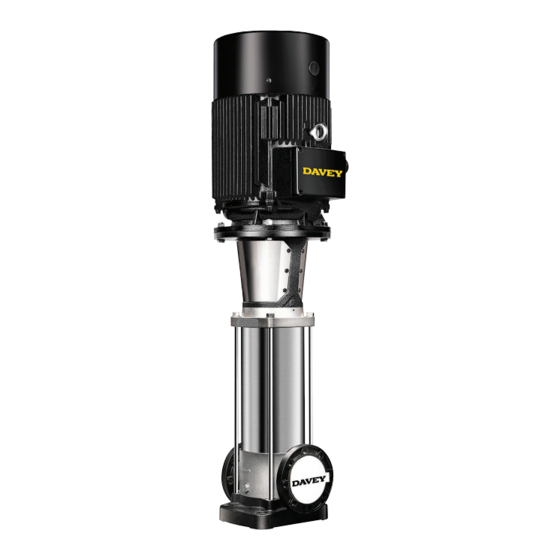
Vertical Multistage
Centrifugal Pump (50 & 60Hz)
Installation and Operating
Instructions
Tested in compliance with
for use in contact with safe drinking water
Please pass on these instructions to the operator of this equipment.
Table of
Contents
Previous
Page
Next
Page
1
2
3
4
5
Advertisement
Table of Contents
Need help?
Do you have a question about the VM Series and is the answer not in the manual?
Ask a question
Questions and answers
Related Manuals for Davey VM Series
Water Pump Davey VM1 Installation And Operating Instructions Manual
Vertical multistage centrifugal pump 50 & 60hz (28 pages)
Water Pump Davey VM3 Installation And Operating Instructions Manual
Vertical multistage centrifugal pump 50 & 60hz (28 pages)
Water Pump Davey VM5 Installation And Operating Instructions Manual
Vertical multistage centrifugal pump 50 & 60hz (28 pages)
Water Pump Davey VM10 Installation And Operating Instructions Manual
Vertical multistage centrifugal pump 50 & 60hz (28 pages)
Water Pump Davey VM32 Installation And Operating Instructions Manual
Vertical multistage centrifugal pump 50 & 60hz (28 pages)
Water Pump Davey Davey XP/T Installation And Operating Instructions Manual
(6 pages)
Water Pump Davey M5138 Installation And Operating Instructions Manual
Davey ph peristaltic pump (20 pages)
Water Pump Davey PowerMaster Eco-Series Installation And Operating Instructions Manual
Eco-series (17 pages)
Water Pump Davey HS20-65Y2 Installation And Operating Instructions Manual
Multistage pump (8 pages)
Water Pump Davey AS Series Installation And Operating Instructions Manual
Peristaltic pump (16 pages)
Water Pump Davey jumbo floodfighter Installation And Operating Instructions Manual
3" and 4" (9 pages)
Water Pump Davey DynaDrive DD60-10 Installation And Operating Instructions Manual
Constant pressure system (32 pages)
Water Pump Davey HS Series Servicing Instructions
Multistage pump (8 pages)
Water Pump Davey XP500H Installation And Operating Instructions
Pressure systems (2 pages)
Water Pump Davey TotalFlo TF40J Installation And Operating Instructions Manual
Jet pumps and multistage pumps (9 pages)
Water Pump Davey SJ35-04 Installation & Operating Instructions Manual
(9 pages)
This manual is also suitable for:
Vm1
Vm3
Vm5
Vm10
Vm15
Vm20
...
Show all
Vm32
Vm42
Vm65
Vm90
Vm120
Vm150
Vm200
Table of Contents
Print
Rename the bookmark
Delete bookmark?
Delete from my manuals?
Login
Sign In
OR
Sign in with Facebook
Sign in with Google
Upload manual
Upload from disk
Upload from URL


Need help?
Do you have a question about the VM Series and is the answer not in the manual?
Questions and answers