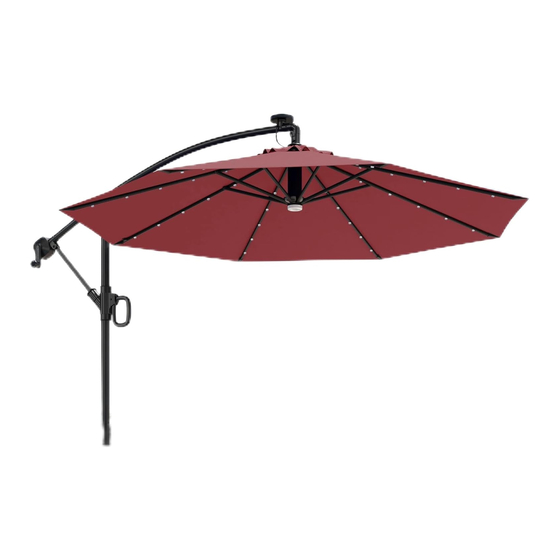
Summary of Contents for EAST OAK PBU23001
- Page 1 Offset LED Patio Umbrella Owner’s Manual Model: PBU23001 PBU23003 PBU23002 PBU23004 EASTOAK.COM OWNER’S MANUAL 香蕉伞-0227.indd 1 香蕉伞-0227.indd 1 2023/2/27 11:03:35 2023/2/27 11:03:35...
- Page 2 Questions? Comments? Reach out to us for expert support! support@eastoak.com eastoak.com 1-833-EAST-OAK ( USA ) ( 1-833-327-8625 ) Mon-Fri 8am-8pm EST Follow eastoakliving on Claim your 3-year warranty Please scan the QR code to view the installation video at eastoak.com/warranty OFFSET LED PATIO UMBRELLA EASTOAK.COM OWNER’S MANUAL...
-
Page 3: Important Caution
IMPORTANT CAUTION SAFETY GUIDE Please check all parts and components to ensure no damage or missing items • Patio umbrellas are only designed to protect from the sun, NOT the wind. before starting the product’s construction. If you have any problems or discover •... -
Page 4: Parts List
IMPORTANT INFORMATION PARTS LIST Suppose the umbrella shows ANY signs of stress or moves around excessively even when adequately weighted. In that case, it indicates the wind is too strong, and the umbrella must be closed and secured immediately. CARE AND MAINTENANCE •... - Page 5 PARTS LIST ASSEMBLY INSTRUCTIONS Place the upper cross base (B) over the lower cross base (A). Solar Panel Wrench M8 G (X1) H (X1) Using the M8 wrench to install the central spigot on the assembled cross base with 20mm M8 hex bolts and M8 washers. Spare LED Light Covers I (X3) OFFSET LED PATIO UMBRELLA...
- Page 6 Locate the plug at the top of the umbrella. Then, carefully insert the plug into the Place the assembled cross base in your preferred location, then follow the solar panel’s underside socket. ‘Cross Base Installation Tips’ on pages 16-17. Base not included (additional purchase) Place the solar panel on the top of the umbrella, taking care to conceal the wires Attach the main frame and canopy to the central spigot.
- Page 7 Locate the umbrella in direct sunlight to charge the batteries before first use. OPERATING INSTRUCTIONS IMPORTANT NOTE: Charge the batteries for at least 8 hours in direct sunlight before first use. Failing to follow this step will shorten the lifespan of the rechargeable Unfasten the Velcro storage straps from the canopy and main frame.
-
Page 8: Operating The Lights
To close the umbrella, first, undo the tie strings and then wind the crank handle When the umbrella arm is fully extended, lock the lift clamp and slide the lock cover into place as shown. gently in a counterclockwise direction until the canopy is fully closed. CRITICAL STEP: Always remember to slide the lock cover away from the vertical lift mechanism BEFORE lowering the umbrella arm. -
Page 9: Replacing The Batteries
Carefully pull the plug out of the socket under the solar panel. REPLACING THE BATTERIES IMPORTANT: Do not pull the wire to remove the plug. The batteries in your LED umbrella must be replaced at least once every year (or when you feel that the light is fading more quickly). - Page 10 Carefully open the solar panel. Replace the batteries, matching the +/- on the Re-assemble the solar panel. Do not over-tighten the screws. battery with the +/- on the battery case. Make sure the O ring is correctly located before replacing the cover. OFFSET LED PATIO UMBRELLA EASTOAK.COM OWNER’S MANUAL...
- Page 11 OFFSET UMBRELLA BASE TIPS SPECIAL INSTALLATION • If you have a suitable timber deck, the cross base can be secured to it using STANDARD INSTALLATION 2” (5cm) M8 coach bolts or deck screws (not supplied). Ensure the fixing • The cross base supplied with this offset umbrella requires 4 individual base points are made into joists or bearers, not just the decking boards.
-
Page 12: Technical Specs
• 1 X Main Frame and Canopy • 1 X Solar Panel Thank you for choosing East Oak. This product is covered by our company • 1 X Wrench warranty for up to 3 years from its original purchase date. - Page 13 support@eastoak.com eastoak.com 1-833-EAST-OAK (USA) OFFSET LED PATIO UMBRELLA 香蕉伞-0227.indd 22 香蕉伞-0227.indd 22 2023/2/27 11:03:36 2023/2/27 11:03:36...


Need help?
Do you have a question about the PBU23001 and is the answer not in the manual?
Questions and answers