Advertisement
Quick Links
14.1mm
USER'S OPERATION MANUAL
25.5mm
Before operating this unit, please read this manual thoroughly,
and retain for future reference
起始位置
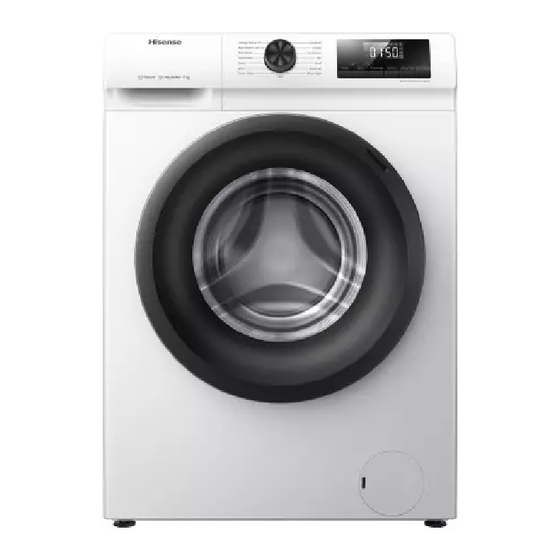
WFQP6010EVM*
WFQP6012EVM*
型号排列
WFQP7012EVM*
区域
WFQP6010VM*
WFQP6012VM*
WFQP7012VM*
168mm
字体:Hisense Alfabet
字号:12-10pt
14.1mm
83.6mm
92.2mm
138.3mm
9mm
14.1mm
字体:Hisense Alfabet
字号:21pt
字体:Hisense
字号:10pt
53.7mm
35mm
English
9mm
Advertisement


Need help?
Do you have a question about the WFQP6010EVM Series and is the answer not in the manual?
Questions and answers