
Related Manuals for TTI FABRICATION STRATOS 40


Summary of Contents for TTI FABRICATION STRATOS 40
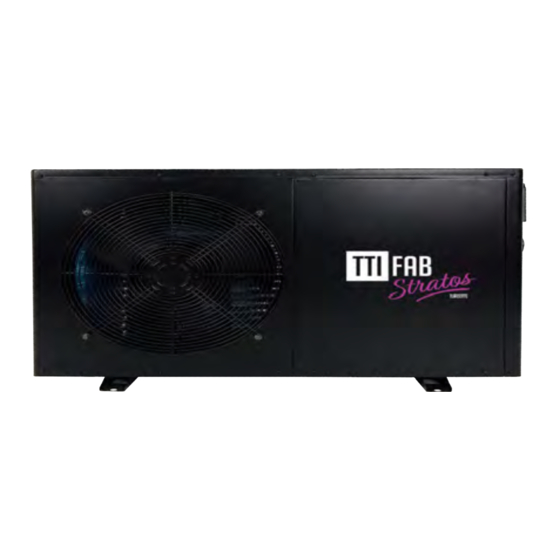
- Page 1 Swimming Pool Heat Pump INSTALLATION AND OPERATION MANUAL IMPORTANT Please register your product with us on our web site. www.ttifab.com...
-
Page 2: Table Of Contents
Content 1. APPLICATION...........................3 2. FEATURES............................3 3. TECHNICAL PARAMETERS......................4 3.1 Remarks............................4 3.2 Options for protecting devices.......................4 4. POSITIONING.............................5 4.1 Ventilation and accessibility......................5 4.2 Other recommendations.........................5 4.3 Water supply and backflow plumbing connections................6 4.4 Minimum and maximum water flows....................6 5. CHLORINATORS, BROMINATORS AND OTHER AUTOMATIC SYSTMES ......7 5.1 Basic connections, inline chlorinator or brominator..............7 5.2 Salt Chlorinators..........................7 5.3 Pressurized chlorinator or brominator....................7... -
Page 3: Application
1. Application Set swimming pool water temp efficiently and economically to provide you comfort and pleasure 2. Features • High efficient titanium heat exchanger • Sensitive and accurate temp control and water temp display • High pressure, low pressure & water flow protection system •... -
Page 4: Technical Parameters
3. TECHNICAL PARAMETERS STRATOS 80 STRATOS 100 STRATOS 120 MODEL STRATOS 40 STRATOS 50 STRATOS 65 Heating capacity 40000 BTU 50000 BTU 65000 BTU 80000 BTU 100000 BTU 120000 BTU Breaker 230V Voltage Frequency/phase 60Hz/1Ph 20 A 24 A Current* 6.2 A... -
Page 5: Positioning
4. POSITIONING Choosing the area where your heat pump will be installed is extremely important. You must respect the following guidelines. 4.1 Ventilation and accessibility Your heat pump works, in large part, in symbiosis with the surrounding air: it is important that there be adequate ventilation all around the heat pump. -
Page 6: Water Supply And Backflow Plumbing Connections
MODEL MINIMUM IDEAL MAXIMUM STRATOS 40-50-65-80-100 57 l/m (15 GPM US) 170 l/m (45 GPM US) 170 l/m (45 GPM US) 1 U.S. gallon per minute (1GPM US) = 3.78 liters per minute (3.78 l/m) Pool heat pumps normally operate with (12-15 PSI) water pressure. -
Page 7: Chlorinators, Brominators And Other Automatic Systmes
5. CHLORINATORS, BROMINATORS AND OTHER AUTOMATIC SYSTEMS 5.1 Basic connections, inline chlorinator or brominator This connection is mandatory to ensure the long working life of your pool heat pump. Any automatic distribution system for chemicals, chlorine, bromine or other, must be installed so that the distribution system’s water output is located after the pool’s heat pump. -
Page 8: Electrical Power Connection
6. CONNECTION TO ELECTRICAL POWER To ensure your safety and the proper functioning of the device, the electrical connections must be performed by a qualified electrician according to national WARNING codes, provincial and local regulations. A circuit breaker must be installed close to the heat pump, in an accessible location. Never open the electrical box without shutting off the power to all sources used for the operation of the heat pump. -
Page 9: Operation Instructions
7. OPERATION INSTRUCTIONS 7.1 Operation Display • The display shows Time when the machine is off • The display shows Temperature of the swimming pool water when the machine is on. 7.2 Water temperature setting • Press the key to set water temperature. The controller indicates flashing temp. •... -
Page 10: Timer On And Off
7.4. Timer on and off • Press set timer on. When the indicator light is on and the time is flashing, press again to set hour. to adjust. Before the flashing stops, press to set minute. • to adjust. After adjusting, press and water temperature will be seen. -
Page 11: Testing
8. TESTING 8.1 Inspection before use • Check installation of the whole machine and the pipe connections according to the pipe connecting drawing; (Blue water IN / Red water OUT) • Check the electric wiring according to the electric wiring diagram; and grounding connection. •... -
Page 12: Safety
9.2 Safety • Please keep the main power supply switch far away from the children. • When a power cut happens during running, and later the power is restored, the heater will start up automatically. So please switch off the power supply when there is a power cut, and reset temp when power is restored. -
Page 13: Maintenance
10. MAINTENANCE • “Cut off” power supply of the heater before any examination and/or repair. • Please clean this machine with household detergents or clean water, NEVER use gasoline, thinners or any similar fuel. In winter season or when machine is stopped for a long period of WARNING time, please “cut off”... -
Page 14: Failure Codes
PP 3 Coil pipe sensor failure PP 4 Intake pipe sensor failure PP 5 Air temp sensor failure PP 7 When the temperature<+45℉, auto stop protection(not Failure) TTI FABRICATION Inc. 684, rue Jean-Neveu Longueuil, QC, J4G 1P1 Canada 450-646-3960 www.ttifab.com...
Need help?
Do you have a question about the STRATOS 40 and is the answer not in the manual?
Questions and answers