Advertisement
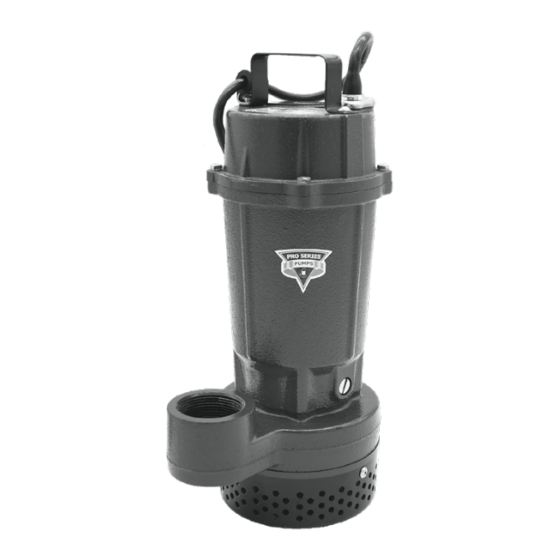
Sump Pump
Instruction Manual
& Safety Warnings
Model S1033
Items Included:
You may also need:
1-1/2" rigid PVC pipe to connect
Pump
to the existing plumbing
Choice of controller, float
A check valve or union
Stainless-steel hose clamp
PVC pipe primer and cement
Dual Float
Controller
Enhanced
Deluxe
Controller
Controller
Important Safety Instructions
SAVE THESE INSTRUCTIONS. This manual contains important SAFETY WARNINGS and OPERATING
INSTRUCTIONS. You will need to refer to it before attempting any installation or maintenance.
ALWAYS keep these instructions with the unit so that they will be easily accessible.
Failure to read and follow these warnings and instructions could result in property damage,
serious injury, or death.
Risk of electric shock. To reduce this risk, observe the
WARNING
!
following precautions.
• ALWAYS disconnect the pump and float switch controller from the power source before servicing
or making adjustments.
• NEVER handle the pump or motor with wet hands or when standing on a wet or damp surface
while the pump is plugged into the power source.
• MAKE SURE THERE IS A PROPERLY GROUNDED RECEPTACLE AVAILABLE. This pump is wired with
a 3-prong grounded plug. To reduce the risk of electric shock, be certain that it is only connected
to a properly grounded, 3-prong receptacle. If you have a 2-prong receptacle, have a licensed
electrician replace it with a 3-prong receptacle according to local codes and ordinances.
• NEVER bypass grounding wires or remove the ground prong from the plug.
• DO NOT use an extension cord. The electrical outlet should be within the length of the pump's
power cord, and at least 4 feet above the floor level to minimize potential hazards from flood
conditions.
• DO protect the electrical cord from sharp objects, hot surfaces, oil, and chemicals. Avoid kinking
the cord.
• MAKE SURE the supply circuit has a dedicated fuse or circuit breaker rated to handle the power
requirements noted on the nameplate of the pump.
To reduce the risk of hazards that can cause injury or property
CAUTION
!
damage, observe the following precautions.
• DO NOT use the power cord or strain relief to carry the pump. Use the pump handle.
• DO NOT pull on the float switch cord.
• DO NOT expose the control unit to any type of moisture, water, rain or snow.
• DO NOT place the controller on the floor. The electrical outlet should be within the length of the
pump's power cord and at least 4 ft above the floor.
• DO NOT operate this product if it has been damaged in any way.
• DO NOT use sump pumps in pits handling raw sewage, salt water, or hazardous liquids. This pump
is for ground water only.
• DO NOT disassemble this product. When service is required, contact Glentronics technical support
at 800-991-0466. Return the product to the manufacturer for any repairs at the following address:
Glentronics, Inc., 645 Heathrow Drive, Lincolnshire, IL 60069
• When installing or replacing a primary sump pump you should also install a battery backup sump
pump system.
Specifications
GPH @ 0'
GPH @ 10'
Pump diameter
Volts
Amps
Ultimate
Controller
1/3 HP Model S1033
4100
2770
7.375"
115V, 60Hz
3.8
Dual Float
Vertical Float
Switch
Switch
Tether Float
Switch
Advertisement
Table of Contents

Related Manuals for Pro Series Pumps S1033


Summary of Contents for Pro Series Pumps S1033
- Page 1 Glentronics, Inc., 645 Heathrow Drive, Lincolnshire, IL 60069 • When installing or replacing a primary sump pump you should also install a battery backup sump pump system. Specifications 1/3 HP Model S1033 GPH @ 0’ 4100 GPH @ 10’ 2770 Pump diameter 7.375”...
-
Page 2: Installation Instructions
new adapter by cleaning and cementing the two pieces together. NOTICES (Follow the instructions of the PVC primer and cement.) (e) Lower the pump into the sump by the handle. • When a check valve is used, a 3/16” (4.7 mm) air bleed hole must be drilled in the PVC pipe above the pump. - Page 3 Connecting the Pump and Controller Stop the pump and refer to the troubleshooting guide. The Vertical Float Switch and Tether Float Switch must be moving freely at all times. Make sure the float Make sure the outlet is a single phase, 115V and 60HZ switch does not come into contact with other pumps, wires, pipes or any other WARNING for all the pump installations.
-
Page 4: Maintenance Checklist
Understanding the Warnings & Alarms - Maintenance Checklist Deluxe and Ultimate Controllers Maintenance should be performed 1-2 times per year. 1. Remove all debris from the bottom of the pit and make sure the pump’s strainer is AC power is out clear of debris. -
Page 5: Troubleshooting Guide
Troubleshooting Guide (Always unplug the pump from the controller before performing any maintenance) Problem Potential Cause Solutions Pump is not plugged in Plug pump in properly (see instructions) The float switch is not connected to the controller Check connection of the float switch to the controller Water is not high enough to activate the pump Make sure float switch is positioned properly Open circuit... -
Page 6: Limited Warranty
Limited Warranty By opening this package and using this GLENTRONICS, INC. product, you are agreeing to be bound by the terms of the GLENTRONICS, INC. limited warranty (“warranty”) as set out below. Do not use your product until you have read the terms of the warranty. If you do not agree to the terms of the warranty, do not use the product and return it within the return period stated on your purchase receipt from the retail store or authorized distributor where you purchased it for a refund.
Need help?
Do you have a question about the S1033 and is the answer not in the manual?
Questions and answers