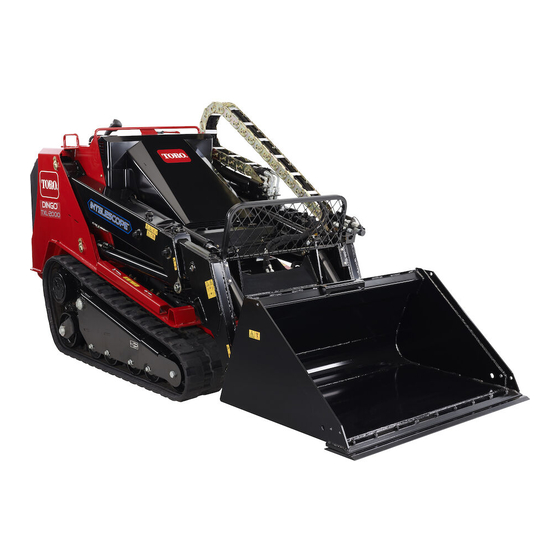
Summary of Contents for Toro 22538
- Page 1 Form No. 3429-959 Rev B Angle Broom TXL 2000 Tool Carrier Model No. 22538—Serial No. 318000001 and Up *3429-959* B Register at www.Toro.com. Original Instructions (EN)
- Page 2 The angle broom attachment is intended to be used 1. Model and serial number location on a Toro tool carrier. It is designed primarily for sweeping walkways and driveways of dirt or snow. Using this product for purposes other than its intended use could prove dangerous to you and bystanders.
-
Page 3: Table Of Contents
Contents Safety Safety ............... 3 General Safety General Safety ........... 3 Slope Safety ............3 Always follow all safety instructions to avoid serious Broom Safety............4 injury or death. Maintenance and Storage Safety......4 • Do not transport an attachment with the Safety and Instructional Decals ...... -
Page 4: Broom Safety
• • Establish your own procedures and rules for After striking a foreign object, shut off the engine, operating on slopes. These procedures must remove the key, thoroughly inspect the attachment include surveying the site to determine which for any damage, and repair the damage before slopes are safe for machine operation. -
Page 5: Safety And Instructional Decals
Safety and Instructional Decals Safety decals and instructions are easily visible to the operator and are located near any area of potential danger. Replace any decal that is damaged or missing. decal139-2802 139-2802 1. Warning—read the 3. Warning—stay away from Operator’s Manual. -
Page 6: Product Overview
440 kg (970 lb) Number of brushes To ensure optimum performance and continued safety certification of the machine, use only genuine Toro replacement parts and accessories. Replacement parts and accessories made by other manufacturers could be dangerous, and such use could void the... -
Page 7: Using The Broom
Checking the Sweeping WARNING Path Hydraulic fluid escaping under pressure can penetrate skin and cause injury. Fluid injected A broom sweeps with the tips of its bristles. When you into the skin must be surgically removed apply too much downward pressure, the broom no within a few hours by a doctor familiar with longer uses its tips;... -
Page 8: Adjusting The Sweeping Path
Adjusting the Sweeping Adjusting the Angle Path Park the machine on a level surface and disengage the auxiliary hydraulics. Park the machine on a level surface and Lift the broom off the ground. disengage the auxiliary hydraulics. Shut off the engine, remove the key, and wait Tilt the attachment fully rearward. -
Page 9: Using The Kickstands
Using the Kickstands Clearing a Clogged Broom Use the kickstands to raise the broom off the ground WARNING when you are not using the machine, performing maintenance, or storing the broom. This eliminates The rotating broom could cause serious unnecessary pressure on the bristles. injury. -
Page 10: Transport Position
Transport Position When transporting an attachment, keep the attachment as close to the ground as possible, no more than 15 cm (6 inches) above the ground, and keep the loader arms retracted. Tilt it rearward. g271005 Figure 8 1. No more than 15 cm (6 2. -
Page 11: Maintenance
Maintenance Determine the left and right sides of the machine from the normal operating position. CAUTION If you leave the key in the switch, someone could accidently start the engine and seriously injure you or other bystanders. Remove the key from the switch before you perform any maintenance. Recommended Maintenance Schedule(s) Maintenance Service Maintenance Procedure... - Page 12 Remove the 2 bolts (1/2 x 1-3/4 inch) and 2 locknuts (1/2 inch) securing the motor assembly and remove the motor assembly (Figure 11). g271160 Figure 13 g271159 Figure 11 1. Bolt—3/8 x 1 inch (6) 3. Nut—3/8 inch (6) 1.
-
Page 13: Checking The Hydraulic Lines
Checking the Hydraulic Install the retaining plate (Figure 13). Lay the core on the ground. Lines Important: Do not move the core using the Service Interval: Before each use or daily brushes. Start the machine and raise the broom. Position WARNING the hood over the core, then lower it over the Hydraulic fluid escaping under pressure can... -
Page 14: Storage
Storage Before long-term storage, wash the attachment with mild detergent and water to remove dirt and grime. Paint all scratched or bare metal surfaces. Note: Paint is available from your Authorized Service Dealer. Store the attachment in a clean, dry garage or storage area. -
Page 15: Troubleshooting
Troubleshooting Problem Possible Cause Corrective Action The broom does not clean the surface. 1. The broom height is incorrect. 1. Adjust the broom height. 2. You are cleaning too much debris at 2. Slow down and clear smaller areas of a time. - Page 16 While the exposure from Toro products may be negligible or well within the “no significant risk” range, out of an abundance of caution, Toro has elected to provide the Prop 65 warnings. Moreover, if Toro does not provide these warnings, it could be sued by the State of California or by private parties seeking to enforce Prop 65 and subject to substantial penalties.


Need help?
Do you have a question about the 22538 and is the answer not in the manual?
Questions and answers