
Related Manuals for Kohler Hourglass 30 K-1201


Summary of Contents for Kohler Hourglass 30 K-1201
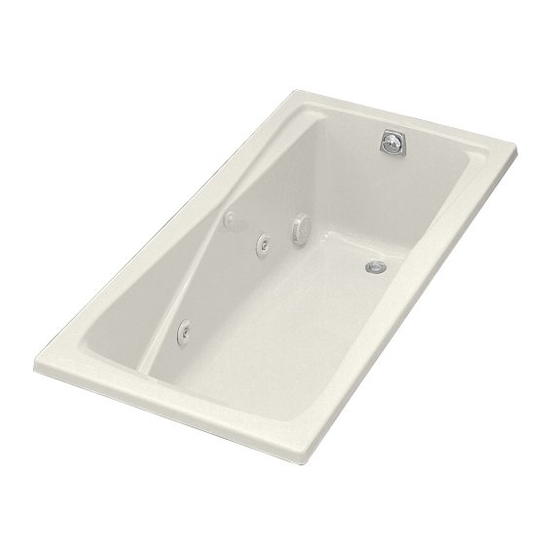
- Page 1 System 1 Bath Whirlpools: K-1201 Hourglass 30 K-1206 K-1206-L K-1206-R Hourglass 32 K-1211 Cocoon 5’ K-1216 Cocoon 6’ K-1221 Seadream Copyright E1998 Kohler Co. 113867-2-...
-
Page 2: Important Safety Instructions
Use this unit only for its intended use as denoted in this above the normal body temperature of 98.6 F. The manual. DO NOT use attachments not recommended symptoms of hyperthermia include an increase in the by the Kohler Co. internal body temperature,... -
Page 3: Table Of Contents
Follow the sections that pertain Kohler Co. reserves the right to make changes in to your particular installation. This will help you avoid product characteristics, packaging, or availability at any costly mistakes. -
Page 4: Roughing-In: K-1201
No change in measurements if connected with drain il- lustrated. Cut-out 58-1/2” x 28-1/2” Minimum access panel: Pump/control 20” W x 15” H required 15” 1-1/2” PUMP/CONTROL ACCESS 8-1/2” 30” 60” 1-1/2” 2-3/4” 17” 15-1/2” 2-7/8” 3/16” 3” 1-1/2” O.D. Kohler Co., Kohler WI 113867-2-... -
Page 5: Roughing-In: K-1206, K-1206-L, K-1206-R
30-1/2” Minimum access panel: 16” Pump/control 20” W x 15” H required 1-3/8” PUMP/CONTROL ACCESS 8-3/8” 32” 1-1/4” 60” 1-1/2” 2-3/4” 1/2” R. 20” INTEGRAL DROP-IN FLANGE 18-1/2” DETAIL DETAIL 2-7/8” 3/8” 3” 1-1/2” O.D. 113867-2- Kohler Co., Kohler WI... -
Page 6: Roughing-In: K-1211
No change in measurements if connected with drain il- lustrated. Cut-out 58-1/2” x 34-1/2” Minimum access panel: Pump/control 20” W x 15” H required 18” 1-7/8” 8-7/8” PUMP/CONTROL ACCESS 59-9/16” 36” 3-1/4” 21” 19-1/4” 2-7/8” 1-1/8” 3” 1-1/2” O.D. Kohler Co., Kohler WI 113867-2-... -
Page 7: Roughing-In: K-1216
No change in measurements if connected with drain il- lustrated. Cut-out 70” x 34-1/2” Minimum access panel: Pump/control 20” W x 15” H required Faucet area recommended 18” 1-7/8” 8-7/8” PUMP/CONTROL ACCESS 36” 71-3/16” 1-3/4” 3” 21” 2-7/8” 15/16” 3” 1-1/2” O.D. 113867-2- Kohler Co., Kohler WI... -
Page 8: Roughing-In: K-1221
No change in measurements if connected with drain il- lustrated. Cut-out 70-1/4” x 46-1/4” Minimum access panel: Pump/control 20” W x 15” H required 24” 2” PUMP/CONTROL ACCESS 9” 48” 72” 1-3/4” 3-1/2” 23” 2-7/8” 13/16” 3” 1-1/2” O.D. Kohler Co., Kohler WI 113867-2-... -
Page 9: Product Notices
WARNING: Risk of injury or property damage. Kohler Co. shall not be liable under its warranty or Please read all instructions thoroughly before otherwise for personal injury or damage caused by beginning installation, including the following any such unauthorized modification. -
Page 10: Installation Requirements
For replacement installations: Remove the old bath. Remove the old wall material, and remove any old floor covering from the area. Remove any old plumbing that does not conform to roughing-in requirements. Kohler Co., Kohler WI 113867-2-... -
Page 11: Site Requirements
Corner Installation: The suggested stud construction Whirlpool Whirlpool is illustrated. Rim and Framing Recommended For K-1201, K-1206, K-1211, K-1216, and K-1221 Drop-In Models: 1/16” Gap Recess Installation: The suggested stud construction Between is illustrated. Whirlpool Whirlpool Rim and Framing Kohler Co., Kohler WI 113867-2-... -
Page 12: Plumbing Preparation
Do not hang the whirlpool by the rim. D. PLUMBING PREPARATION Position the plumbing according to the roughing-in dimensions. Cap the supplies, and check for leaks. Kohler Co., Kohler WI 113867-2-... -
Page 13: Before Installing Unit
C. PROTECT WHIRLPOOL UNIT Position a drop cloth or similar material in the bottom of the unit. Be careful not to scratch the surface of the product. Kohler Co., Kohler WI 113867-2-... -
Page 14: Install Whirlpool
Set the bath in the desired location, and level it. Insert the drain tailpiece into the trap. Make sure the bath is level and resting on all support feet. Kohler Co., Kohler WI 113867-2-... -
Page 15: Integral Flange Models
C. PUMP BANDING STRAP CUT Shipping Bracket (leave attached NOTICE: This step is necessary to make your to bath) Kohler whirlpool operate more quietly. Pump Banding Straps Use tin snips to cut the two banding straps. These banding straps... -
Page 16: Install Plumbing
Actuator not remove the plug’s grounding pin. Do not use a Cord grounding adapter. Your Kohler whirlpool bath is equipped with a cord and Actuator plug. All wiring of the pump and control has been Tubing completed at the factory. A licensed electrician must install a GFCI-protected, 120 V, 15 A, grounded outlet. -
Page 17: Water Test Whirlpool & Electronics
Tape and mud the water-resistant wall material. Install Material the finish wall to the water-resistant wall material as shown. Seal the joints between the whirlpool rim and the finish wall material with silicone sealant. Water-Resistant Wall Material Kohler Co., Kohler WI 113867-2-... -
Page 18: Integral Flange Models
Rotate the jets so they are facing down toward the basin. Jet Trim Fill the whirlpool to a water level at least 2” above the top of the highest jet. Water temperature in the bath should not exceed 104_F (40_C). Kohler Co., Kohler WI 113867-2-... - Page 19 Insert the Flexjet into the housing, and lightly push and rotate the Flexjet until it snaps into position. Do not force the Flexjet. O-Ring (Must NOTE: When installed correctly, the Flexjet should turn Be Lubricated) smoothly both clockwise and counterclockwise. Kohler Co., Kohler WI 113867-2-...
- Page 20 B. TROUBLESHOOT WHIRLPOOL SYSTEM This troubleshooting guide is for general aid only. A Kohler Authorized Service Representative or a qualified electrician should correct all electrical problems. For warranty service, contact your dealer or wholesale distributor. SYMPTOMS PROBABLE CAUSES RECOMMENDED ACTION 1.
Need help?
Do you have a question about the Hourglass 30 K-1201 and is the answer not in the manual?
Questions and answers