Table of Contents
Advertisement
Quick Links
7-Day Timer
SA-027WQ
Installation Manual
The ENFORCER SA-027WQ 7-Day Timer can be programmed to operate a Form C relay 24 hours
a day on a weekly basis for various applications including security, access control, lighting, and
environmental control. The relay can be programmed for up to 60 events with each event on a
weekly or daily schedule. A programmable holiday disables the timer for a single day weekly.
Wide operating voltage range – 10~48 VDC, 12~24 VAC
One (1) N.O. or N.C. Form C relay, 10A@14VDC, with an egress input
First-person-in (first-man-in, FM) function interrupts the normal operation of the timer
60 Programmable events set weekly, daily, or hourly, over a week
Programmable holiday event – holiday from 1~31 days in duration
EEPROM Memory for safe data protection in case of power failure
No clock battery to replace - built-in super capacitor saves date/time 5-10 days after power loss
Easy troubleshooting status checks – relay test, power input voltage
Passcode protection can be turned ON or OFF
Event outputs can be programmed to disable, ON, OFF, shunt, or momentary (1~99 seconds)
Enable/Disable 1-hour offset as a quick setting during Daylight Savings Time
Large alphanumeric white backlit LCD display for easy programming
Advertisement
Table of Contents

Related Manuals for ENFORCER SA-027WQ


Summary of Contents for ENFORCER SA-027WQ
- Page 1 SA-027WQ Installation Manual The ENFORCER SA-027WQ 7-Day Timer can be programmed to operate a Form C relay 24 hours a day on a weekly basis for various applications including security, access control, lighting, and environmental control. The relay can be programmed for up to 60 events with each event on a weekly or daily schedule.
-
Page 2: Specifications
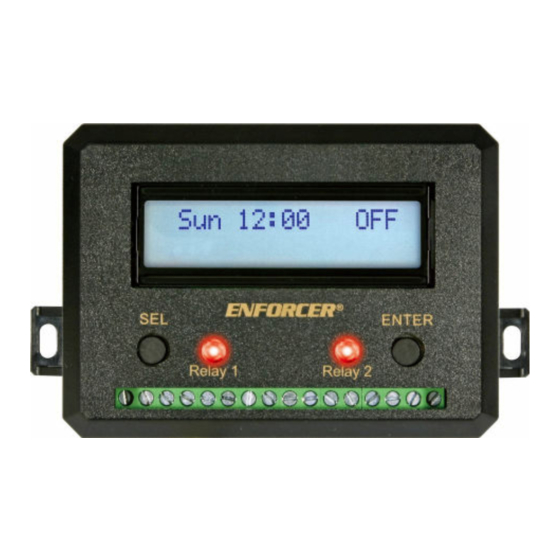
7-Day Timer Parts List 1x Timer 2x Mounting screws 1x Manual Overview LCD Display " Programming (76mm) buttons Terminal screw access slot Relay Blank " indicator (33mm) " (105mm) Terminal Layout Chart Power input (+) Power input (–) Relay 1 – N.O. output Relay 1 –... -
Page 3: Installation
7-Day Timer Installation 1. Find a location where the LCD display is visible, and the buttons accessible. Mark the location. 2. Connect the wires (see Overview, Terminal Layout Chart, pg. 2 and Basic Wiring, below). 3. Connect a 12~24 VAC or 10~48 VDC power supply to the power input terminals, 1 and 2. 4. - Page 4 7-Day Timer Program Introduction (Continued) Programming Recommendations 1. For easier installation, it is recommended you program in the order following. 2. Using a separate piece of paper, write down your programming notes. a. All the events you want to program, as well as their duration (up to 60). b.
- Page 5 7-Day Timer Programming The basic steps for programming are as follows. 1. Go to the menu for the feature you wish to program by pressing the SEL button. 2. Press the ENTER button to enter that menu. 3. The first programming option will be flashing. Press the ENTER button to change that option and press the SEL button to move to the next option and repeat.
- Page 6 7-Day Timer Programming (Continued) Programming Events Press ENTER to see the Choose event ( , 01~60). Press SEL until following. Press ENTER to change, > S e t E v e n ts < appears. > R 1 < 01 D i s SEL to accept and move on.
- Page 7 7-Day Timer Programming (Continued) Programming Daylight Savings Time Press ENTER to see the Press ENTER to enable, Press SEL until following. SEL to accept and move to > S e t D S T < appears. S e t D ST the return icon >...
-
Page 8: Troubleshooting
7-Day Timer Programming (Continued) Performing a System Test Press ENTER to test the Press SEL until Press ENTER to see the relay. Press again to toggle following. > S y s te m T es t < appears. it to its original state. R 1 = O FF Press SEL to move to and ENTER to return to the...
Need help?
Do you have a question about the SA-027WQ and is the answer not in the manual?
Questions and answers