Table of Contents
Advertisement
Quick Links
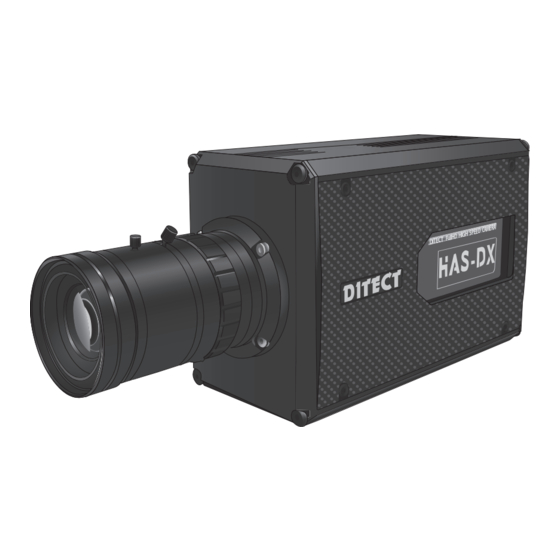
HAS - DX
High sensitivity / High speed camera
Hardware settings user manual
This manual provides safety installation instructions.
Please read this manual thoroughly before using.
Important safety instructions
List of included items
Parts names
Setting up procedures
C o nne c ting to
o ptio nal ac c e sso r ie s
Product specifications
Support information
3
4
5
6
8
10
10
Advertisement
Table of Contents

Related Manuals for Ditect HAS-DX


Summary of Contents for Ditect HAS-DX
- Page 1 HAS - DX High sensitivity / High speed camera Hardware settings user manual This manual provides safety installation instructions. Please read this manual thoroughly before using. Important safety instructions 3 List of included items 4 Parts names 5 Setting up procedures 6 C o nne c ting to 8 o ptio nal ac c e sso r ie s Product specifications Support information...
- Page 3 Table of contents Important safety instructions 3 List of included items 4 Parts names 5 Setting up procedures 6 Connecting to optional accessories 8 Product specifications Support information Introduction Thank you very much for your purchase. Please read this manual thoroughly before installation and operation, and keep this manual for future reference. Important safety instructions After the use for a long period of time, the interior components may be hot. When you are not using the camera, please disconnect the power cable. Do not handle plug or appliance with wet hands. When plugging or unplugging the cable, ensure that AC power is turned off. If your device needs repair, please contact our technical support. Do not disassemble or modify HAS-DX. 3 3...
-
Page 4: List Of Included Items
List of included items 1 Camera body 6 Software CD ※ 2 AC adapter 7 Sync slave cable ※ 3 USB3.0 cable 8 External sync cable 4 Sync master cable 9 High brightness LED strobe ※ ※ 5 Trigger button = optional accessory ※ 1 Camera body 2 AC adapter 3 USB3.0 cable 4 Sync master cable 5 Trigger button 6 Software CD ※ (FST - SYNC - MST - 1) (BNC - SW) 7 Sync slave cable 8 External sync cable 9 High brightness ※ ※ LED strobe ※... -
Page 5: Parts Names
Parts names 1 Top and Front Lock screw C-mount 2 Bottom Tripod mount 3 Rear USB3.0 port Power switch Power port 5... -
Page 6: Setting Up Procedures
Setting up procedures 1 Attach C-mount lens and remove the lens cover. 2 Make sure that the camera is firmly attached to a tripod. 3 Connect USB3.0 cable (Standard - B) to the camera. 4 Connect USB3.0 cable (Standard - A) to your PC. 6... - Page 7 5 Connect AC adapter to the camera and turn the switch ON. 6 Run the installed application. For further assistance, please read the software manual. ※ 7 When it is necessary to use an external trigger and / or to synchronize with LED lights, please use a sync trigger cable. Sync master cable AC adapter 7...
-
Page 8: Connecting To Optional Accessories
Connecting to optional accessories 1 Trigger button 2 High brightness LED strobe Strobe port Trigger button port 3 Sync slave cable Master camera Sync master cable Slave camera AC adapter Sync slave cable AC adapter 8... - Page 9 4 External sync cable Sync master cable AC adapter External sync cable Timing chart Trigger button CN3 SYNC CN2 TRIG 1 / 8 cycle 3.3V CN3 SYNC CN2 TRIG The relationship between sync signal and exposure CN3 SYNC Exposure ・The exposure ends when HAS - DX finishes receiving the SYNC signal. ・The exposure time depends on the shutter assigned by your PC. ・Use strobe lights, etc. which are compatible with SYNC3 to control timing. 9...
-
Page 10: Product Specifications
USB3.0 Interface Shutter exposure 1usec 〜 open 20V /lx ・ s 6V/lx・s Sensitivity Power supply DC12V ×110 ×185 Size mm(W) mm(H) mm(D) Electric requirement 1.3Kg Weight Memory size Standard 8GB / Extended version 16GB Support information Please contact our local office for software updates and customized options as well as other inquiries. *Price, technical specification, and appearance are subject to change without prior notice. DITECT corporation 150-0036 1-8 Nampeidai cho, Shibuya ku, Tokyo 150-0036, Japan : +81-3-5457-1212 E-mail : support@ditect.co.jp : https://www.ditect.co.jp/... - Page 12 Digital high speed camera HAS - DX Hardware settings user manual Rev1.0.2...
Need help?
Do you have a question about the HAS-DX and is the answer not in the manual?
Questions and answers