Advertisement
Quick Links
https://wiki.teltonika-gps.com/view/ADAS_First_Start
ADAS First Start
Main Page
>
Video Solutions
Contents
1 Main (front) camera unit preparation
2 Vehicle installation
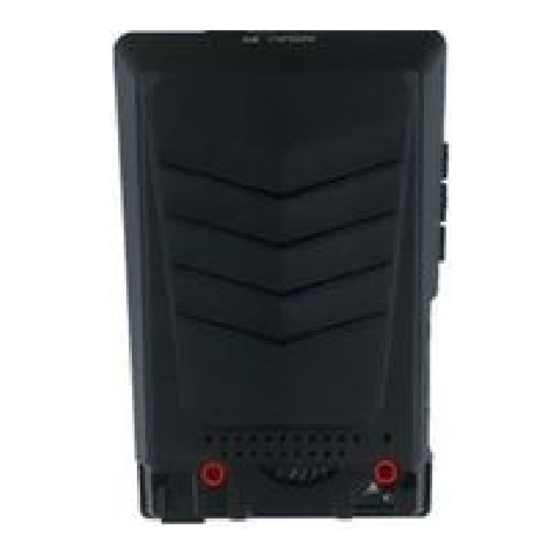
Main (front) camera unit preparation
The main unit comes prepared for bus/large truck setup (cable routing) or vehicles with mostly
vertical windshields. To set up the unit for an average truck or passenger vehicle, dismantle partially
as shown below:
Vehicle installation
1. Clean the spots on the windshield with the alcohol wipe where you plan to mount the hardware.
Remove the red 3M tape and mount the main unit underneath the rear-view mirror as centered
(left/right) and straight as possible (if it must be off center by a few inches, that's okay -
measurements will be taken later). Be certain not to obstruct the drivers view.
>
Teltonika ADAS
1. Remove cover
4. Reroute the
main
cable (and rear
camera
cable, if adding)
around unit
to front (glass
side)
> ADAS First Start
Unit preparation
2. Remove (2x)
screws,
remove plastic
cover
5. Press tightly into
channels when
routing cables.
Remove front
camera dust
sticker
3. Remove (2x)
screws,
pry plastic mounting
frame off Unit from
corners
6. Replace 1 cover
only
removed from step
3.
Replace 2 screws.
Leave the remaining
covers off until the
last step
Advertisement

Subscribe to Our Youtube Channel
Related Manuals for Teltonika ADAS

Summary of Contents for Teltonika ADAS
-
Page 1: Table Of Contents
ADAS First Start Main Page > Video Solutions > Teltonika ADAS > ADAS First Start Contents 1 Main (front) camera unit preparation 2 Vehicle installation 2.1 Installation: for CAN-equipped vehicles 2.2 Installation: For Analog signals (no CAN) 3 ADAS Calibration 3.1 Camera location and Vehicle Measurement... - Page 2 4. Once both cables are run to the under-dash, connect them to the provided PCI unit at the proper ports. 5. Connect the Teltonika FMx125,FMX225 tracker to the main unit using RS232 cable. Please refer connection scheme below. Please note that camera must be connected to ignition source, in other way camera will...
- Page 3 FMxy25 wiring with DOUT Please note, that alternative wiring with DOUT is possible, in order to receive additional data from ADAS while the ignition is off, but the key is turned to the ACC position. That way it would be possible to control the power supply by turning on/off the camera. To find information on how to configure DOUT, please visit DOUT.
- Page 4 FMX640 device's port 1 or port 2, both slots have RS232 support. Once connected, the other end of the cable should have pin 5-Rx, and 6-Tx shaved and connected to ADAS camera Rx and Tx cable. For the rest of the connection please refer to the picture below.
- Page 5 ADAS connection with relay If it is necessary to receive additional data from the ADAS when the ignition is off but the key is inserted and turned to the ACC position, you can do it by connecting the camera to a power source using a relay in order to control the power supply by turning on/off the camera.
-
Page 6: Installation: For Can-Equipped Vehicles
PIN NUMBER PIN NAME DESCRIPTION RS232-Tx ADAS output for data transmission through RS232 RS232-Rx ADAS input for data reception through RS232 6. Connect the provided Power/Ground harness connection to a chassis ground (black wire) and Ignition source (red wire). The circuit must provide ~3 Amp @12v. Connect the plug to the PCI unit at the ‘Power’... -
Page 7: Installation: For Analog Signals (No Can)
(if available) and download the ‘CAN File Download’ file at the bottom. NOTE: this filename will always be ‘mdasinfo.dat’ and cannot be renamed – so if you’re installing another ADAS and using this computer to set up, make a separate file folder (every time) with the vehicle year and model, and put this file inside of it. - Page 8 If on a windows 10 machine, it should automatically install the required driver. If not or on an older machine, go to movon.co.kr, go to the ‘ADAS’ tab at the top then to ‘Downloads’ under Support. Download the appropriate zip file (contains driver) and extract it fully for your version of Windows OS (if using the 7/8 driver, install the .exe file).
-
Page 9: Camera Location And Vehicle Measurement
"Camera Height”. Mark the same height on the wall apart about 3 ~ 5 meters from the vehicle. Fine Camera Angle - For better accuracy of ADAS, locate the yellow dotted line in the horizon as close as possible. - Page 10 • As the level gets higher, it gets more sensitive. • Repeat SDA and SDA re-alert can be changed. (On / Off) - Repeat SDA: If it’s on, ADAS keeps warning until the driver secures safe distance. - Re-alert SDA: If it’s on, ADAS gives warnings every time the same front vehicle gets closer than safe distance.
- Page 11 • Enable Indicator buzzer (On / Off). • Speed Display on Indicator could be ON/Off ADAS Setup Complete • Click “Complete” button to finish Calibration setup. Then ADAS will be rebooted automatically. • Click “Export vehicle profile” button, if you want to download vehicleprofile.dat.
Need help?
Do you have a question about the ADAS and is the answer not in the manual?
Questions and answers