Table of Contents
Advertisement
Quick Links
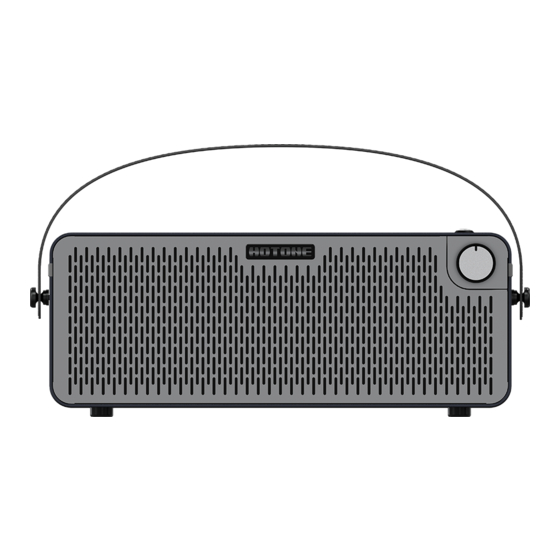
Bluetooth Modeling Amplifier
USER'S MANUAL
For Firmware V1.0.6
DESIGN INSPIRATION
※In the interest of product improvement, the specifications and/or the content of products (including but not limited to appearances, packaging design, manual content, accessories, size, parameters and
display screen), are subject to change without prior notice. Please check with local supplier for exact offers. Specifications and features (including but not limited to appearances, colors and size) may vary by
model owing to environmental factors, and all images are illustrative.
Advertisement
Table of Contents


Need help?
Do you have a question about the PULZE AP-30BK and is the answer not in the manual?
Questions and answers