Table of Contents
Advertisement
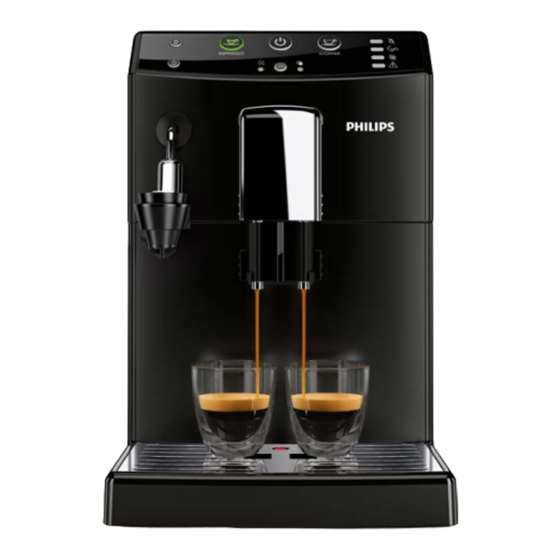
Coffee Machine
Service
TYPE
12NC
HD8841/01
882884101010
HD8841/09
882884109300
HD8841/11
882884111010
HD8842/09
882884209870
HD8844/01
882884401010
HD8844/09
882884409300
HD8847/01
882884701010
HD8847/06
882884706660
HD8847/09
882884709300
HD8847/11
882884711010
HD8847/15
882884715470
HD8847/17
882884717710
HD8847/19
882884719300
HD8848/09
882884809870
From Rev.
To Rev.
Rev.05
Rev00
All parts of this document are the property of Philips.
All rights reserved. This document and all the information herein is provided without liability deriving from any errors or omissions. Furthermore, no part may be reproduced, used or
collected, except where express authorisation has been provided in writing or through a contractual agreement.
Published by Philips
CMF
DESCRIPTION
PHI 4000 CMF BK 230 WE
PHI 4000 CMF BK 230 CEE
PHI 4000 CMF AN 230 WE
PHI 4000 CMF BK 230 RU
PHI 4000 AMF BK 230 WE
PHI 4000 AMF BK 230 CEE
PHI 4000 OTC BK 230 WE
PHI 4000 OTC BK 120 TW
PHI 4000 OTC BK 230 CEE
PHI 4000 OTC AN 230 WE
PHI 4000 OTC AN 220 KR
PHI 4000 OTC AN 220 CN
PHI 4000 OTC AN 230 CEE
PHI 4000 OTC BK 230 RU
Service Manual
HISTORY OF CHANGES TO THE SERVICE MANUAL
Chapter
Subject to modification
AMF
TYPE
EP4010/00
EP4010/00
EP4010/00
EP4010/10
EP4050/10
EP4050/10
EP4050/10
EP4051/10
EP4051/10
Inserted
PHILIPS 4000
12NC
882860700010
PHI 4000 CMF BK 230 WE
882860700220
PHI 4000 CMF BK 230 DE
882860700300
PHI 4000 CMF BK 230 CEE
882860710010
PHI 4000 CMF SL 230 WE
882860910010
PHI 4000 OTC SL 230 WE
882860910220
PHI 4000 OTC SL 230 DE
882860910300
PHI 4000 OTC SL 230 CEE
882861410010
PHI 4000 OTC SL 230 WE
882861410220
PHI 4000 OTC SL 230 DE
Rev. 00 May 2017
Modified
- Service Manual relative only for Philips 4000;
- New layout.
EN 421940000041
2017-JANUARY-XX
OTC
DESCRIPTION
Advertisement
Table of Contents


Need help?
Do you have a question about the 4000 and is the answer not in the manual?
Questions and answers