Advertisement
Quick Links
Advertisement

Subscribe to Our Youtube Channel
Related Manuals for Vivitar VIVCVIR12


Summary of Contents for Vivitar VIVCVIR12
- Page 1 VIVCVIR12 INSTRUCTION MANUAL...
- Page 2 Important Safety Precautions When using your Vivitar Digital Camera Binoculars with Night Vision basic safety precautions should always be followed, including the following: 1. READ ALL INSTRUCTIONS BEFORE USING YOUR CAMERA. 2. Do not use your camera near water. Shut down immediate and remove the battery if it is exposed to water or short circuiting.
- Page 3 Setting Menu (Playback Mode Manual Focus ................ Manual Focus ................ Manual Focus ................ Manual Focus ................ Manual Focus ..................16 -Long-Ran -Long-Ra -Long-R Vivitar Warranty Card ..................... 14 Playback Mode Vivitar War Vivitar War Vivitar War Vivitar War .........
- Page 4 ..........4-5 ..........4-5 ..........4-5 with Night Vision, item VIVCVIR12. You can use your camera to with Night Vision, item VIVCVIR12. You can use your camera to with Night Vision, item VIVCVIR12. You can use your camera to with Night Vision, item VIVCVIR12. You can use you with Night Vision, item VIVCVIR12.
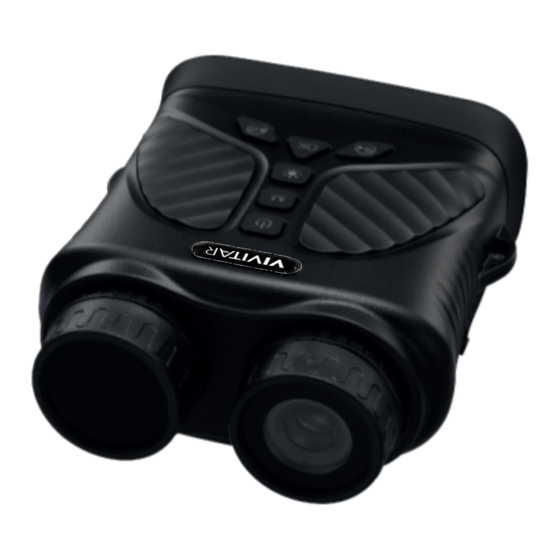
- Page 5 A Quick Look at Your Camera oculars Top View era to Display Screen when Neck Strap loops Right/Zoom- Button Left/Zoom + Button OK Button arkness. IR Light Control Button Menu/Mode Button n 11 Power ON/OFF Button ded). Bottom View Charging Port & Micro SD Slot Focus Wheel IR Light...
- Page 6 Installing the Battery Open the battery compartment located at the bottom of your device. Insert the included lithium battery. Charging Your Device After installing the lithium battery, you will need to charge the device. Open the rubber cover on the side of your device to reveal the charging port and memory card slot.
- Page 7 Button Functions Power Button -Press and hold to power on the camera. -Press and hold to power o the camera. Menu/Mode Button -Press to switch modes. -Press and hold to open the menu. -Press again to exit menu. Zoom Out/Left Button -Press to move selection on menus.
- Page 8 Inserting a Memory Card Before powering on your camera, insert a micro SD memory card into the memory card slot. A micro SD memory card is required in order to store recorded photos and videos. 1. Open the compartment cover located at the side of the camera.
- Page 9 IR-LED Night Vision While your camera is on photo or camera mode in a dark environment, activate the IR-LED night vision light by pressing the IR Up button. There are 3 levels of IR-LED light intensity. To change the IR-LED intensity press the IR-LED button continuously until you reach the desired intensity.
- Page 10 Powering On & Off Powering On Press and hold the Power button to power on your camera. Powering Off Press and hold the Power button to power off your camera. Switching Modes Your camera has three different modes, photo mode, video mode and playback mode.
- Page 11 Accessing Menus After powering on the camera, press the Menu/Mode button to open the settings menu. Each mode has a corresponding menu that is accessed by pressing and holding the Menu/Mode button. To change photo or video settings, the corresponding mode must be running. To open photo settings, photo mode must be on.
- Page 12 Photo Mode/Taking Photos After powering on your camera, photo mode will be on by default. On photo mode, you should see a camera icon at the upper left corner of your display screen Taking a Picture To take a picture, press the OK button. Adjust the Manual Focus to sharpen the lens on photo subject by turning the focus wheel.
- Page 13 Video Mode/Recording Videos After powering on your camera, press the Menu/Mode button to enter video mode. On photo mode, you should see a video icon at the upper left corner of your display screen Recording a Video To start recording, press the OK button. Adjust the Manual Focus to sharpen the lens on photo subject by turning the focus wheel.
- Page 14 Playback Mode To enter playback mode, press the Menu/Mode button until the playback icon is shown at the top left of the screen. Once in playback mode, use the Right and Left buttons to toggle through videos or photos. Press the OK button to play or pause videos. Press the Menu/Mode button to open the Delete Interface.
- Page 15 Connecting to a Computer 1. Connect one end of the included USB-C cable into the USB port on your camera. 2. Connect the other end to an available USB port on your computer. 3. Your camera’s display screen will show 2 options: Memory and Video card onto your computer.
- Page 16 Manual Focus When looking through the display screen on video or photo mode, objects may appear blurry. To sharpen, focus the camera’s lens using the Manual Focus located at the front of the camera. To focus the camera lens, rotate the Manual Focus to the right and to the left until objects appear clearer.
- Page 17 Specifications Battery Built-in Rechargeable Lithium Battery...
- Page 18 FCC Compliance Statement responsible for compliance could void the user’s authority to operate the equipment. This device complies with Part 15 of the FCC Rules. Operation is subject to the following two conditions: (1) this device may not cause harmful interference, and (2) this device must accept any interference received, including interference that may cause undesired operation.
- Page 19 To Obtain Warranty Service and Troubleshooting Information: Call 1-800-592-9541 or visit our website at www.vivitar.com. To receive Warranty service along with the name and address of an authorized product service center, the original consumer purchaser must contact us for problem determination and service procedures.
Need help?
Do you have a question about the VIVCVIR12 and is the answer not in the manual?
Questions and answers