
Related Manuals for eSSL inBIO460


Summary of Contents for eSSL inBIO460
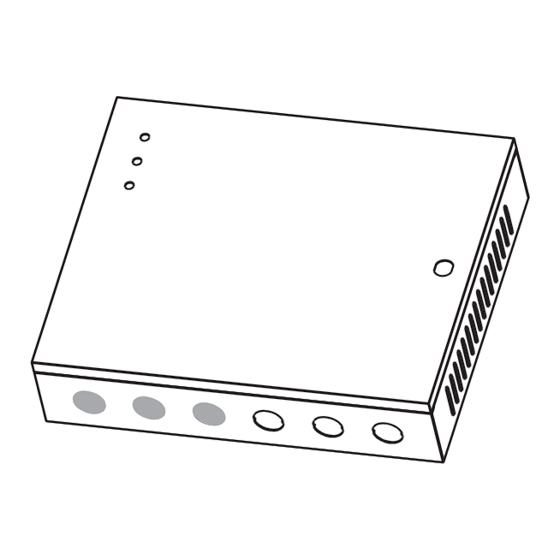
- Page 1 Security at Fingertips Installation Manual inBIO460 Installation Guide v1.3 www.esslsecurity.com...
- Page 2 inB I O 46 0 I nstallation and C onnection G uide Version: 1.3 Date: Jan. 2014 1.Cautions Please note the follo wing cautio ns. Mis-operatio n may lead to personal injury or V alve r egulated lea d-ac id battery : equipment failu re: Constan t voltage charge voltage reg ulati on 1)Do not energize the system before installa tio n is complete;...
- Page 3 3.Installation After the following installation, fix the panel to the track first, and then install other components to original positions. Screws Control Panel Panel Track Thread holes 1) Get through the thread hole 2) Fix the box 3) Install other components 4.LED Indicators and Wire Illustration 1) Meaning of LED indicators: LINK indicator (green): Constant light indicates TCP/IP communication is normal;...
- Page 4 AUX Output (1-4) connect to alarm, door bell and so on; AUX Input (1-4) connect to the infrared human Port (NO, COM, NC) Electrical Parameters: body induction, wireless exit button, windows MAX Voltage: 36V(DC) MAX Current: 1.25A sensor with dry contact (no voltage). AUX Input (1-4) connect way is same.
- Page 5 5.DIP Switch Settings Switches 1-6 are used to set the control panel number in RS485 communication: It is adopted binary coding and little endian, the address number setting by placing these 6 switches as shown in the figure below. Before setting the address , please keep the system powered off.
- Page 6 Stick the screw driver to the rectangular hole on the four corner of the panel back, push it from outside to inside. After hearing the " click" sound, you can remove the case from the panel. The following is “wet mode” lock connection with external power supply . FR107 Enlarged diagram of lock terminals...
- Page 7 8.Equipment Communication The PC software can communicate with the panel according to the communication protocols (RS485 and TCP/IP) for data exchange and remote management. The communication cable should be as far away from high-voltage lines as possible. Do not keep the communication cable in parallel with power cords or bind them together. 1.
- Page 8 #24,Shambavi Building, 23rd Main,Marenahalli, JP Nagar 2nd Phase, Bangalore - 560078 Phone: 91-8026090500 | Email : sales@esslindia.com www.esslsecurity.com...
Need help?
Do you have a question about the inBIO460 and is the answer not in the manual?
Questions and answers