Sign In
Upload
Download
Table of Contents
Contents
Add to my manuals
Delete from my manuals
Share
URL of this page:
HTML Link:
Bookmark this page
Add
Manual will be automatically added to "My Manuals"
Print this page
×
Bookmark added
×
Added to my manuals
Manuals
Brands
NEFF Manuals
Ventilation Hood
I98WMM1Y7B
User manual and installation instructions
NEFF I98WMM1Y7B User Manual And Installation Instructions
Hide thumbs
1
Table Of Contents
2
3
4
5
6
7
8
9
10
11
12
13
14
15
16
17
18
19
20
21
22
23
24
page
of
24
Go
/
24
Contents
Table of Contents
Troubleshooting
Bookmarks
Table of Contents
Table of Contents
Safety
Avoiding Material Damage
Environmental Protection and Saving En- Ergy
Operating Modes
Familiarising Yourself with Your Appliance
Before Using for the First Time
Basic Operation
Home Connect
Hob-Based Hood Control
Cleaning and Servicing
Troubleshooting
Customer Service
Accessories
Declaration of Conformity
Test Information
Installation Instructions
17.3 Secure Installation
Advertisement
Quick Links
Download this manual
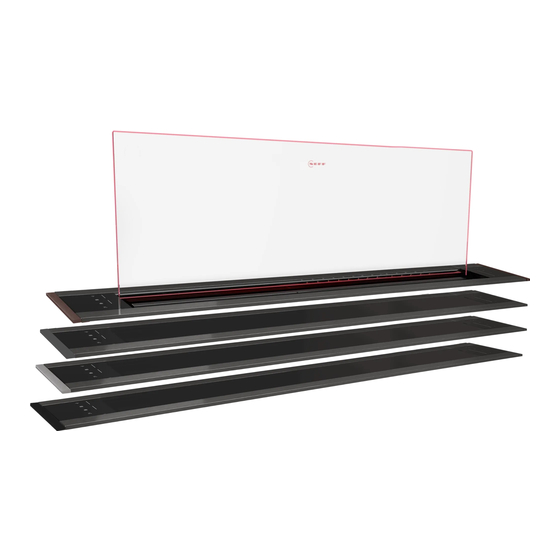
Extractor hood
User manual and installation
instructions
I88WMM1Y7 I98WMM1Y7
I98WMM1Y7B I88WMM1Y7B
Table of
Contents
Previous
Page
Next
Page
1
2
3
4
5
Advertisement
Table of Contents
Need help?
Do you have a question about the I98WMM1Y7B and is the answer not in the manual?
Ask a question
Questions and answers
Related Manuals for NEFF I98WMM1Y7B
Ventilation Hood NEFF I88WMM1S7 User Manual And Installation Instructions
(24 pages)
Ventilation Hood NEFF I98WMM1S7 User Manual And Installation Instructions
(24 pages)
Ventilation Hood NEFF I98WMM1S1B User Manual And Installation Instructions
(24 pages)
Ventilation Hood NEFF I98WMM1S7B User Manual And Installation Instructions
(24 pages)
Ventilation Hood NEFF I99C68N0 Installation Instructions Manual
(8 pages)
Ventilation Hood NEFF I99L59N0 Instruction Manual
(12 pages)
Ventilation Hood NEFF I90CN48W0 Instruction Manual
(12 pages)
Ventilation Hood NEFF I91VT44N0B Instruction Manual
(16 pages)
Ventilation Hood NEFF I99L59N0GB Instructions Manual
Downdraft hood (25 pages)
Ventilation Hood NEFF I95CBS8W0 Series User Manual And Assembly Instructions
Ceiling-mounted ventilation system (24 pages)
Ventilation Hood NEFF D93K56N0 Instructions For Use Manual
(53 pages)
Ventilation Hood NEFF I94CAQ6N0B User Manual And Assembly Instructions
Ceiling-mounted ventilation system (24 pages)
Ventilation Hood NEFF I96BMP5N0 User Manual And Installation Instructions
(16 pages)
Ventilation Hood NEFF I96BMV5N5B Instructions For Installation And Use Manual
(24 pages)
Ventilation Hood NEFF I95BBE2N0 User Manual
(16 pages)
Ventilation Hood NEFF I96BMV5N5 Instructions For Installation And Use Manual
(25 pages)
This manual is also suitable for:
I88wmm1y7b
I88wmm1y7
I98wmm1y7
Table of Contents
Print
Rename the bookmark
Delete bookmark?
Delete from my manuals?
Login
Sign In
OR
Sign in with Facebook
Sign in with Google
Upload manual
Upload from disk
Upload from URL


Need help?
Do you have a question about the I98WMM1Y7B and is the answer not in the manual?
Questions and answers