Table of Contents
Advertisement
Quick Links
Advertisement
Table of Contents

Related Manuals for ESI NEVA DUO


Summary of Contents for ESI NEVA DUO
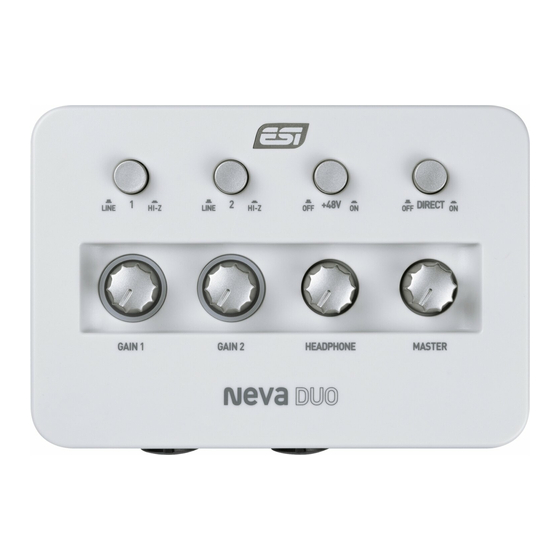
- Page 1 24-bit / 192 kHz USB-C Audio Interface with 2 Microphone Preamps User’s Guide...
- Page 2 ESI - Copyright © 2023 Revision 2, September 2023 www.esi-audio.com...
-
Page 3: Table Of Contents
Neva Duo INDEX 1. Introduction ..........................4 1.1 Connectors & Functions ............................4 2. Installation ............................ 5 2.1 System Recommendation ............................. 5 2.2 Hardware Installation ............................5 2.3 Driver & Software Installation ..........................5 2.3.1 Installation under Windows ..........................6 2.3.2 Installation under OS X / macOS ........................ -
Page 4: Introduction
3 Camera Connector). This stylish audio interface is so small, it will instantly become your new companion on the go and in your studio. Neva Duo is USB bus powered and Plug & Play, just plug it in and start working. While Neva Duo is a USB-C device and optimized for USB 3.1 operation, it is also compatible with standard USB 2.0 ports. -
Page 5: Installation
("type A"), a cable is included. For "type C" a different cable or an adapter is needed (not included). Connect one end of the USB cable with Neva Duo and the other one to the USB port of your computer. -
Page 6: Installation Under Windows
Neva Duo You can always find the latest drivers and software for both Mac and PC for your Neva Duo by going to this page in your web browser: >>> http://en.esi.ms/119 <<< 2.3.1 Installation under Windows The following explains how to install Neva Duo under Windows 10. If you use Windows 11, the steps are basically the same. -
Page 7: Installation Under Os X / Macos
The control panel gets installed by double clicking on the .dmg file and then you will get the following window in Finder: To install the Neva Duo Panel, click and drag it with your mouse to the left to Applications. This will install it into your Applications folder. -
Page 8: Windows Control Panel
Sample rate there as well (as long as no audio is being played back or recorded). As Neva Duo is a digital audio interface, all applications and audio data will be processed with the same sample rate at a given time. The hardware natively supports rates between 44.1 kHz and 192 kHz. -
Page 9: Latency And Buffer Settings
Via Config > Latency in the Control Panel it is possible to change the latency setting (also called “buffer size”) for the driver of Neva Duo. A smaller latency is the result of a smaller buffer size and value. Depending on the typical application (e.g. for playback of software synthesizers) a smaller buffer with a smaller latency is an advantage. - Page 10 Neva Duo This dialog allows you to virtually connect playback (output) channels and input channels with virtual cables on the screen. The three main columns are labeled INPUT (the physical hardware input channel), WDM/MME (the playback/output and input signals from audio software that use the Microsoft MME and WDM driver standard) and ASIO (the playback/output and input signals from audio software that uses the ASIO driver standard).
-
Page 11: Directwire Loopback
Neva Duo 3.3 DirectWIRE Loopback Neva Duo also provides a feature we call DirectWIRE Loopback, a quick, simple and efficient solution to record or stream playback signals, no matter what audio applications you are using. To open the related dialog, select the DirectWIRE > Loopback entry via the top menu of the control panel software and the following window appears, showing the option to loop back signals from the virtual playback channel 3 and 4 or from the hardware playback channel 1 and 2. - Page 12 In order to hear the system sounds and to hear sounds from standard applications such as your web browser or a media player via Neva Duo, you need to select it as the default device in your operating system by clicking on it and then click Set Default.
-
Page 13: Os X / Macos Control Panel
This chapter describes the Neva Duo Control Panel and its functions on the Mac. Under OS X / macOS, you can find a Neva Duo icon in the Applications folder. Double click on this to launch the control panel software and the following dialog will appear: The File menu provides an option called Always on Top that makes sure the Control Panel stays visible even when working in other software and you can launch the macOS Audio Settings there. -
Page 14: Latency And Buffer Settings
If you are unsure, check the manual of the audio software you are using. 4.2 DirectWIRE Loopback Neva Duo also provides a feature we call DirectWIRE Loopback, a quick, simple and efficient solution to record or stream playback signals, no matter what audio applications you are using. -
Page 15: Specifications
Neva Duo 5. Specifications USB 3.1 audio interface with USB-C connector, USB 2.0 compatible ("type A" to "type C" cable included, "type C" to "type C" cable not included) USB bus powered 2 input / 2 output channels at 24-bit / 192kHz... -
Page 16: General Information
We love to hear from you so we can improve our products! Trademarks ESI, Neva and Neva Duo are trademarks of ESI Audiotechnik GmbH. Windows is a trademark of Microsoft Corporation. Other product and brand names are trademarks or registered trademarks of their respective companies.
Need help?
Do you have a question about the NEVA DUO and is the answer not in the manual?
Questions and answers