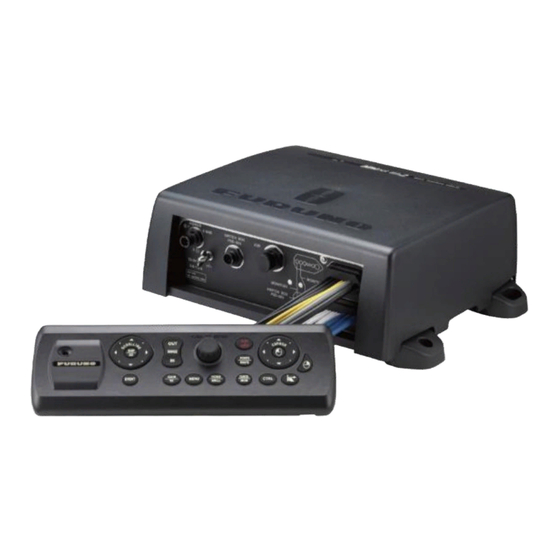
Furuno TZT2BB Quick Start Manual
Brilliance control of mu touch monitor
Hide thumbs
Also See for TZT2BB:
- Installation manual (69 pages) ,
- Instructions manual (28 pages) ,
- Operator's manual (367 pages)
Advertisement
TZT2BB Brilliance Control of MU Touch Monitor
1.
1.1. About the Feature ........................................................................................................... 1
1.2. Connection ..................................................................................................................... 2
1.3. Initial Setup .................................................................................................................... 3
2.
2.1. Make sure proper IP address is selected on TZT2BB. ..................................................... 5
2.2. Cycle all System Power including the Power Source of HUBs. ........................................ 5
11/09/2023
Furuno USA, Inc.
Advertisement
Table of Contents

Related Manuals for Furuno TZT2BB


Summary of Contents for Furuno TZT2BB
- Page 1 1.1. About the Feature ......................1 1.2. Connection ........................2 1.3. Initial Setup ........................3 Troubleshoot 2.1. Make sure proper IP address is selected on TZT2BB............5 2.2. Cycle all System Power including the Power Source of HUBs......... 5...
- Page 2 1. INSTRUCTION 1.1. About this Feature The Monitor Brilliance will be controlled with the brilliance bar on the TZT2BB via Ethernet. It can be adjusted by repeatedly pressing the power key or dragging the brilliance bar icon in the quick access menu. Centralized control of the brilliance for all NAVnet TZtouch2, TZtouch3 and MU Touch Monitors connected to a TZT2BB can be achieved when activating the Brilliance Synchronization feature between MFDs.
- Page 3 11/09/2023 Furuno USA, Inc. 1.2. Connection The TZT2BB can connect to MU touch Monitors using Ethernet. This can be done by directly connecting to the TZT2BB internal Hub or through a HUB101 or similar switch. Hatteland Monitor Hatteland Monitor MPU-004...
- Page 4 3) Select “Communication” and change the setting to “IP address, Fixed IP”. 4) Change the IP address to one of the IP addresses compatible with the TZT2BB. (IP address Range: 172.31.26.190 – 199) 5) Repeat the same process at the secondary monitor but you must use a different IP address from primary monitor, continue as needed for additional TZT2BBs with MU touch monitors.
- Page 5 1.3.2. Select proper IP address of “Set External Monitor IP Address” on TZT2BB. 1) Open “Set Ext. Monitor IP address” found under Initial Setup 2) Select the proper IP address on TZT2BB to match the one that was assigned to the monitor.
- Page 6 2. TROUBLESHOOT 2.1. Make sure proper IP address is selected on TZT2BB. The IP address of the setting on the TZT2BB must be same as the connected monitor’s IP address. 2.2. Cycle all System Power including that for any network HUBs.
Need help?
Do you have a question about the TZT2BB and is the answer not in the manual?
Questions and answers