
Related Manuals for Mimosa SIGNATURE EDEN


Summary of Contents for Mimosa SIGNATURE EDEN
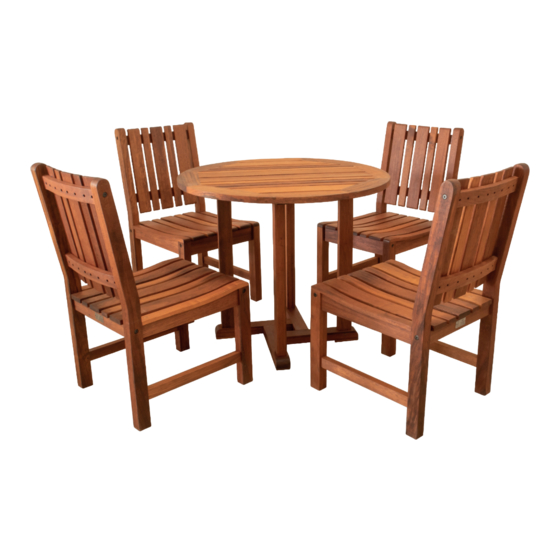
- Page 1 ASSEMBLY INSTRUCTIONS Y E A R Pre-Bled to Minimise Tannin Leaching Natural Oil Finish Table - 89.5W x 89.5D x 75H CM Chairs - 46W x 59.2D x 89H CM Max. Weight Capacity: 110kg per Seat...
-
Page 2: Section 1 - Chairs
SECTION 1 - CHAIRS CAUTION! This product weighs 17.9kg. PARTS LIST Assembly requires 2 people to avoid injury. Timber Components Hardware Allen Key... - Page 3 SECTION 1 - CHAIRS SECTION 1 - CHAIRS ASSEMBLY INSTRUCTIONS ASSEMBLY INSTRUCTIONS Step 1 Step 1 Step 2 Step 2 Place Component A flat on the ground and insert Place Component A flat on the ground and insert Slot Component B onto the relevant inserts of Slot Component B onto the relevant inserts of Component C and Component D into the relevant Component C and Component D into the relevant...
- Page 4 SECTION 1 - CHAIRS ASSEMBLY INSTRUCTIONS Step 5 Flip the chair to its upright position and tighten all screws. Repeat for the remaining chairs. IMPORTANT SAFETY INFORMATION Furniture should not be dragged at any time. As an added precaution we strongly recommend you choose to tighten any loose fittings and joints after an initial period of use of around 3-6 months.
-
Page 5: Section 2 - Table
SECTION 2 - TABLE CAUTION! This product weighs 21.4kg. PARTS LIST Assembly requires 2 people to avoid injury. Timber Components & Hardware Not Supplied Hammer or Mallet... - Page 6 SECTION 2 - TABLE ASSEMBLY INSTRUCTIONS Step 1 Step 2 Place Component A flat on the ground (underneath Using a hammer or mallet (not supplied) gently tap the facing up) and insert 4 x Component B into the 8 x M1 Metal Dowels into the available holes until the relevant slotsand slot Component C onto the 4 x have reached the other side of the opening.
Need help?
Do you have a question about the SIGNATURE EDEN and is the answer not in the manual?
Questions and answers