Advertisement
Quick Links
Advertisement

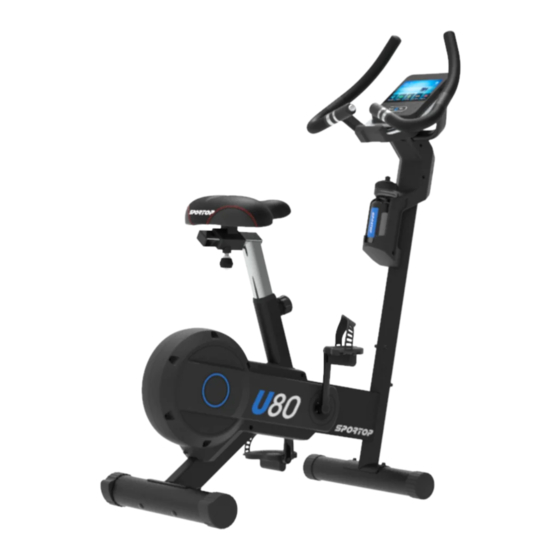
Summary of Contents for Sportop U80
- Page 1 MODEL : Owner’s Operating Manual ENGLISH...
- Page 4 Handle bar Main frame Console Central supporting Rear stabilizer Saddle tube Front stabilizer Left pedal (K1) & Right pedal (K2) Water bottle Adaptor Knob Tool 6m/m 4m/m Saddle tube & Saddle basement...
- Page 5 FIGURE 1 : Rear Stabilizer Assembly Step 1. Remove the preassembled nut (J1), spring washers (J2), and washers (J3) from the rear stabilizer (C). Step 2. Attach the rear stabilizer (C) to the main frame (A) with nut (J1), spring washers (J2), and washers (J3).
- Page 6 FIGURE 3 : Central Supporting Tube Assembly Note: Additional assistance may be needed to help connect sensor wire and to stabilize central supporting tube (B). Step 1. First, remove the screws(J4), spring washers (J12) and washers(J5) from the main frame (A). Step 2.
- Page 7 FIGURE 5 : Console Assembly Step 1. Remove four screws (G1) on the back of the console (G). Step 2. Connect cable (M2, M4, M5) and the handle pulse sensor wires (M3) to the console (G). The handle pulse sensor wires (M3) can be interchangeable. Step 3.
- Page 8 FIGURE 8 : Saddle & Seat Tube Assembly Step 1. Remove nuts (H1) and washes (H2) on the back of the saddle (H). Step 2. Position seat (H) onto the seat basement (F2) and tighten it using nuts (H1) and washes (H2).
- Page 9 FIGURE 9 : Pedal Assembly Note: Locate the left & right pedals. There is a Left and Right mark on each pedal and each pedal strap to distinguishing them. Step 1. Tighten the left pedal (K1) counter-clockwise to left crank arm and the right pedal (K2) clockwise to right crank arm.
-
Page 10: Maintenance
Maintenance instruc ons Read all maintenance instruc ons fully before you start any repair work. In some condi ons, an assistant is required to do the necessary tasks. Equipment must be regularly examined for damage and repairs. The owner is responsible to make sure that regular maintenance is done. - Page 11 Connec on should be secure and undamaged. Replace adapter or connec on at unit if either are damaged. Check data cable integrity All wires in cable should be intact. If any are visibly crimped or cut, replace cable. ...
- Page 15 exit WIFI select WIFI ON / OFF updates image 4 volume LANGUAGE screen brightness metric switching...
- Page 19 image image...
- Page 25 will show...


Need help?
Do you have a question about the U80 and is the answer not in the manual?
Questions and answers