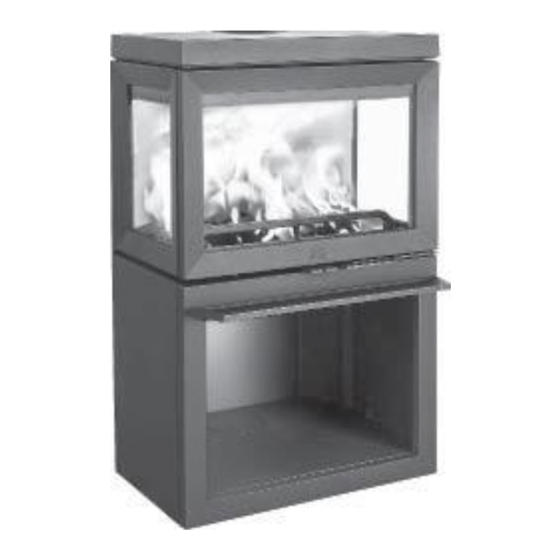
Jøtul F520 Installation & Operating Instructions Manual
Hide thumbs
Also See for F520:
- Installation and operating instructions manual (18 pages) ,
- Installation and operating instructions manual (68 pages)

Subscribe to Our Youtube Channel
Related Manuals for Jøtul F520


Summary of Contents for Jøtul F520
- Page 1 Jøtul F520 Installation & Operating Instructions Keep these instructions for future reference...
-
Page 2: Table Of Contents
Installation ................ 2 THE INSTALLATION INSTRUCTIONS IN THIS MANUAL 1.1. Technical data ............3 APPLY TO THE JØTUL F520 WOOD HEATER MODEL. 1.2. Floor Protector ............3 IT HAS BEEN TESTED FOR EMISSIONS AND EFFICIENCY AND COMPLY ACCORDING TO AS/NZS 4012:2014 &... -
Page 3: Technical Data
1.1. Technical data 1.3. Positioning the heater Technical data according to AS/NZS 4012 & 4013 First, review the necessary clearances to combustible surfaces (mm) specified in the table and drawings below before Max average heat output: 11.4 kW considering where to position the heater. The clearances are Overall average efficiency: only valid if one of the flue shield options are used from section ‘Installing the Flue’. -
Page 4: Installing The Flue
1.4. Installing the flue The flue system used when installing the heater MUST comply with the current installation standard AS/NZS 2918. Full instructions on the installation of the flue will be supplied with the flue kit. These MUST be followed closely, including the minimum exit height from the top of the floor protector being not less than 4.6m, and the minimum exit height above the roof line of roof ridge as detailed in the instructions. -
Page 5: Fitting The Flue Pipe
Always check the control handles once the product has been assembled. These should move easily and work in a satisfactory manner. The Jøtul F520 is equipped with the following operating options: Pull out the ignition vent (A) the air vent (B) automatically... -
Page 6: Operating
2.2. Using the fireplace for the first time 2. Operating WARNING: ANY MODIFICATION OF THE APPLIANCE THAT When the fireplace is used for the first time, it may emit an HAS NOT BEEN APPROVED IN WRITING BY THE TESTING irritating gas as the paint dries. The gas is non-toxic, but the AUTHORITY IS CONSIDERED AS BREACHING AS/NZS 4013. -
Page 7: Initial Lighting
2.4. Initial lighting 2.6. Danger of overheating 1) Open the air vent and ignition vent by pulling the handles The fireplace must never be used in a manner that causes all the way out. overheating. Overheating occurs when there is too much fuel and/or too much air so that too much heat develops. -
Page 8: Maintenance
2) With the baffle and Exhaust Deflector removed, tie a rope 3. Maintenance to one end of the brush, and drop the rope down the flue (from outside on top of the roof). 3.1. Cleaning the glass 3) Grab the end of the rope from inside the firebox and pull the brush down through the flue. -
Page 9: Servicing
3) Turn one corner towards you and pull it out sideways. 4. Servicing Warning! Any unauthorised changes to the product are illegal! Only original spare parts may be used! 4.1. Replacing parts in the burn chamber NB: Use tools with great care! The vermiculite plates may be damaged if treated roughly. -
Page 10: Replacing The Air Duct And Inner Bottom
5) Lower the exhaust deflector and lift it out. 2) Take hold of the hole (B) at the front edge of the inner bottom (A) and lift it up. 6) When refitting, follow the same procedure in reverse order. 3) Turn one corner towards you and pull the inner bottom out. -
Page 11: Troubleshooting
5. Troubleshooting 7. Dimensions 5.1. Poor draught Check the length of the chimney and that it complies with national laws and regulations. Make sure that there is not anything preventing the smoke gasses from escaping: branches, trees, etc. Upon suspicion of excessive/poor draught in the chimney, seek professional help for measurement and adjustment.
Need help?
Do you have a question about the F520 and is the answer not in the manual?
Questions and answers