COMER CX418 HD - Logistics Thermal Label Printer Manual
- User manual (21 pages)
Advertisement
Warm Tips
The K COMER team researched CX418 in 2020 and it is widely welcomed. In order to enhance the customer's sense of use, we have recently developed a new upgraded item-CX418HD, with high-definition version 300dpi, small text printing with clear performance, stable printing speed, 127mm/s, has a high precision Japanese print head, Increases the wear resistance of the head, more stable and durable. Environmentally friendly without ink or ink cartridge. Pls read the following User guide carefully, Operate with an incorrect way may damage to the printer.
There are video guide and drivers in the attached USB flash drive. Please view the files in the u-disk to download the driver, or download the latest driver in our website: https://www.kcomer.com/
If you have any questions or technical failures during the installation, please contact our technician at any time:
Email: service1@kcomer.com
Skype: service@kcomer.com
Product introduction
Package contents Standard Accessories

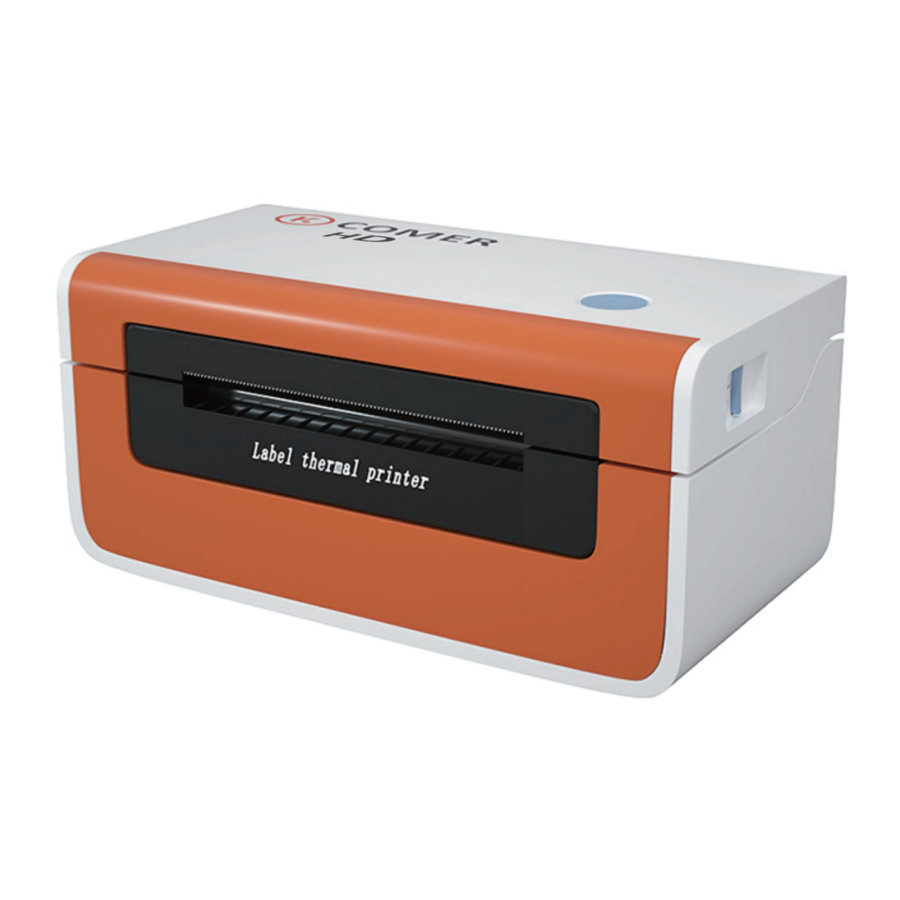
Appearance and Components

Quick Printer Installation
Cable Connection

- Confirm the printer is Power-off (0);
- Connect the power line to the printer;
- Connect the other end of Power line to the socket;
USB Connection

- Confirm the printer is Power-off (0);
- Connect the USB B-Type line to the printer
- Connect the other end of the USB B-Type line to the pc mainframe;
- Turn on the printer power to be Power- on (I)
Consumables Installation
- Face the back of the printer, hole down the paper guide with both hands to adjust the guide space according to the paper size;
![]()
- Insert the thermal paper into the paper guide;
![]()
- Feed the thermal label into the paper channel slowly, and the paper will automatically absorb by detector
![]()


Outside-scroll Installation

- Make sure the thermal label paper is in place, the machine can automatically absorb the paper into a small part
- The hook of the external paper roll holder needs to be aligned with the hook of the bottom of the printer
Paper Jam
- Facing the front of the printer, move the opening button forward with both hands at the same time to open the top cover
![]()
- Lift the top cover upwards
![]()
- After pulling the jammed paper out of the paper path, replace it with new paper and discard the wrinkled paper
![]()
- After the jammed paper is pulled out, normal media installation can be performed
![]()


Driver Installation & Print Test
Note:
- Please download the driver from website ( https://kcomer.com ) or u-disk.
- The driver file is safe, please rest assured to install.
- There are detailed guide and video for your reference, if you still have problems or questions, please contact us for help, Email: service1@kcomer.com
 Windows
- Please connect the printer to computer and ensure the printer on, download the Windows driver and run it.
For security reasons, the driver file is placed within zip file. Please use unzip tool to unzip the driver As the pic shows


- Find the driver and prompt to install.

- Installed successfully.

- After installation, place direct thermal label, then start to print a test page and set print parameter.


- Find the installed printer. Click Setting - Devices - Printer and Scanners for Windows 10 (as the pic shows), or click Control Panel - Devices and Printers for Windows 7.

- Click "print a test page" and the test page will show the detailed information of the printer. Click "Printer Properties" to set print density, print speed and so on.


 MAC
MAC
- Please connect the printer to computer and ensure the printer on, download the Windows driver from website or u-disk.

- Note: If there is a error "the pkg file can't be opened because it is from unidentified developer" when installing the MAC driver, please allow the macOS to finish the installation


- Go to the "Security & Privacy", to allow the driver open (As the picture shows).

- Continue to install the driver.


- Please confirm the CX418 HD printer already installed.


Next how to find the Installed printer in your Mac?
- Pls find the installed printer driver in the launchpad of your Mac.


- Pls click the system preference.

- Select Printer and Scanners, Add the printer drive;


- If the page display your printer information, the installation succeeds.


- Set the print size according to your needs.


Button "FEED" Instruction
| Printer Status | Operation of FEED | Function |
| standby | Press | Feed in a blank paper automatically |
| standby | Long press the blue light flashes twice | Enter into the learn mode of cover sheet |
| Power on | Long press the blue light | Print out self test page |
| Continuous printing | Press | Print pause |
| Print pause | Press | Resume Printing |
Indicator Light Instruction
| Indicator Light Status | Printer Status |
| Blue light on | Printer standby |
| Purple light on | Printer head overheated |
| Red light on | Upper cover problem |
| Red light flash slowly | Lack paper |
| Red light flash quickly | Label learn mode problem |
| Yellow light flash slowly | Paper jam/Paper detection problem |
| Green light on | On printing |
| Green light flash slowly | Print pause |
The printer uses Tips
Note:
- To ensure the optimal print quality, please use the original factory power adapter.
- Please avoid to use the poor quality label which wear the printer and cause damage to the printer.
- Please clean the print head regularly to ensure the high-quality print effect.
- When replacing the label specification (including the label thickness, size and quality), please do "Automatic label identification".
- If the label quality is good and printer head has been cleaned, print effect still can't meet the requirement, please adjust the print density, the range from 0 to 15 levels.
- The printer has paper absorption function, please load label directly from the paper inlet. If open the cover to place the label, the label should be over the paper outlet a little (length less than one label) to avoid waste.
Printer Data Sheet
| Brand | Comer |
| Method | Direct Thermal |
| Resolution | 300 DPI |
| Max Printing Speed | 127 mm/s |
| Connection | USB |
| Printing Width | 50 -108 mm |
| Paper Width | 50 -118 mm |
| Power Adapter | 1.5A |
For any questions or suggestions, please email to service1@kcomer.com For any further information, please visit our website: https://comer-us.com

Documents / Resources
References
![www.kcomer.com]() Thermal Label Printer | Shipping Label |Facilitate Small Home Business – comer store
Thermal Label Printer | Shipping Label |Facilitate Small Home Business – comer store![comer-us.com]() Thermal Label Printer | Shipping Label |Facilitate Small Home Business – comer store
Thermal Label Printer | Shipping Label |Facilitate Small Home Business – comer store
Download manual
Here you can download full pdf version of manual, it may contain additional safety instructions, warranty information, FCC rules, etc.
Download COMER CX418 HD - Logistics Thermal Label Printer Manual
Advertisement


Need help?
Do you have a question about the CX418 HD and is the answer not in the manual?
Questions and answers