Advertisement
Warm Tips
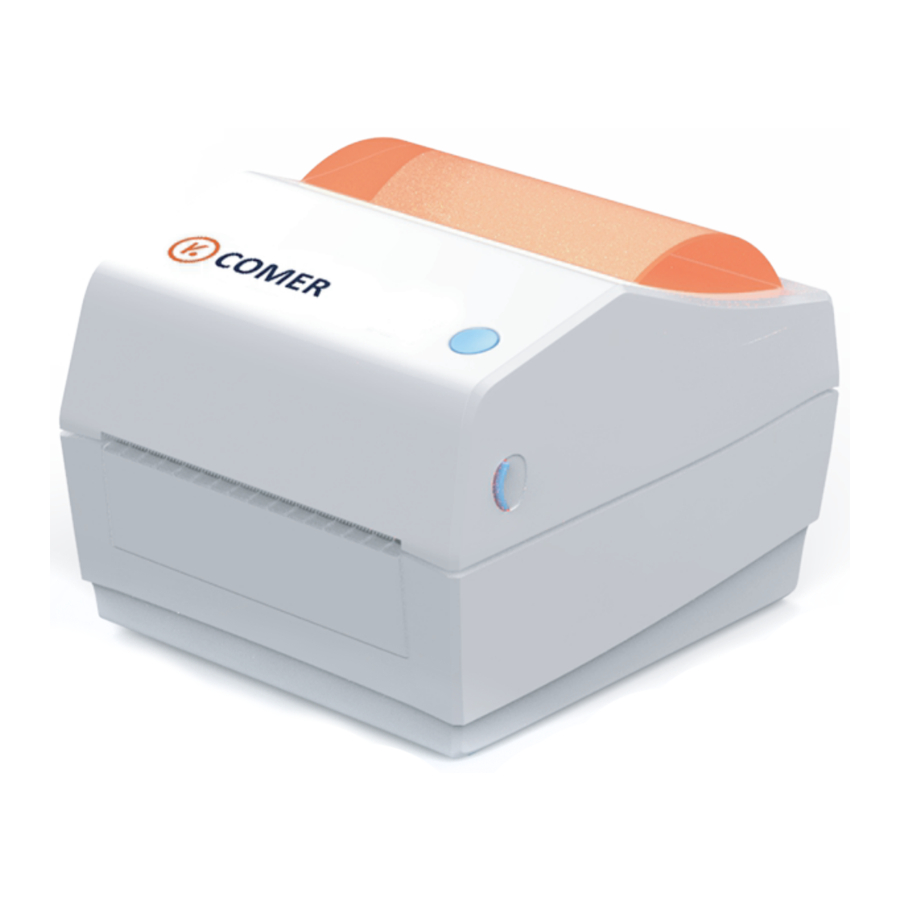
Our new item RE418 with retro style and good quality, can works with any thermal direct label including express waybill, logistics labels, commodity price tags, barcode and so on. Help save time and money on label cost. For the convenience of using the printer, please read the following user guide carefully. Operate with an incorrect way may damage to the printer.
There are video guide and drivers in the attached USB flash drive. Please view the files in the u-disk to download the driver, or download the latest driver in our website: https://www.kcomer.com/. If you have any questions or technical failures during the installation, please contact our technician at any time:
Email: servicel@kcomer.com
Skype: servicel@kcomer.com
Package contents
Standard Accessories

The pictures are for reference only, please subject to practicality
Appearance and Components
Front View

Rear View

Inner View

Quick Printer Installation
Power Connection

- Confirm the printer is Power-off (0);
- Connect the adapter to the printer;
- Connect the adapter to one end of the power line;
- Connect the other end of Power line to the socket.
USB Connection

- Connect USB to the printer;
- Connect USB to the PC mainframe;
- Turn on the printer power to be Power- on (l).
Consumables Installation
- Open fixing seat, put in paper roll with printed face above.
![]()
- Make paper front through paper guide, pull paper exceed rubber roller, adjust paper guide to fix the paper according to the paper width.

- Close printer cover, press down to hear "ka" to lock
![]()


Outside-scroll Installation
- Make paper front through paper-feeding slot on the back of printer, confirm the printed face on above.
![]()
- Open fixing seat, push up the L seat to lock.

- Make paper front through paper guide, pull paper exceed rubber roller, adjust paper guide to fix the paper according to the paper width.

- Close printer cover, press down to hear "ka"to lock.
![]()


Driver Installation & Print Test
Note:
- Please download the driver from website(https://kcomer.com) or u-disk.
- The driver file is safe, please rest assured to install.
- There are detailed guide and video for your reference, if you still have problems or questions, please contact us for help, Email: servicel@kcomer.com

- Please connect the printer to computer and ensure the printer on, download the Windows driver and run it.
For safety and file size considerations, the driver file is placed within zip file in the website. Please use unzip tool to unzip the driver (As the pic shows)

- Find the driver and prompt to install.

- Installed successfully.

- After installation, place direct thermal label, then start to print a test page and set print parameter.

- Find the installed printer(RE418). Click (Setting) - (Devices) - (Printer and Scanners) for Windows 10 (as the pic shows), or click (Control Panel - (Devices and Printers) for Windows 7.

- Click "print a test page" and the test page will show the detailed information of the printer. Click "Printer Properties" to set print density, print speed and so on.


- Please connect the printer to computer and ensure the printer on, download the Windows driver from website or u-disk.

- Note: If there is a error "the pkg file can't be opened because it is from unidentified developer" when installing the MAC driver, please allow the macOS to finish the installation:

- Go to the "Security & Privacy", to allow the driver open (As the picture shows)

- Continue to install the driver.


Next how to find the RE418 printer in your Mac?
- Please find the installed printer driver in the launchpad of your Mac.

- Please click the system preference.

- Select (Setting&Scanners)

- Add the RE 418 printer.

- If the pages display your printer information, the installation succeeds.

- Set the print size according to your needs.


Button "FEED" Instruction
| Printer Status | Operation of FEED | Function |
| Standby | Press | Feed in a blank paper automatically |
| Standby | Press(3 seconds) | Enter into the learn mode of cover sheet |
| Power off | Hold (release after power on) | Print out self test page |
| Open the cover | Press 10 seconds | Factory Reset |
| Continuous printing Print | Press | Print pause |
| Print pause | Press | Resume Printing |
Indicator Light Instruction
| Indicator Light Status | Printer Status | |
| Indicator Light ON | Standby | |
| Indicator Light Flashing | Buzzer Warning | |
| Buzzer Warning | Twice | Movement error |
| Three times | Lack paper error | |
| Five times | Overheating | |
| Six times | Uncover error | |
| Seven times | Seam standard error | |
The printer uses Tips
Note:
- To ensure the optimal print quality, please use the original factory power adapter.
- Please avoid to use the poor quality label which wear the printer and cause damage to the printer.
- Please clean the print head regularly to ensure the high-quality print effect.
- When replacing the label specification (including the label thickness, size and quality), please do "Automatic label identification".
- If the label quality is good and printer head has been cleaned, print effect still can't meet the requirement, please adjust the print density, the range from 0 to 15 levels.
- The printer has paper absorption function, please load label directly from the paper inlet. If open the cover to place the label, the label should be over the paper outlet a little (length less than one label) to avoid waste.
Printer Data Sheet
| Brand | Comer |
| Method | Direct Thermal |
| Resolution | 203 dpi |
| Max Printing Speed | 150 mm/s |
| Interface | USB |
| Printing Width | 104mm |
| Paper Width | 48-108 mm |
| Power Adapter | 24 V / 2A |

Documents / Resources
References
Download manual
Here you can download full pdf version of manual, it may contain additional safety instructions, warranty information, FCC rules, etc.
Download COMER RE418 - Logistics Thermal Label Printer Manual
Advertisement


Need help?
Do you have a question about the RE418 and is the answer not in the manual?
Questions and answers