
Related Manuals for EGOFIT ComfortDeck M2


Summary of Contents for EGOFIT ComfortDeck M2
- Page 1 Manual Owners For safe use and product knowledge, please info@egofitwalker.com V.1.0 completely read this Product OWNERS MANUAL. www.egofitwalker.com...
-
Page 2: Table Of Contents
Assembly Steps 13-14 Operate Desktop console The Egofit Home series of cardio equipment is designed for more than Console power buttons 60% consumers who say they prefer to exercise in the comfort and privacy of their own homes. Each Home series product is designed and... -
Page 3: Specification
Limited Home Use Warranty Specifications The Egofit M2 and M2T Treadmills come with the 1 year limited warranty, which applies only for the use of the Treadmill in the home, for residential, non-commercial purposes. Display Workout Time, Calories, Workout Time, Calories,... -
Page 4: Important Safety Precautions
• Use this exercise product for its intended use as described in this Owner's pulled from the display, stopping the treadmill, in case of an emergency. Manual. Do not use attachments that are not recommended by Egofit. • Do not leave your treadmill running while not in use. -
Page 5: Accessories List
Buttons on Remote Control Accessories list Start: In standby or paused status, press this button to start the treadmill. Stop: in the running status, press this button to stop the treadmill Speed Up Speed Down Installing the Battery for Remote Control RF Remote Controller X 1 Allen Wrench 5mm X 1 Lubricant Oil X 2... -
Page 6: Remote Control Match Instructions
Remote Control Match Instructions Starting an Exercise Program Noted: Before you begin an exercise program or substantially increase your level of The remote control comes pre-matched as a factory default, so you can activity, be sure to consult your primary care physician, In preparation for a usually use it immediately after unboxing. -
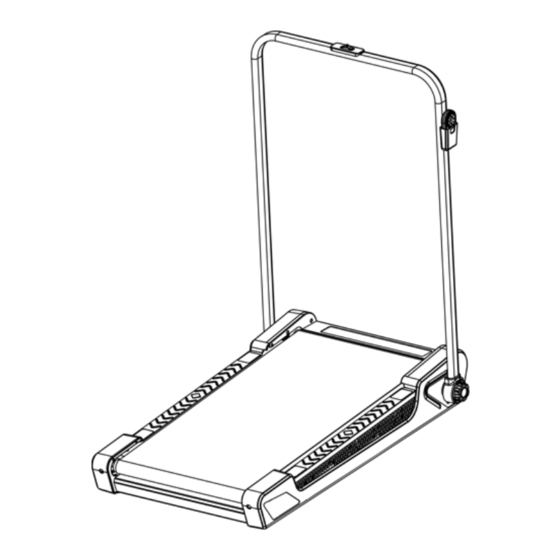
Page 7: Assembly Steps
Assembly Steps At Egofit we strive to make our equipment easy to assemble and start using. The M2 model treadmill come completely assembled in the box and are C. Turn the black round cap clockwise to ready to operate immediately. -
Page 8: Operate Desktop Console
Operate Desktop Console (Sold Separately) Console Power Buttons After assembling the Treadmill, roll it to the desired location. Plug the 1. Start/Stop: In standby or paused status, press this button to start the console connector into the connector coming from the front bottom of treadmill, In the running status, press this button to stop the treadmill. -
Page 9: Starting The Treadmill From Desktop Console
One ounce of silicone should be Press the Start button to start the treadmill belt. The console will start used for each application. Egofit offers 100% silicone lubricant that can be counting up from 0:00. -
Page 10: Belt Alignment
Troubleshooting PROBLEM POSSIBLE CAUSE CHECKING CORRECTION The console cables are not Connect the console cables Abnormal connected well. properly. communication between the lower No signal output from the Change the console. controller and the console. console after powering No signal output from the Change the lower controller. -
Page 11: Faqs
FAQs Q: Just bought a new treadmill. Should I be concerned about the line on the running belt? A: This is Seal line, The process of joining the belt to itself leaves a visible "seal line", indicating where the belt has been joined together. this line are a perfectly normal part of treadmills, All treadmills have something similar and are not a cause for concern, they will not impede the function of the treadmill.
Need help?
Do you have a question about the ComfortDeck M2 and is the answer not in the manual?
Questions and answers