Craftsman 486.248531 Owner's Manual
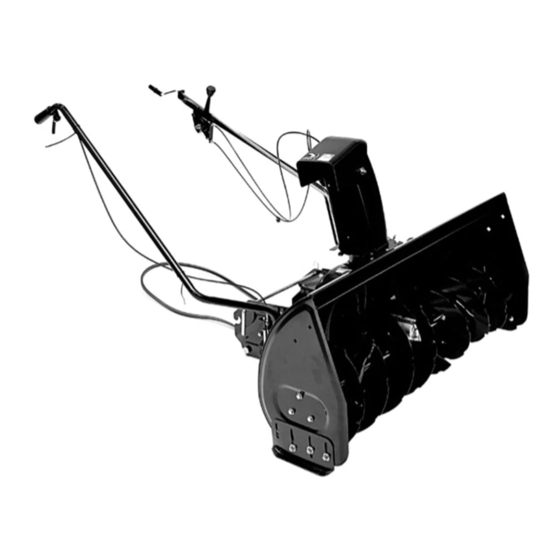
42"- 2 stage snow thrower tractor attachment
Hide thumbs
Also See for 486.248531:
- Owner's manual (28 pages) ,
- Owner's manual (28 pages) ,
- Owner's manual (28 pages)

Subscribe to Our Youtube Channel
Related Manuals for Craftsman 486.248531


Summary of Contents for Craftsman 486.248531
- Page 1 Owner's Manual 42"- 2 STAGE SNOW THROWER TRACTOR ATTACHMENT Model No. 486.248531 CAUTION: IMPORTANT - READ THIS FIRST!!! • • • • •...
-
Page 2: Warranty
TABLE OF CONTENTS WARRANTY LIMITED ONE YEAR WARRANTY ON 42" 2-STAGE SNOW THROWER ACCESSORIES AND ATTACHMENTS TIRE CHAINS DRIFT CUTTER BARS WHEEL WEIGHT KIT NO. 71-88294... - Page 3 • • • • • • • • • • • • • • • • • • Become alert!! Your safety is involved. SAFETY • • • • • • • • • • • • • • • Attention!!
-
Page 4: Hardware Package Contents
HARDWARE PACKAGE CONTENTS SPARE PARTS BAG Store these two bolts and nuts in a safe place until needed. (See page 17.) REF. QTY. DESCRIPTION SHOWN ACTUAL SIZE NOT SHOWN ACTUAL SIZE REF. QTY. DESCRIPTION... -
Page 5: Carton Contents
ASSEMBLY CARTON CONTENTS... - Page 6 TOOLS REQUIRED FOR ASSEMBLY REMOVAL OF PARTS FROM CARTON • NOTE: CAUTION TRACTOR PREPARATION • • • • ITEMS REMOVED FROM TRACTOR INSTALLING SIDE PLATES ON TRACTOR TRACTORS WITH FRAME MOUNTED FRONT SUSPENSION BRACKETS • • REMOVE NUT & WASHER AND LEAVE BOLT (IF PRESENT) THESE HOLES MUST BE EMPTY...
- Page 7 • • 3/8" SHOULDER BOLT FIGURE 3 TRACTORS WITH AXLE MOUNTED FRONT SUSPENSION BRACKETS • THESE HOLES MUST BE EMPTY FIGURE 4 • NOTE: 3/8" HEX LOCK NUT 3/8" LOCK WASHER R. H. SIDE PLATE RIGHT SIDE VIEW FIGURE 5 •...
- Page 8 INSTALLING HANGER BRACKETS On Tractors With Foot Rest Brackets • • BOLT REMOVED FROM THIS HOLE 3/8" x 1" L.H. HANGER CARRIAGE BRACKET BOLT FIGURE 7 On Tractors Without Foot Rest Brackets • 3/8" LOCK WASHER SUSPENSION ARM 3/8" x 1" L.H.
- Page 9 INSTALLING CLUTCH/IDLER ASSEMBLY • TENSIONING CHAIN FIGURE 11 • • • SPRING 5TH LINK 3/8" HEX LOCK NUT RIGHT SIDE FIGURE 12 • USE THIS HOLE FIGURE 13 • IMPORTANT: Do Not • CHAIN (L.H. SIDE) Hold this drawing above you while viewing the Clutch/Idler Assembly from underneath the tractor.
- Page 10 ASSEMBLY OF THE SNOW THROWER • FIGURE 15 NOTE: • HINT: TRIGGER ASSEMBLY FIGURE 16 • • • • RIGHT SIDE VIEW FIGURE 17 • CRANK SUPPORT TUBE TILT CONTROL HANDLE LIFT RELEASE CABLE HEX NUT LOCK FIGURE 18 WASHER HEX NUT •...
- Page 11 5/16" x 1" CHUTE CRANK CARRIAGE BOLT BRACKET 5/16" FLAT WASHER 5/16" LOCK WASHER 5/16" HEX NUT FIGURE 19 • • carefully • • Tighten • • 1/4" x 1" HEX BOLT 1/4" FLAT WASHER PLASTIC CAP GREASED SURFACE CHUTE KEEPER 1/4"...
- Page 12 INSTALLING THE AUGER BELT • AUGER PULLEY TWIST 1/4 TURN IDLER PULLEY FIGURE 22 • • • Hold this drawing above you while viewing the Clutch/Idler Assembly from underneath the tractor. Right and left in the drawing will be the reverse of the viewer's right and left.
- Page 13 ATTACHING WEIGHT TRAY TO TRACTOR • tighten yet. • Do not tighten yet. • Do not tighten yet. • loose bolts at this time. NOTE: CROSS BRACE 5/16" 5/16" LOCK WASHER 1/2" x 1-1/4" HEX BOLT 1/2" LOCK 1/2" LOCK WASHER WASHER 1/2"...
- Page 14 • TAIL REFLECTORS FIGURE 28 CHECKLIST Before you operate your snow thrower, please review the following checklist to help ensure that you will obtain the best performance from your snow thrower. • • • • • • The following additional items are available from Sears to help enhance the performance of your snow thrower.
-
Page 15: Operation
KNOW YOUR SNOW THROWER Read this owner's manual and safety rules before operating your snow thrower. LIFT HANDLE UPPER CHUTE LOWER CHUTE SCRAPER PLATE SPIRAL AUGERS, R.H. & L.H. CHUTE TILT HANDLE CRANK ROD LIFT HANDLE LIFT RELEASE TRIGGER BEFORE STARTING •... -
Page 16: Operating Tips
RAISING AND LOWERING • • CAUTION REMOVING SNOW • • • CUSTOMER RESPONSIBILITIES • LUBRICATION • • • • • • DANGER OPERATING TIPS • • • • • • MAINTENANCE CHECK SCRAPER AND SHOES FOR WEAR (Refer to figures 29 and 30 on page 17.) •... -
Page 17: Service And Adjustments
CAUTION REPLACING AUGER BELT • • • • • • • SKID SHOE ADJUSTMENT • • FIGURE 29 SERVICE AND ADJUSTMENTS LIFT RELEASE CABLE ADJUSTMENT • • SPIRAL AUGERS • • FIGURE 30... -
Page 18: Troubleshooting
STORAGE RECOMMENDATIONS • • • • • REMOVING THE SPIRAL AUGER HOUSING • • • • • • PROBLEM STORAGE ADDITIONAL PARTS TO REMOVE AT END OF SEASON • • • • TROUBLESHOOTING CAUSE CORRECTION... - Page 19 NOTES...
- Page 20 PARTS REPAIR PARTS FOR MODEL 486.248531 42" SNOW THROWER...
- Page 21 REPAIR PARTS FOR MODEL 486.248531 42" SNOW THROWER...
- Page 22 REPAIR PARTS FOR MODEL 486.248531 42" SNOW THROWER...
- Page 23 REPAIR PARTS FOR MODEL 486.248531 42" SNOW THROWER...
-
Page 27: Slope Guide
SLOPE GUIDE (Keep this sheet in a safe place for future reference.) Use this guide to determine if a slope is safe for the operation of your tractor and snow thrower. Refer also to the instructions in your vehicle owners manual. - Page 28 in your own home… 1-800-4-MY-HOME (1-800-469-4663) www.sears.com Sears Parts & Repair Center. 1-800-488-1222 www.sears.com Sears PartsDirect 1-800-366-PART (1-800-366-7278) www.sears.com/partsdirect 1-800-827-6655 1-877-LE-FOYER 1-888-SU-HOGAR...
Need help?
Do you have a question about the 486.248531 and is the answer not in the manual?
Questions and answers