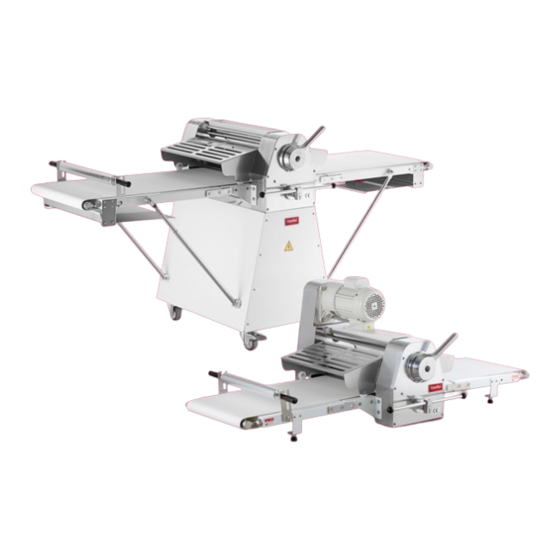
Estella 348DSC67 User Manual
Dough sheeters
Hide thumbs
Also See for 348DSC67:
- User manual (18 pages) ,
- User manual (9 pages) ,
- Service manual (21 pages)
Table of Contents
Advertisement
Quick Links
D O U G H S H E E T E R S
# 3 4 8 D S C 6 7 • 1 7 " x 6 7 " - C o u n t e r
# 3 4 8 D S C 7 8 • 1 9 3 / 4 " x 7 8 " - C o u n t e r
U S E R M A N U A L
# 3 4 8 D S F 7 8 • 1 9 3 / 4 " x 8 5 " - F l o o r
# 3 4 8 D S F 9 4 • 2 4 3 / 4 " x 9 5 " - F l o o r
w w w. E s t e l l a E q u i p m e n t . c o m
Advertisement
Table of Contents

Summary of Contents for Estella 348DSC67
- Page 1 U S E R M A N U A L D O U G H S H E E T E R S # 3 4 8 D S C 6 7 • 1 7 " x 6 7 " - C o u n t e r # 3 4 8 D S F 7 8 •...
-
Page 2: Safety Information
U S E R M A N U A L I N D E X Safety Information ........2 Setup ............... 3 Safety Features ..........3 5017744 5017744 Operations ............. 4 CONFORMS TO UL-763 Circuit Diagram ..........6 CONFORMS TO NSF-8 CONFORMS TO CAN/CSA C22.2 no. -
Page 3: Safety Features
U S E R M A N U A L S E T U P Note: The manufacturer is not responsible for any damages caused by improper installation. Note: The machine should be run with a batch of test dough that will not be used for consumption. This is necessary to remove any lubricants that are on the rollers/belts from the new machine. -
Page 4: Operation
U S E R M A N U A L O P E R AT I O N W A R N I N G : M O V I N G PA R T S C A N C R U S H & C U T Keep hands, feet, and all objects away from the rollers prior to turning on the machine! Ensure the machine is properly installed and... - Page 5 3. Swing the left and right levers to change the direction of the conveyor belt. Estella Dough Sheeters are designed to be used by qualified and trained pastry chefs and bakers. Estella and 4. When the machine is running, if the safety protection net is opened, the machine will stop immediately. And then when the net is put down, the machine will continue to work.
-
Page 6: Circuit Diagram
U S E R M A N U A L C I R C U I T D I A G R A M M A I N T E N A N C E • Before performing maintenance on the machine, disconnect the power and remove the plug from the outlet. •... - Page 7 U S E R M A N U A L Install the plastic scraper back to its original position. FIGURE 1 Press the roller up to the maximum thickness using the Thickness Handle. Loosen the springs under the belt (#5 figure 2). FIGURE 2 On the plastic scraper, the left side has a spring, and the right side does not have a spring.
-
Page 8: Troubleshooting
U S E R M A N U A L T R O U B L E S H O O T I N G ISSUE CAUSE SOLUTION The machine is not plugged Check the general switch, the plug, and in or connected to a source of the feeding cable power...


Need help?
Do you have a question about the 348DSC67 and is the answer not in the manual?
Questions and answers