Advertisement
Technical Specifications
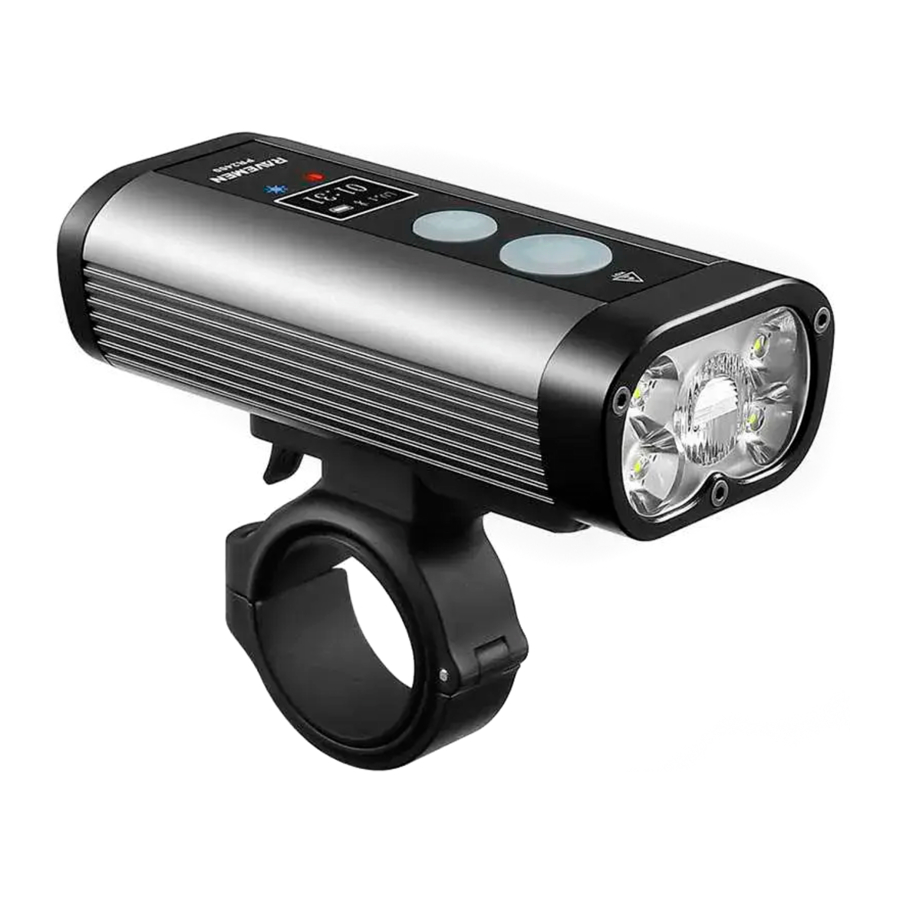
LED: 5*high-efficiency white LEDs
Battery: 8000mAh/3.6V rechargeable Lithium-ion battery
Dimensions (Headlight): 105mm (L)*51mm (W)*36mm (H)
Weight (Headlight): 282g
Package includes: front bike light*1, handlebar mount*1, thick silicone shim*1, thin silicone shim*1, USB cable*1, wireless switch*1, CR2032 battery*1, O ring *2
Performance Parameters

Notes:
- The above data are tested in Lab in line with ANSI/NEMA FL1 standard and may vary by environment and user conditions;
- To meet IPX8 waterproof standard, please make sure the tail USB caps are securely mounted before use.
Quick Guide

- Power Button
- Long press the button 1.5 seconds to turn on/off power.
- Single click to change between road biking mode and mountain biking mode.
- Only the central LED will be on in road biking mode; All 5 LEDs will be on in mountain biking mode
- Menu Button
- When power is on, single click to change brightness levels.
- When power is on, press the button 0.5 second and hold to button activate emergency mode, release to go back to the previous mode and brightness level.
- OLED display
Display the remaining runtime of the battery; A flashing![]() icon will be displayed for warning when batterty low.
icon will be displayed for warning when batterty low.
 icon will be displayed for warning when batterty low.
Pair the light with the wireless switch
Automatic pairing: Place the battery into the wireless switch, then turn on the light and wait about 5s; the light will flash 3 times after paring successfully.
If not, continue with below manual paring steps:
- Keep the light on. Press and hold the power button and menu button of the light simultaneously for 2s until the icon
![]() on the OLED display is flashing;
on the OLED display is flashing; - Press and hold the power button and menu button of the wireless switch simultaneously for 2.5s to connect with the light. When connected, the
![]() icon on the OLED display will change to
icon on the OLED display will change to![]() and stop flashing; if not, repeat this step;
and stop flashing; if not, repeat this step; - Wait 5s until the light flashes 3 times after pairing successfully.
Note: The working range between the light and the switch is about 5 meters. When being beyond this range by 48 hours, the wireless chip of the light will enter sleep mode and disconnect with the wireless switch. Turn on the light and then click any button of the wireless switch for automatic pairing again
Disconnect the light and the wireless switch permanently
Turn on the light, then press and hold the power button and menu button of the light or wireless switch simultaneously for 3 seconds.
Note: To pair with a new wireless switch, disconnect the light as mentioned above and then continue with the 1-3 steps in the pairing instruction.
Type-C input
Standard charging time: 4.5 hours (5 V, DC/2A), approximate values and may vary by user conditions; built-in over-charge protection.
The screen will display 100% when charging is complete.
USB output
Max output: 5V, DC/2A; built-in over-discharge protection.
Runtime extension
The light can be powered by external power source(5V, DC/2A) to extend the runtime of the battery and the max output will be around 800 lumens.
Other features
- Intelligent thermal management circuit to prevent overheat of LEDs.
- Intelligent memory circuit remembers the last used brightness level and mode when turned on again.
Mounting Your Light
- Select the suitable configuration for your handlebar:

- Mount the handlebar mount and adjust the angle for actual needs, then tighten the screw with the hex key provided: (make sure the screw is completely tightened before riding)

- Slide the headlight in the right direction to connect with the handlebar mount.

- Press and hold the quick release tab and slide out the light.

- Secure the wireless switch to the handlebar and control the light remotely:


Attention
For your safety, please read this manual thoroughly and use your light accordingly.
Make sure the Light is mounted securely on the handlebar each time before riding.
Release the bike light from the handlebar mount while in the outdoors in case of theft.
To maintain the best performance and extending the life of the Lithium-ion battery:
- Check the battery and charge the battery up before your first riding.
- Avoid completely discharging, allow partial discharges and avoid over charging (usually).
- Keep and storage your light at room temperature.
- Charge your light to 50% full every 3 months for long term storage.
- Make two complete charging and discharging cycle to calibrate the led display after long term storage.
Alert
Don't stare the light directly when on, otherwise it may cause temporally blindness. For others' safety, don't shine the light(high beam) directly to oncoming vehicles and pedestrians.
Keep the light away out of Children's reach. And children should be accompanied by adults when using the light.
Don't disassemble or modify the light, otherwise it may cause danger and void your warranty.
Danger
Lithium-ion battery inside, don't put the light in a fire, otherwise it may cause explosion! Please charge the light with qualified USB power adapter. Using defective USB power adapter may cause power leakage or fire disaster, etc. Ravemen is not responsible for any of such consequences.

Documents / ResourcesDownload manual
Here you can download full pdf version of manual, it may contain additional safety instructions, warranty information, FCC rules, etc.
Download RAVEMEN PR2400 - Wireless Switch Control Headlight Front Light, 2400 Lumens Manual
Advertisement


Need help?
Do you have a question about the PR2400 and is the answer not in the manual?
Questions and answers