Panasonic LUMIX DC-G9M2 - Digital Camera Manual
- Operating instructions manual (832 pages)
Advertisement
- 1 Names of Important Parts
- 2 Attaching a Shoulder Strap
- 3 Charging the Battery
- 4 Inserting Cards (Optional)
- 5 Attaching a Lens
- 6 Setting the Clock (When Turning On for the First Time)
- 7 Taking Pictures
- 8 Recording Videos
- 9 Playing Back Images
- 10 Cautions for Use
- 11 Main Specifications
- 12 Information for Your Safety
- 13 About the battery pack
- 14 About the AC adaptor
- 15 Standard Accessories
- 16 Documents / Resources
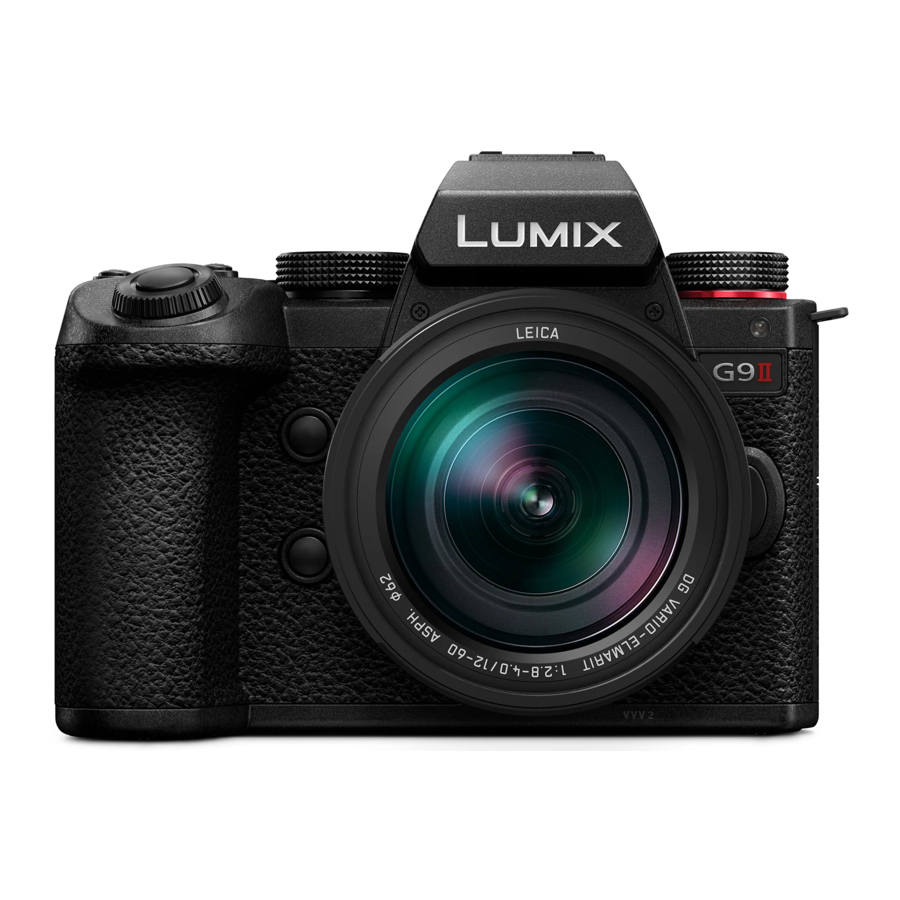
Names of Important Parts

- Mode dial
- Camera on/off switch
- Rear dial
- Charging light/Network connection light
- Video rec. button
- [WB] (White balance) button
[ISO] (ISO sensitivity) button
[![]() ] (Exposure compensation) button
] (Exposure compensation) button - Front dial
- Shutter button
- AF-Point Scope button
- Lens fitting mark
 ] (Exposure compensation) button
- Preview button
- Hot shoe (hot shoe cover)
- Drive mode dial
- Shoulder strap eyelet
- Self-timer light/AF assist light
- Lens lock pin
- Lens release button
- [MIC] socket
- Headphone socket
- HDMI socket
- USB port

- Viewfinder
- [LVF] button
- [
![]() ] (Playback) button
] (Playback) button - [
![]() ] (AF mode) button
] (AF mode) button - Monitor/Touch screen
- Battery grip connector (cover for the battery grip connector)
- Focus mode lever
- Joystick
- [AF ON] button
- [Q] (Quick menu) button
- Control dial (
![]() )
)
Cursor buttons (![]() )
)
[MENU/SET] button (![]() )
)
 ] (Playback) button
 ] (AF mode) button
 )
) )
) )
)- Card door
- [DISP.] button
- [
![]() ] (Cancel) button/
] (Cancel) button/
[![]() ] (Delete) button
] (Delete) button - DC coupler cover
- Battery door
- Battery door release lever
- [REMOTE] socket
- Card slot 1
- Card access light 1
- Card slot 2
- Card access light 2
 ] (Cancel) button/
 ] (Delete) button
Attaching a Shoulder Strap
Attach a shoulder strap to the camera with the following procedure to prevent it from dropping.

Charging the Battery

- Set the camera on/off switch to [OFF].
![]()
- Insert the battery into the camera.
![]()
- Connect the camera USB port and the AC adaptor using the USB connection cable.
![]()
- Connect the AC adaptor to an electrical outlet.
- The charging light turns red and charging begins.
The charging light turns off when charging is complete.
- The charging light turns red and charging begins.


| Charging time | Approx. 220 min |
- Using the camera body and the supplied AC adaptor.
- The battery that can be used with the camera is DMW-BLK22. (As of September 2023)
- Always use genuine Panasonic batteries (DMW-BLK22).
- If you use other batteries, we cannot guarantee the quality of this product.
- For charging, use this camera or the Battery Charger (DMW-BTC15: optional) and the items supplied with them.
- Do not use any other AC adaptors except the one supplied with the camera or the Battery Charger (DMW-BTC15: optional).
- Even when the camera on/off switch is set to [OFF] thus turning the camera off, it consumes power.
When the camera will not be used for a long time, remove the power plug from the electrical outlet in order to save power.
Inserting Cards (Optional)
You can use SD memory cards with this camera.
- For information on memory cards with confirmed operation, check the following support site: https://panasonic.jp/support/global/cs/dsc/connect/index.html (English only)
![]()

")
- Match the orientation of the cards as shown in the figure and then insert them firmly until they click.
- To remove a card, confirm that the corresponding card access light has turned off, push the card until it clicks, then pull the card out straight.
- Format the cards with the camera before use.
![]()
![]() [
[![]() ]
]![]() [
[![]() ]
]![]() Select [Card Format]
Select [Card Format]
 [
[ ]
] ]
]Attaching a Lens
The camera can use the dedicated lenses that comply with the Micro Four Thirds™ system lens mount specification (Micro Four Thirds mount).

- Refer to catalogs/websites for information regarding supported lenses. https://panasonic.jp/support/global/cs/dsc/connect/index.html (English only)
![]()


- When removing the lens, rotate while pressing the lens release button.
Setting the Clock (When Turning On for the First Time)
When you turn the camera on for the first time, a screen to set the time zone and clock appears. Follow the message to make the settings.
![]()
- Press
![]() to select the language if a language selection screen is displayed.
to select the language if a language selection screen is displayed.
![]()
![]()
Time zone selection ![]()
Daylight Savings setting ![]()
![]()
Year, month, day, hour, minute, and second selection ![]()
Value selection ![]()
Check or confirm and move to the next screen

 to select the language if a language selection screen is displayed.


Taking Pictures

- Rotate the mode dial to select the recording mode ([iA]/[P]/[A]/[S]/[M]).
- Press the shutter button halfway (press it gently) to focus.
- Press the shutter button fully (press it further) to take pictures.
Recording Videos

- Rotate the mode dial to select the recording mode.
- Press the video rec. button to start recording.
- Press the video rec. button again to end recording.
Playing Back Images

Cautions for Use
 Firmware of Your Camera/Lens
Firmware updates may be provided in order to improve camera capabilities or to add functionality.
- For the latest information on the firmware or to download/update the firmware, visit the following support site:
https://panasonic.jp/support/global/cs/dsc/download/index.html (English only)
![]()

Splash Resistant
Splash Resistant is a term used to describe an extra level of protection this camera offers against exposure to a minimal amount of moisture, water or dust. Splash Resistant does not guarantee that damage will not occur if this camera is subjected to direct contact with water.
In order to minimize the possibility of damage please be sure the following precautions are taken:
- Splash Resistant works in conjunction with the lenses that were specifically designed to support this feature.
- Securely close the doors, contact points cover, etc.
- When the lens or cap is removed or a door is open, do not allow sand, dust, and moisture to enter inside.
- If liquid gets on the camera, wipe it off with a dry soft cloth.
Be Sure to Perform Trial Recording in Advance
Be sure to perform trial recording in advance to check that recording can be performed normally.
Please note that compensation cannot be provided in the event that recording could not be performed due to a problem with the camera or a card.
Be Careful with Regard to Copyrights
Under copyright law, you may not use the images and audio you have recorded without the permission of the copyright holder.
Caution with Strong Light Beams Such as Laser Light

Do not allow strong light beams, such as laser light, to be directly exposed to this camera (lens). These can destroy the image sensor and cause the camera to malfunction.
The camera
Keep this unit as far away as possible from electromagnetic equipment (such as microwave ovens, TVs, video games etc.).
- If you use this unit on top of or near a TV, the pictures and/or sound on this unit may be disrupted by electromagnetic wave radiation.
- Do not use this unit near cell phones because doing so may result in noise adversely affecting the pictures and/or sound.
- Recorded data may be damaged, or pictures may be distorted, by strong magnetic fields created by speakers or large motors.
- Electromagnetic wave radiation may adversely affect this unit, disturbing the pictures and/or sound.
- If this unit is adversely affected by electromagnetic equipment and stops functioning properly, turn this unit off and remove the battery or disconnect AC adaptor. Then reinsert the battery or reconnect AC adaptor and turn this unit on.
Do not use this unit near radio transmitters or high-voltage lines.
- If you record near radio transmitters or high-voltage lines, the recorded pictures and/or sound may be adversely affected.
Wi-Fi® Function
Use of the Wi-Fi function of the camera is presumed to be in countries where it is sold.
There is the risk that the camera violates the radio wave regulations if used in countries other than those where it is sold, and Panasonic takes no responsibility for any violations.
- Please be advised that Panasonic is not liable for any damage directly or indirectly caused by use or malfunction of this product.
- Please be advised that Panasonic is not liable for any damage to data caused by this product.
- The external design and specifications of this product, as described in this document, may differ from the actual product due to improvements made.
Main Specifications
The specifications are subject to change for performance enhancement.
Digital camera body (DC-G9M2):
Information for your safety
| Power source: | 9.0 V  |
| Power consumption: | 4.6 W (when recording with the monitor), 3.8 W (when playing back with the monitor) [When using the interchangeable lens (H-ES12060)] |
| Type | |
| Type | Digital Single Lens Mirrorless camera |
| Lens mount | Micro Four Thirds Mount |
| Recording media | SD memory card / SDHC memory card / SDXC memory card |
| Image sensor | |
| Image sensor | 4/3' Live MOS sensor, a total of 26,520,000 pixels, primary color filter |
| Effective number of pixels of the camera | 25,210,000 pixels |
| Viewfinder | |
| Type | Aspect ratio 4:3, 0.5 inches, approx. 3,680,000 dots, organic EL (OLED) live view viewfinder |
| Magnification | Approx. 1.6×, Approx. 0.8× (35 mm film camera equivalent), −1.0 m −1 50 mm at infinity, with aspect ratio set to [4:3] |
| Monitor | |
| Type | Aspect ratio 3:2, 3.0 inches, approx. 1,840,000 dots monitor, capacitive touch screen |
| Interface | |
| USB | USB Type-C ®, SuperSpeed USB 10Gbps (USB 3.2 Gen 2) Supports USB Power Delivery (9.0 V/3.0 A) Output: DC 5 V, 900 mA |
| HDMI | HDMI Type A |
| [REMOTE] |  2.5 mm jack 2.5 mm jack |
| [MIC] | 3.5 mm stereo mini jack |
| Headphones | 3.5 mm stereo mini jack |
| External dimensions / Mass (Weight) | |
| External dimensions | Approx. 134.3 mm (W)×102.3 mm (H)×90.1 mm (D) (5.29' (W)×4.03' (H)×3.55' (D)) (excluding the projecting parts) |
| Mass (Weight) | Approx. 658 g /1.45 lb (camera body, with battery and one card) Approx. 575 g /1.27 lb (only camera body) |
| Operating environment | |
| Recommended operating temperature | −10 oC to 40 oC (14 oF to 104 oF) |
| Permissible relative humidity | 10 %RH to 80 %RH |
| Wi-Fi | |
| Compliance standard | IEEE 802.11a/b/g/n/ac (standard wireless LAN protocol) |
| Frequency range used (central frequency) | 2412 MHz to 2462 MHz (1 to 11ch) 5180 MHz to 5320 MHz (36/40/44/48/52/56/60/64ch) 5745 MHz to 5825 MHz (149/153/157/161/165ch) |
| Encryption method | Wi-Fi compliant WPA™ / WPA2™ / WPA3™ |
| Access method | Infrastructure mode |
| Bluetooth ® | |
| Compliance standard | Bluetooth v5.0, Bluetooth Low Energy (BLE) |
| Frequency range used (central frequency) | 2402 MHz to 2480 MHz |
AC adaptor (Panasonic VSK0815F):
Information for your safety
| Input: | 110 V–240 V  50/60 Hz 0.25 A 50/60 Hz 0.25 A |
| Output: | 5.0 V 1.8 A |
| Operating temperature: | 0 oC to 40 oC (32 oF to 104 oF) |
Battery pack (lithium-ion) (Panasonic DMW-BLK22):
Information for your safety
Voltage/capacity: 7.2 V / 2200 mAh
The symbols on this product (including the accessories) represent the following:
 | AC |
| DC |
 | Class II equipment (The construction of the product is double-insulated.) |
Information for Your Safety

To reduce the risk of fire, electric shock or product damage,
- Do not expose this unit to rain, moisture, dripping or splashing.
- Use the recommended accessories.
- Do not remove covers.
- Do not repair this unit by yourself. Refer servicing to qualified service personnel.
The socket outlet shall be installed near the equipment and shall be easily accessible.
- Product identification marking
| Product | Location |
| Digital camera | Bottom |
About the battery pack
Please read these instructions carefully before using this product, and save this manual for future use.
Battery pack (Lithium ion battery pack)
- Use the specified unit to recharge the battery pack.
- Do not use the battery pack with equipment other than the specified unit.
- Do not get dirt, sand, liquids, or other foreign matter on the terminals.
- Do not touch the plug terminals (i and j) with metal objects.
- Do not disassemble, remodel, heat or throw into fire.
If any electrolyte should come into contact with your hands or clothes, wash it off thoroughly with water.
If any electrolyte should come into contact with your eyes, never rub the eyes. Rinse eyes thoroughly with water, and then consult a doctor.
- Danger of explosion if battery is incorrectly replaced. Replace only with the type recommended by the manufacturer.
- When disposing of the batteries, please contact your local authorities or dealer and ask for the correct method of disposal.
- Do not heat or expose to flame.
- Do not leave the battery(ies) in a car exposed to direct sunlight for a long period of time with doors and windows closed.
- Do not expose to low air pressure at high altitudes.
- Do not expose to extremely low air pressure, as this may result in explosions or leakage of flammable liquids and gases.

Risk of fire, explosion and burns. Do not disassemble, heat above 60 oC (140 oF) or incinerate.
About the AC adaptor

To reduce the risk of fire, electric shock or product damage,
- Do not install or place this unit in a bookcase, built-in cabinet or in another confined space. Ensure this unit is well ventilated.
- The AC adaptor is in the standby condition when the mains plug is connected. The primary circuit is always "live" as long as the mains plug is connected to an electrical outlet.
AC adaptor
This AC adaptor operates on AC between 110 V and 240 V.
But
- In the U.S.A. and Canada, the AC adaptor must be connected to a 120 V AC power supply only.
- When connecting to an AC supply outside of the U.S.A. or Canada, use a plug adaptor to suit the AC outlet configuration.
- Do not use any other USB connection cables except the one supplied with the camera or the Battery Charger (DMW-BTC15: optional).
- Always use a genuine Panasonic Shutter Remote Control (DMW-RS2: optional).
- Always use a genuine Panasonic Tripod Grip (DMW-SHGR1: optional).
- Use a Premium High Speed HDMI cable (Type A–Type A plug, up to 1.5 m (4.9 feet) long).
- Do not use the headphone cables with the length of 3 m (9.8 feet) or more.
- Do not use the stereo microphone cables with the length of 3 m (9.8 feet) or more.
- Keep the hot shoe cover out of reach of children to prevent swallowing.
- Keep the cover for the battery grip connector out of reach of children to prevent swallowing.
- Keep the memory card out of reach of children to prevent swallowing.
- Excessive sound pressure from earphones and headphones can cause hearing loss.
- When using an AC adaptor, ensure that the Panasonic DC Coupler (DMW-DCC17: optional) and AC Adaptor (DMW-AC10PP: optional) are used.
- Always use a genuine Panasonic AC Adaptor (DMW-AC10PP: optional).
Standard Accessories
Product numbers correct as of September 2023.
Digital camera body
| Battery pack DMW-BLK22 | Body cap* VKF4971 |
| AC adaptor VSK0815F | Hot shoe cover* 4HR1MC5229Z |
| USB connection cable K1HY24YY0026 | Cover for the battery grip connector* SKF0145K |
| Shoulder strap DVPW1030Z |
* This is attached to the camera at the time of purchase.
- If any accessories are lost, customers in Canada should visit our support page at www.panasonic.ca/english/support for further information about obtaining replacement parts.
If you have any questions, visit:
Canada: www.panasonic.ca/english/support

Documents / Resources
References
Compatibilities | Compatibility | Digital Camera | Digital AV | Support | Panasonic Global
![www.panasonic.ca]() Panasonic - Official Consumer Product Support
Panasonic - Official Consumer Product SupportDownload | Digital Camera | Digital AV | Support | Panasonic Global
Download manual
Here you can download full pdf version of manual, it may contain additional safety instructions, warranty information, FCC rules, etc.
Advertisement


Need help?
Do you have a question about the LUMIX DC-G9M2 and is the answer not in the manual?
Questions and answers