Advertisement
Quick Links
User manual
Norsap 1600
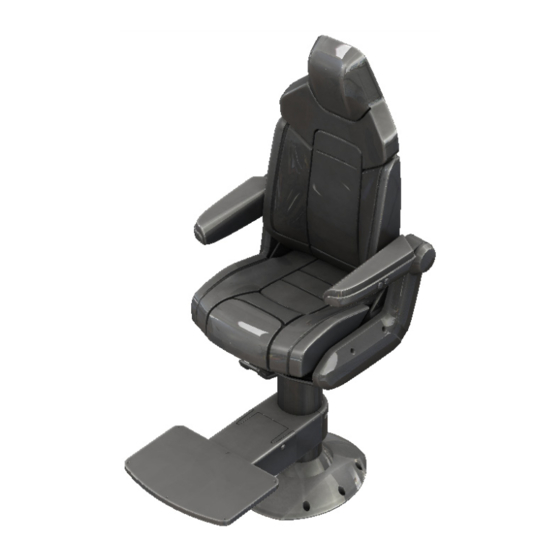
8500 Norsap 1600 standard upholstered leather back
Norsap models
8500
Norsap 1600 Standard
8600
Norsap 1600 Standard +
8700
Norsap 1600 Standard M
8600 Norsap 1600 standard + Aluminium back
Flat oval & round
column heights:
63-73 / 67-80 / 72-92 cm
8700 Norsap 1600 standard M Aluminium back
Advertisement

Related Manuals for NorSap 1600 Standard


Summary of Contents for NorSap 1600 Standard
- Page 1 User manual Norsap 1600 8500 Norsap 1600 standard upholstered leather back 8600 Norsap 1600 standard + Aluminium back 8700 Norsap 1600 standard M Aluminium back Norsap models Flat oval & round column heights: 8500 Norsap 1600 Standard 63-73 / 67-80 / 72-92 cm...
-
Page 2: Table Of Contents
INTRODUCTION TABLE OF CONTENTS Introduction ............Safety ..............Norsap is the recognized leader in the design and Functions ............. production of helmsman and operator seats for Mounting holes measurements ....the maritime market. Care and maintenance of leather ....Care and maintenance of fabric .... -
Page 3: Mounting Holes Measurements
MOUNTING HOLES MEASUREMENTS A strong and level foundation is required to secure the installation of the base. FLATOVAL COLUMN It may occur that the column get stuck in the lowest position during prolonged storage or transport. Adjust this easily by fastening the lockable arm for swing, lift up the release handle and pull up the chair. -
Page 4: Accessing The Interior
(1) To gain access to the interior of the seat, see “CHANGING CUSHIONS - Cushions - Seat”. (2) To gain access to the interior of the armrest, all countersunk screws marked needs to be undone. 8700 Norsap 1600 standard M Aluminium back CHANGING CUSHIONS BACKREST CUSHION - A2088 (1) Pull out the top of the backrest cushion from the molded backrest shield. - Page 5 (4) Unscrew the 1x M8x30 countersunk bolt per side. Pull the bolt and black POM bushing out on both sides, and remove the backrest. To mount a new backrest on the chair, follow the instructions backwards. 8500 Norsap 1600 standard Aluminium back...
- Page 6 Then take the 3 x Screw Ø4,5 x19 A4 DIN 7983, and secure the cushion. Number of adjustment buttons may vary on chair setup and model 8500 Norsap 1600 standard upholstered leather back 8600 Norsap 1600 standard + Aluminium back...
-
Page 7: Install Or Adjust The Gas Springs
INSTALL OR ADJUST GAS SPRINGS Seat Movement - Gas springs or Release buttons To remove the Gas springs for the seat movement, follow the in- struction on how to remove Seat cushion and Standard armrest cushion. The Gas springs is located under the seat cushion. Secure all screws and parts on a clean and soft surface. -
Page 8: Removing The Column
REMOVING THE COLUMN Start the process with adjusting the chair to the lowest position, and pulling the chair top and inner profile up. Secure the chair top and inner profile by tighten the 2 x M8 set screws. In some situations, the chair will have preinstalled components and bigger armrests.