Advertisement
Quick Links
User manual
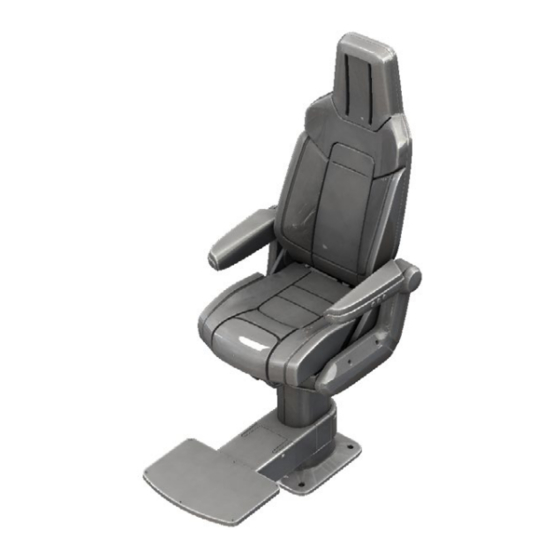
Norsap 1800 | 4000
Norsap models
8830
8800
8940
8950
Norsap 1800 S
Norsap 1800 Active S
Norsap 1800 Active M
Norsap 4000 Impulse M
Norsap 4000 Impulse L
Norsap 1800 M / 4000 M
Flat oval column heights:
63-73 / 67-80 / 72-92 cm
XL column heights:
70 cm / 73-97 cm
70 cm / 73-97 cm
Advertisement

Related Manuals for NorSap 1800 Active S


Summary of Contents for NorSap 1800 Active S
- Page 1 User manual Norsap 1800 | 4000 Norsap 1800 S Norsap 1800 M / 4000 M Norsap models Flat oval column heights: 63-73 / 67-80 / 72-92 cm 8830 Norsap 1800 Active S 8800 Norsap 1800 Active M XL column heights:...
- Page 2 INTRODUCTION TABLE OF CONTENTS Introduction ............Safety ..............Norsap is the recognized leader in the design and Functions ............. production of helmsman and operator seats for Mounting holes measurements ....the maritime market. Care and maintenance of leather ....Care and maintenance of fabric ....
- Page 3 XL COLUMN MOUNTING HOLES MEASUREMENTS A strong and level foundation is required to secure the installation of the base. It may occur during storage or transport the non-electrical telescope column fastens in the lower position. Adjust this easily by fastening the lockable arm for swing, lift up the release handle and pull up the chair.
- Page 4 ACCESSING THE INTERIOR INTERIOR (1) To gain access to the interior of the seat, use the seat depth adjustment to set the seat cushion in max. Remove the pin and bolt, and slide the seat cushion away from the chair. (2) To gain access to the interior of the armrest, all countersunk screws marked needs to be undone.
- Page 5 Cushions - Seat To remove the seat cushion, adjust the seat in a forward position. This will make you able to see the bracket for the gas spring. To install the seat cushion, slide the cushion on the Remove and secure the pin, then remove and gliders.
- Page 6 INSTALL OR ADJUST GAS SPRINGS NORSAP 1800 To remove a Gas springs for the seat movement, follow the instruction on how to remove Seat cushion and Standard armrest cushion. The Gas spring(s) are located under the seat cushion. Secure all screws and parts on a clean and soft surface.
- Page 7 To install the new Gas spring. Mount the Gas spring first, then guide the hydraulic When monting on the Gas spring to the release cable through the seat base and up into the upper cap, screw the Gas spring on CC the release cap part of the armrest.
- Page 8 OVERVIEW OF ACTUATORS AND GAS SPRINGS NORSAP 4000 To gain access to the actuators and gas springs, begin with seat depth adjustment set to maximum length. Or set the seat sliding / underarm length to mini- mum length. This adjustment will make the next step easier.
- Page 9 ADJUSTMENT MODULES NORSAP 1800 S / 1800 M / 4000 Electrical and Gas spring adjustment modules Replacing an electrical membrane keyboard or a hydraulic Gas spring release circuit. Follow the Changing the cushions and Install or ad- just Gas springs to get access on the NS 1800 S.
- Page 10 REMOVING THE COLUMN NORSAP 1800 Start the process with adjusting the chair to the lowest position, and pulling the chair top and inner profile up. Secure the chair top and inner profile by tighten the 2 x M8 set screws.
- Page 11 RESETTING THE ACTUATOR NORSAP 4000 RESETTING THE CONTROL UNIT Press and hold hold together for 10 seconds. Afterwards, control unit will beep. The chair must be initialized after a reset. INITIALIZATION THE CONTROL UNIT The initialization will run all actuators, to define their position.
- Page 12 CONTROL UNIT (ELDEL-115) CONTROL UNIT MODULES The control unit consist of two modules. - Duty cycle: 10% ˜ max. 2 min. continuous use followed by 18 min. not in use. - Ambient temperature +5˚ to + 40˚C - Approvals: IEC60601-1:2005 3rd ed., ANSI / AAMI ES60601-1:2005, 3rd edition, CAN/CSA-22.2 No 60601-1:2008 approved CONTROL POWER MODULE...