Advertisement
Specifications
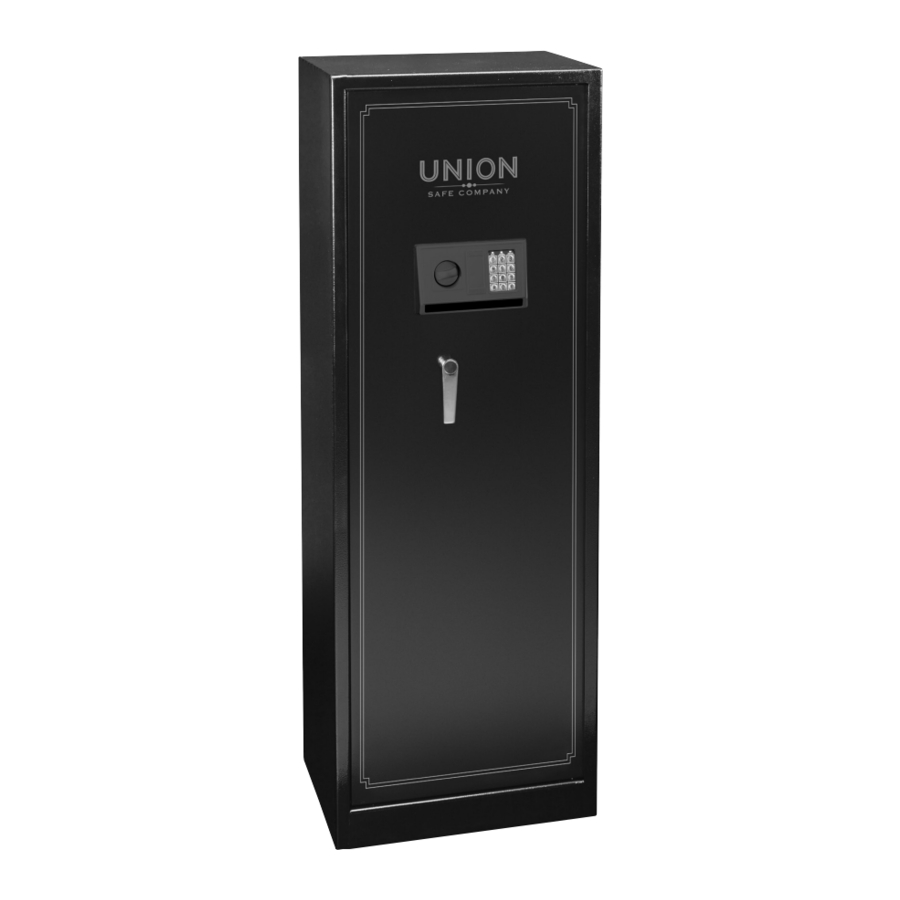
| External Dimensions | 20-7/8" L x 15" W x 59" H |
| Batteries | 4 AA (included) |
IMPORTANT SAFETY INFORMATION
Installation Precautions
- Verify that the installation surface has no hidden utility lines before drilling or driving screws.
- Wear ANSI-approved safety goggles during installation.
- Mount securely before use.
- Install only according to these instructions. Improper installation can create hazards.
- Keep installation area clean and well lit.
- Keep bystanders out of the area during installation.
- Do not install when tired or when under the influence of alcohol, drugs or medication.
- Only install Safe on a stable, level, clean and dry horizontal surface that is capable of supporting the weight of Safe and its contents.
Use Precautions
- Unload the gun completely, including chamber, before storing.
- Lock up guns and ammunition separately out of children's reach and out of sight.
- Even when stored in a gun safe, use gun-lock to disable the gun.
- Separate gun safe keys from other keys.
- Leaving a gun unsecured may result in criminal charges.
- Do not allow children to play with or near safe. Keep keys and codes away from children.
- Keep closed and locked whenever unattended. RISK OF CHILD ENTRAPMENT AND SUFFOCATION. Check inside before closing. Do not allow children to play with or near safe. Keep keys and codes away from children.
- Keep clear of the door when closing.
- Do not mix old and new batteries. Do not mix alkaline, standard (carbon zinc), or rechargeable (nickel-cadmium) batteries. Position batteries in proper polarity. Do not use swollen or leaking batteries.
- Use as intended only.
- Inspect before every use; do not use if parts are loose or damaged.
- Maintain product labels and nameplates. These carry important safety information. If unreadable or missing, contact Harbor Freight Tools for a replacement.
- Do not store Keys inside of the Safe. Place the keys in a secure location outside of the safe.
- The warnings, cautions, and instructions discussed in this instruction manual cannot cover all possible conditions and situations that may occur. It must be understood by the operator that common sense and caution are factors which cannot be built into this product, but must be supplied by the operator.
- The Safe is not fireproof.
NOTE: Harbor Freight Tools is not responsible for the loss of any property stored within this safe due to theft, fire, or any other circumstance.
Set-up and Operation
 Read the entire Important Safety Information section at the beginning of this document, including all text under subheadings therein, before set up or use of this product.
Functions

Note: Set up and test Safe before Installation.
Open Safe with Key
Note: Do not store Keys inside Safe. Opening with Key may be necessary when replacing batteries or if an Entry Code is forgotten. Store Keys in a secure place outside of Safe.
Note: Two sets of Keys are included. One Key is for the Safe's exterior, the other Key is for the interior compartment.
- Remove Keyhole Cover.
- Insert Key and turn counterclockwise.
- Turn Knob clockwise, then turn Handle clockwise and open Door.
- Remove Key and replace Keyhole Cover.
- Open interior compartment with its Key.
Install/Replace Batteries
- Remove Battery Cover.
- Install batteries. Do not mix old and new batteries. Do not mix alkaline, standard (carbon-zinc), or rechargeable (nickel-cadmium) batteries. Position batteries in proper polarity. Do not use swollen or leaking batteries.
- Replace Battery Cover. Leave door open until Entry Code is set.
Note: Red light will illuminate when batteries need to be replaced. Dispose of used batteries according to local regulations.
Set/Reset Master and User Entry Codes
Note: Leave door open while setting Entry Codes. Write down Entry Codes and store in secure place outside of safe.
- Set/Reset Master Code:
- Press 00 on Keypad, then press and hold Entry Code Button until Safe beeps and Yellow Light illuminates.
- Within 15 seconds, enter an Entry Code up to 8 digits on Keypad, followed by either A or B.
- Code has been accepted when Yellow light turns off and Safe beeps.
- Code has not been accepted if Yellow light flashes three times and Safe beeps.
- Set/Reset User Code:
- Press and hold Entry Code Button until Safe beeps and Yellow Light illuminates.
- Within 15 seconds, enter an Entry Code up to 8 digits on Keypad, followed by either A or B.
- Code has been accepted when Yellow light turns off and Safe beeps.
- Code has not been accepted if Yellow light flashes three times and Safe beeps.
Lock Safe

Keep closed and locked whenever unattended.
Check inside before closing.
Do not allow children to play with or near safe.
Keep keys and codes away from children.
Close Door, turn Handle counterclockwise, then turn Knob counterclockwise.
Open Safe with Entry Code
- Enter Entry Code (Master or User). Safe will beep twice and Green light will illuminate.
- Turn Knob clockwise then turn Handle clockwise and open Door.
Note: Safe will automatically lock if not opened within a few seconds of accepting Entry Code.
Note: Keypad will beep and disable for 20 seconds if Entry Code is entered incorrectly three times in a row.
Keypad will beep and disable for 5 minutes if Entry Code is entered incorrectly three more times in a row.
Installation
Read the entire Important Safety Information section at the beginning of this document including all text under subheadings therein before set up or use of this product.
Safe can be mounted to a wall and/or floor capable of supporting the weight of the Safe and its contents.
Verify that installation surface(s) have no hidden utility lines before drilling or driving fasteners.
- Only install Safe on a stable, level, clean and dry wall and/or floor capable of supporting the weight of Safe and its contents.
- Remove liner(s) from back and/or bottom Safe.
- Locate mounting holes on back and/or bottom of Safe.
![]()

- Using the Safe as a template, mark locations of mounting holes on mounting surface(s).
- Secure Safe with fasteners appropriate for the mounting surface, which are rated to support the weight of the Safe and its contents.
To install with included concrete anchors:
Note: If mounting to both wall and floor, mount to floor first using all four included anchors. Then mount to wall with four more fasteners (not included).
Mounting to Floor:
- Using a masonry bit (sold separately) the same diameter as the largest part of the anchor, drill holes in marked locations, 1/4" deeper than the length of the anchor's sleeve.
- Remove nuts and washers.
- Using a hammer (sold separately), gently tap anchors into holes with threads facing up.
- Place Safe over exposed ends of anchors, then secure with Washers, Spring Washers and Nuts. Tighten Nuts securely.
- Replace liner(s).
Install Shelves
- Install Shelf Brackets as desired.
- Lay shelves on top of Brackets.
Maintenance
- Protect Safe from moist or wet conditions. Moisture may cause electronic damage in the keypad or corrosion of the steel.
- Occasionally wipe the safe and keypad clean with a soft dry cloth or brush.
- Do not get any oil or other liquids on or near the electronic mechanism.
- If key lock sticks, use graphite lubricant, such as pencil lead. Rub pencil lead over Key, then insert Key and turn back and forth. Repeat until lock moves freely.
Visit our website at: http://www.harborfreight.com
Email our technical support at: productsupport@harborfreight.com
When unpacking, make sure that the product is intact and undamaged. If any parts are missing or broken, please call 1-888-866-5797 as soon as possible.

Documents / ResourcesDownload manual
Here you can download full pdf version of manual, it may contain additional safety instructions, warranty information, FCC rules, etc.
Download Bunker Hill Security 64008 - 59" Electronic Executive Safe Manual
Advertisement


Need help?
Do you have a question about the Security 64008 and is the answer not in the manual?
Questions and answers