Bunker Hill Security 61724 - Electronic Digital Safe Manual
Also See for Security 61724:
- Owner's manual & safety instructions (4 pages)
Advertisement
Table of Contents
Contents
Bunker Hill Security 61724 - Electronic Digital Safe Manual
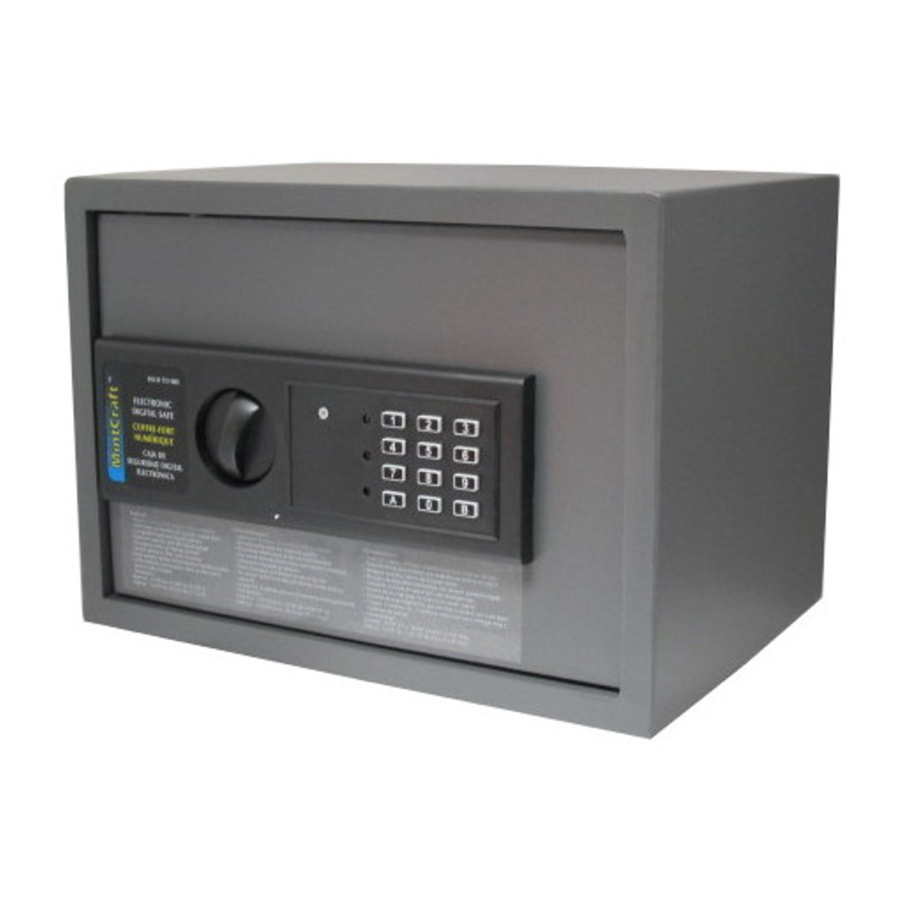
Specifications
| Overall Dimensions | 9-7/8" H x 11" D (w/Front Panel), 10-1/2" D (w/o Front Panel) x 13-3/4" W |
| Internal Dimensions | 13-1/2" W x 9-1/2" H x 9-5/8" D |
| Materials | 9 GA. Steel Plate Housing, 4 GA. Steel Door Frame, 5 GA. Steel Door |
| Door Mounting | 3/8" Steel Pins (Welded) |
| Door Lock Bolt | 1" x 5/8" Throw |
| Panel Features | Green LED Code OK/Open Yellow LED Set/Codes Red LED Battery Change Hidden Tumbler with 2 Keys Key Pad #1 through 0, and A & B Key Code Set Button (Inside) Black Knob (Lock/Open) Eight-Digit Code Capacity |
| Included Items | 4 concrete fasteners, Felt pad, Hole Template |
| Power Required | "AA" Batteries x 4 |
| Weight | 35.6 lb. |
Safety warnings and precautions

When using this product, basic safety precautions should always be followed to reduce the risk of personal injury and damage to equipment. Read all instructions before using this product!
- Use the right product for the job. There are certain applications for which this product was designed. Do not modify this product and do not use this product for a purpose for which it was not intended.
- Check for damaged parts. Any part that is damaged should be properly repaired or replaced by a qualified technician.
![]()
The warnings, cautions, and instructions discussed in this instruction manual cannot cover all possible conditions and situations that may occur. It must be understood by the operator that common sense and caution are factors which cannot be built into this product, but must be supplied by the operator.
Operation
- To open the safe: Input the numbers "159" on the Electronic Key Pad, then press either the "A" or "B" Key. Once the Green light is on, turn the Knob and pull the Door open. Note: The knob must be turned within 5 seconds of the Green light coming on. If the knob is not turned, the entry code will need to be re-entered.
- To close: Close the Door and turn the Knob in the opposite direction. The Safe is now locked.
- To change the code: The Safe comes preset with a default code of "159." To change the Code, first follow the instructions for opening the Safe. On the inside of the Door toward the hinge, you will see a small Red Button. Press this Button until the Yellow Light on the Front Control Panel lights up. Now you can input the new Code (1 to 8 characters) into the Front Control Panel, followed by either the "A" or "B" Key. The Safe will beep twice to confirm that the Code has been changed.
![]()
If the Safe beeps three times, then the Code has not been accepted, and you must repeat the steps above. - To change the batteries: If the Red Light and the Green Light are both lit at the same time, it is time to change the Batteries. Follow the instructions for opening the Safe. The Battery Compartment is located on the inside of the Door. Slide the Battery Cover off of the Battery Compartment, remove used Batteries, and insert four new "4, AA" Batteries. Once you have changed the Batteries, be sure to test the Code before you close the Door again.
- Using the emergency Key:
- The Safe comes with two Emergency Keys in case the code is forgotten or the batteries are dead. To override the electronic locking device, detach the Front Panel from the Safe. There is a sticker to the left of the keypad, with SKU# 45891 printed on it. Gently peel off that sticker. See Figure 1.

- Remove the screw under the sticker, as shown in Figure 2.

- The Safe comes with two Emergency Keys in case the code is forgotten or the batteries are dead. To override the electronic locking device, detach the Front Panel from the Safe. There is a sticker to the left of the keypad, with SKU# 45891 printed on it. Gently peel off that sticker. See Figure 1.


- Gently remove the Panel to reveal the Secret Key-Operated Lock. Insert the Emergency Key into the Secret Key-Operated Lock and turn. Turn Knob and pull Door open. Replace the keypad and the sticker when finished. See Figure 3.


NEVER LOCK THE EMERGENCY KEYS IN THE SAFE!
Installation
- The safe has four concrete fasteners that are inside of the safe when you open it. There is also a mounting template included with the safe. Place the mounting template against the area you will be mounting the safe and tape it into place.
Before drilling or driving nails, make sure there are no wires, cables or pipes in the path.
- To attach the safe to a wood surface, hammer a nail (not included) to mark the hole placement. Drill an 1/8" diameter pilot hole into each mounting hole location. Place the safe over the mounting holes and secure the safe using four 1/4" diameter self-tapping screws (not included).
- To use the concrete fasteners, drill a small pilot hole through the template to mark the hole placement. Next, drill four holes in the correct location, using a concrete drill bit. Drill the holes the same diameter as the fasteners and 2" deep. Hammer the fastener in the hole, with the flat side going into the hole first. Use a wood block between the bolt and the hammer to protect the threads.
- Place the safe over the bolts (with the nut removed from the bolts) and tighten a nut onto each bolt. As you tighten the nuts onto the bolts, the fasteners will expand inside the cement, securing the safe into place.
Note: There are no replacement parts available for this product.
Visit our website at: http://www.harborfreight.com
For technical questions or replacement parts, please call 1-800-444-3353.

Documents / ResourcesDownload manual
Here you can download full pdf version of manual, it may contain additional safety instructions, warranty information, FCC rules, etc.
Download Bunker Hill Security 61724 - Electronic Digital Safe Manual
Advertisement


Need help?
Do you have a question about the Security 61724 and is the answer not in the manual?
Questions and answers