Advertisement
WARNINGS
WARNING ON THE BATTERY OF THE PRODUCT
Fully charge the battery before using the product for the first time.
Do not store the Product without charging it. Failure to do so may cause irreversible damage to the battery capacity. Charge the battery every TWO months.
WARNING ON THE WATER RESISTANCE OF THE PRODUCT
The control unit, connected to the audio kit, can be immersed in a metre of fresh water for a maximum of 30 (thirty) minutes.
Despite this classification, the device is not immune to greater stress, such as prolonged immersions or high pressure water jets.
Using the product during intense meteorological phenomena, at high speeds, may be equivalent to subjecting the product to a high pressure jet.
FOLLOW ALL SUGGESTIONS CAREFULLY TO AVOID DAMAGING THE DEVICE:
Do not immerse the product in fresh water which is more than a metre deep for more than 30 minutes.
Do not store the product when still wet: dry it with a clean, soft cloth. Dry any water or moi sture present in the connector of the control unit and/or audio kit with hot air for at least 10 minutes, so as to prevent the oxidation of the contacts.
Do not expose the product to salt water or ionised water, drinks or other liquids.
If the device is exposed to liquids other than fresh water, wash the device with cold fresh water and dry it carefully with a clean, soft cloth.
Do not expose the product to high pressure water jets.
Make sure that the audio kit connector is completely inserted in the control unit.
If not, complete protection against water and dust is not guaranteed.
COMPOSITION OF THE KIT


INSTALLATION INSTRUCTIONS
- If possible, remove the two cushions or padding

- Locate the area in correspondence with the ear

- Position the strips of Velcro for the speakers

- Place the speakers

- Choose the microphone to use:

- Choose the bracket to use, to be attached on the left side of the helmet:

- Re-install the cushions

- Install the control unit and connect the cable


(!) Warnings on installation:
- The centre of the speakers must be placed in correspondence with the ears, as close as possible.
![]()
- The marking "MIC" on the microphone must be directed towards the mouth.


BATTERY CHARGE

Insert the micro USB charging cable in the special intercom connector, as shown in the picture. Connect the cable to a standard USB charger.
LED indications:
- red LED: charging.
- green LED: fully charged.
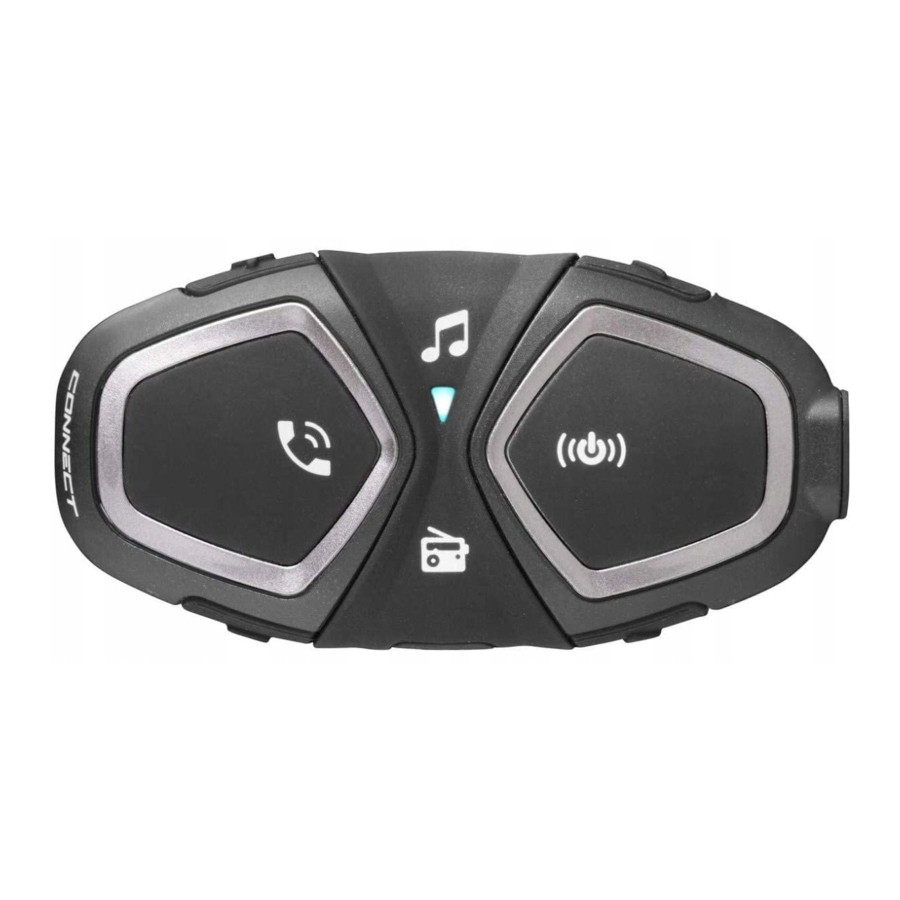
BASIC CONFIGURATION
Turn the device on
Press ![]() until the blue LED comes on.
until the blue LED comes on.
Turn the device off
Press ![]() until the red LED lights up and the device turns off.
until the red LED lights up and the device turns off.
Change the voice guide language
- With the unit on, press and hold
![]() until settings is heard. The LED will be purple.
until settings is heard. The LED will be purple. - Press
![]() to select the desired language.
to select the desired language. - Press and hold
![]() until the third beep to save the selection. The LED will flash blue.
until the third beep to save the selection. The LED will flash blue.
 until settings is heard. The LED will be purple.
 to select the desired language.
 until the third beep to save the selection. The LED will flash blue.
TELEPHONE / GPS
Pairing
- With the unit off, press and hold
![]() until the LED flashes red/blue alternately.
until the LED flashes red/blue alternately. - Start searching for new devices on the mobile phone / GPS
- Select the intercom on the phone / GPS ("interphone active" or "interphone connect").
- Once the pairing has been confirmed, the LED will flash BLUE twice, every three seconds.
 until the LED flashes red/blue alternately.
 Answering a call
Short press ![]()
Voice dial
Short press ![]()
Redial last number
Press ![]() until it beeps (1.5sec)
until it beeps (1.5sec)
MUSIC
Enable/disable playback from the phone
Short press ![]()
Next track/Previous track
Short press 
Share the music with another intercom
Press for 3 seconds  or
or 
INTERCOM
Manual pairing
- With the intercom off, on each unit, press and hold
![]() until the LED flashes red/blue.
until the LED flashes red/blue. - Then press
![]() only on one of the two units.
only on one of the two units.
Conference between 2 users

Press ![]() on unit 1 or on unit 2.
on unit 1 or on unit 2.
Conference between 3 users
only for Interphone ACTIVE
- For the first time only, pair unit 1 to 2 and then unit 2 to 3.
- Press
![]() on unit 2 to start the conference between units 1, 2, 3.
on unit 2 to start the conference between units 1, 2, 3.

 on unit 2 to start the conference between units 1, 2, 3.
Conference between 4 users
only for Interphone ACTIVE
- For the first time only, pair unit 1 to 2, then unit 2 to 3 and nally unit 3 to 4.
- Press
![]() on unit 2 to start the conference between units 1, 2, 3.
on unit 2 to start the conference between units 1, 2, 3. - Press
![]() on unit 4 to start the conference between units 1, 2, 3 with unit 4.
on unit 4 to start the conference between units 1, 2, 3 with unit 4.


FM RADIO
Enable/disable the FM radio
Short press ![]()
Scan frequency
Short press
Save frequency
Press ![]() until it beeps (1.5sec)
until it beeps (1.5sec)
Temporary storage of the 8 strongest stations
Press ![]() until the second beep (3 sec)
until the second beep (3 sec)
Go to www.interphone.com for the complete user manuals.
TECHNICAL CHARACTERISTICS
| Bluetooth compliance: | Bluetooth v.4.2 - Class I |
| Supported Bluetooth pro les: | HFP A2DP AVRCP |
| Frequency: | 2.402 – 2.480GHz |
| Power: | 18 dBm EIRP(EU) ACTIVE / 10dBm EIRP(EU) CONNECT |
| Operating temperature: | 0 - 45°C |
| Charging temperature: | 10 - 40°C |
| Dimensions mm: | 44x87x22 |
| Weight: | 48 g |
| Capacity: | Up to 10 meters |
| Talk time: | 15-12 h |
| Stand-by time: | 1000 h |
| Charging time: | 3 h |
| Battery type: | Lithium-ion rechargeable |
CHECK FOR SOFTWARE UPDATES ON WEBSITE
www.interphone.com

Documents / Resources
References
Download manual
Here you can download full pdf version of manual, it may contain additional safety instructions, warranty information, FCC rules, etc.
Download Interphone ACTIVE CONNECT BTF10 - Motorcycle Intercom Quick Guide
Advertisement


Need help?
Do you have a question about the ACTIVE CONNECT and is the answer not in the manual?
Questions and answers