Advertisement
Safety information

It is the user's responsibility to read and fully understand all of these instructions before use.
The Cinch is designed for climbing use only. Climbing is an inherently dangerous activity that can result in serious injury or death.
The Cinch is intended for expert use only. Proper training is essential before using the Cinch.
BE SURE TO FULLY UNDERSTAND THE LIMITATIONS OF THE CINCH, AND PRACTICE AND MASTER THE PROPER TECHNIQUES FOR USING THE CINCH IN A SAFE ENVIRONMENT BEFORE USING THEM WITH A PARTNER.
FAILURE TO PROPERLY USE THE CINCH MAY RESULT IN SERIOUS INJURY OR DEATH.

The Cinch is an assisted-braking belay device. It is NOT an automatic belay device and therefore requires constant monitoring and control.
NEVER remove the brake-hand from the brake side of the rope. Keep your hand on and control the brake side of the rope at all times.
Cinch performance can be affected by rope diameter, rope condition, and dirty, wet or icy conditions.
These instructions are not climbing, belaying, or rappelling instructions. Thorough knowledge of climbing, belaying, and/or rappelling techniques is required before using the Cinch and engaging in those activities.
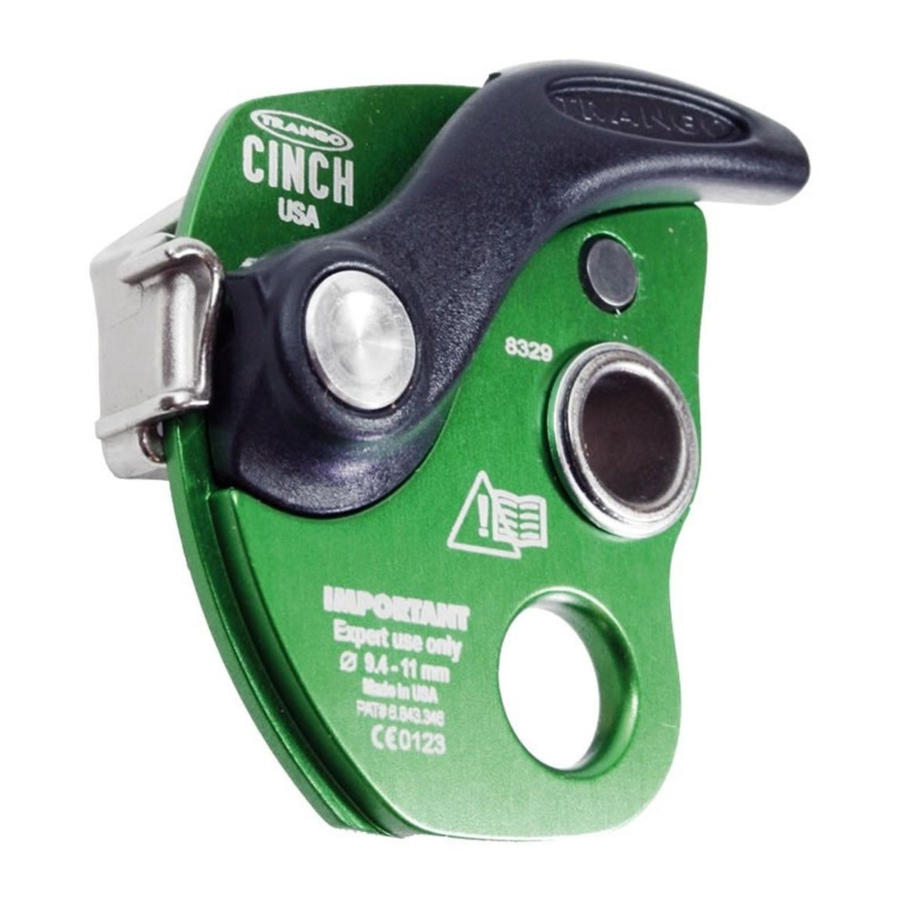
Nomenclature of Cinch Parts

- Release Tab
- Release Lever
- Batch Number
- Pivot Hole (DO NOT ATTACH ANYTHING TO PIVOT HOLE)
- Carabiner Hole
- Face Plate
- Rope Channel
Loading the Cinch
Figure 1 – Open the Cinch and hold it with Face Plate facing up. Load the rope into the Cinch as shown. Be sure that the rope going to the climber comes out of the Cinch on the same side as the picture of the climber. The braking side of the rope must exit the Cinch on the side with the picture of a brake-hand gripping the rope.

Figure 2 – Close the Cinch by rotating the Face Plate over the Rope Channel.

Figure 3 – Clip a locking carabiner through the Carabiner Hole. Pear shaped locking carabiners are recommended.

Figure 4 – Clip locking carabiner to belay loop of harness, with Cinch oriented as shown in Figure 4. Release Tab should be pointing towards ground, and Release Lever should be pointing up. Lock carabiner.

Figure 5

Before every belay, pull sharply up on the rope coming out of the Cinch and going to the climber to test that you have properly loaded the rope into the Cinch. Before every rappel, pull sharply on the rope coming out of the Cinch and going to the anchor to test that you have properly loaded the rope into the Cinch. IF THE ROPE DOES NOT BRAKE WITH A SHARP PULL THE CINCH IS LOADED INCORRECTLY. DO NOT CLIMB OR BELAY! RELOAD THE ROPE INTO THE CINCH PROPERLY. FAILURE TO PERFORM THIS TEST MAY RESULT IN SERIOUS INJURY OR DEATH.
At minimum, before each climb, the belayer and climber should each check the other to make sure that: (1) climber and belayer have correctly put on their harnesses (2) climber and belayer are both properly tied into the rope, (3) the rope is correctly loaded into the Cinch, (4) the Cinch is correctly attached to the belayer, and (5) the rope is long enough for the climb.
Belaying
Figure 6 - Giving slack to climber: With brake-hand, pinch the Pivot Hole with index finger and thumb while holding brake rope with remaining three fingers. Give rope to the climber HORIZONTALLY with non-brake hand.

If Cinch engages or brakes the rope while feeding slack to the climber:
Figure 6a – With non-brake hand: place edge of palm against edge of Face Plate and hold the rope going to the climber with fingers.
Figure 6b – Squeeze rope towards palm, using the rope as a lever to open the rope channel.
Figure 6c – Give rope to the climber horizontally. Do NOT remove your brake-hand from brake side of the rope under any circumstance.

The Cinch WILL NOT ENGAGE OR BRAKE THE ROPE IF IT IS HELD IN AN OPEN OR DISENGAGED POSITION. Do not hold the entire Cinch in your hand while belaying or you could defeat the braking mechanism.
Figure 7 – Taking in slack: Pull rope through the Cinch with brake-hand. NEVER remove your brake-hand from brake side of the rope.

Lowering/Rappelling
Figure 8 – Firmly hold brake side of rope with the brake hand. Pull down Release Lever as shown. Thumb must rest on pivot point of Release Lever.

IMPROPER LOWERING AND RAPPELLING TECHNIQUES CAN CAUSE SERIOUS INJURY OR DEATH.
Figure 9 – Rappel in a slow, controlled, and measured manner. Do not rappel quickly because of excess heat build-up, accelerated wear on the Cinch and the rope, the increased likelihood of loss of control, and possible serious injury or death.

Belaying From Anchors
Figure 10 – Belaying a follower from anchors: Load Cinch as described in Figures 1-3. Clip locking carabiner into an equalized, reliable, and strong anchor point. DO NOT belay a LEADER with Cinch attached directly to the anchors.

While in use, the Cinch must not make contact with or be blocked by any object including the rock, cliff face, or any other obstruction. IN SUCH CASE THE CINCH MAY NOT BRAKE PROPERLY RESULTING IN SERIOUS INJURY OR DEATH.
Inspection and Maintenance
Inspect Cinch before each use for excessive wear, corrosion, deformities, visible damage, foreign objects including dirt, freedom of movement, and proper function of release lever spring. Make sure that all Cinch parts are moving smoothly and that the device is clean and working properly.
Clean the Cinch after use in dirty, wet, muddy, or icy conditions. Some minor surface corrosion may appear if you use the Cinch in humid or maritime environments. Thoroughly dry the Cinch after each use before storing. If minor corrosion does appear, it can be removed with steel wool.
Improper use of the Cinch while rappelling and/or belaying will result in accelerated wear on the Cinch and voids the Cinch warranty.
Do not use a damaged or visibly worn Cinch. Retire the Cinch immediately if you notice visible damage or wear.
You are responsible for knowing the history of your Cinch for its full lifetime and for deciding when to retire the Cinch.
The maximum lifetime of the Cinch is 10 years. The Cinch should be retired after 10 years even if there does not appear to be any visible damage or wear. It is impossible to estimate the minimum lifetime of a Cinch. The minimum life of the Cinch depends upon the intensity of use, the number of falls caught, the care given, the conditions in which it is used, and other similar factors. If in doubt, retire the Cinch.
Disclaimer
BY USING THIS PRODUCT, YOU ACCEPT ALL RISK AND RESPONSIBILITY FOR ANY INJURY, DAMAGE OR DEATH THAT MAY RESULT TO YOU AND/OR THOSE WITH WHOM YOU ARE CLIMBING. Trango disclaims all liability for all consequence, damage, injury, or death that arises out of or relates to, directly or indirectly, your use of the Cinch.
Contact
Refer to www.trango.com with questions or to find additional information.
Classification: Type 6 Braking Device
FprEN 15151-1: 2011
Personal Protective Equipment
Directive 89/686 EEC
U.S. Patent #6,843,346 Internationl Patents Pending
Made in USA
www.trango.com

Documents / Resources
References
Download manual
Here you can download full pdf version of manual, it may contain additional safety instructions, warranty information, FCC rules, etc.
Advertisement


Need help?
Do you have a question about the CINCH and is the answer not in the manual?
Questions and answers