Kalorik RVC 46588 - Robot Vacuum with Ionic Air Purifier Manual
- Manual (33 pages)
Advertisement
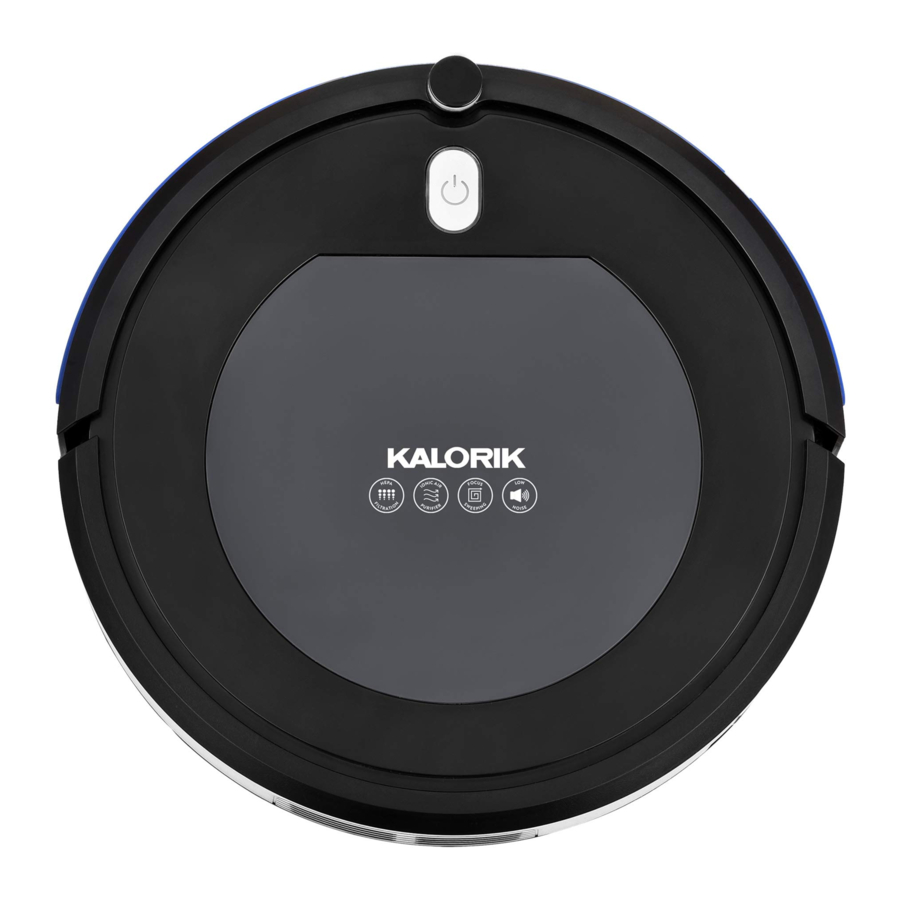
PARTS DESCRIPTION

- Main unit
- Power adaptor
- Remote control
- Floor brushes
- Dust container
IMPORTANT SAFEGUARDS


To reduce the risk of fire, electric shock or injury, when using your appliance, basic safety precautions should always be followed, including the following:
- Read all instructions before use.
- This device can be used by children aged from 8 years and above and persons with reduced physical, sensory or mental capabilities or lack of experience and knowledge if they have been given supervision or instruction concerning use of this device in a safe way and understand the hazards involved.
- Children should be supervised to ensure they do not play with this device.
- Cleaning and maintenance shall not be performed by children without adult supervision.
- This device is only to be used with the power adaptor provided.
- For the purposes of recharging the battery, only use the power adaptor provided.
- The battery must be removed from this device before this device is disposed of. To remove the battery from this device, first remove the screws on the bottom, then remove the main PCB and unscrew the battery cover using a screwdriver. Remove the battery by disconnecting the quick connector.
- The used battery should be placed in a sealed plastic bag and disposed of safely according to local environmental regulations.
- The external flexible cable or cord of the power supply unit cannot be replaced; if the cord is damaged, the power supply unit shall be disposed of.
- This device is for indoor use only.
- This device is not a toy. Do not sit or stand on this device. Small children and pets should be supervised when this device is operating.
- Store and operate this device in room temperature environments only.
- Clean with a cloth dampened with water only.
- Do not use this device to pick up anything that is burning or smoking.
- Do not use this device to pick up spills of bleach, paint, chemicals, or anything wet.
- Before using this device, pick up objects like clothing and loose paper. Lift up cords for blinds or curtains and move power cords and fragile objects out of the way. If this device passes over a power cord and drags it, an object could be pulled off a table or shelf.
- If the room to be cleaned has a balcony, a physical barrier should be used to prevent access to the balcony and to ensure safe operation.
- Do not place anything on top of this device.
- Be aware that this device moves around on its own. Take care when walking in the area where this device is operating to avoid stepping on it.
- Do not operate this device in areas with exposed electrical outlets on the floor.
- Do not expose the electronics of this device or its battery. There are no user-serviceable parts inside.
- Do not use this device on an unfinished, unsealed, waxed or rough floor. It may result in damage to the floor and this device. Use only on hard floor surfaces or low-pile carpet.
- This device has been designed to be used on floors without scratching them. We still recommend that you test this device on a small area of the room to be cleaned to ensure no scratches are made before cleaning the whole room.
SAVE THESE INSTRUCTIONS HOUSEHOLD USE ONLY
MAIN UNIT COMPONENTS


The power button is to be used for starting/stopping sweeping process.

BEFORE THE FIRST USE
- Remove any power cords and small objects from the floor that may obstruct the Robot Vacuum. Fold any tasseled edges of area rugs underneath to prevent tangling when vacuuming.
- Avoid cleaning very dark-colored, high-pile rugs or rugs thicker than 1.02 in. / 26 mm, as they may cause the appliance to malfunction.
- Keep the Robot Vacuum away from spaces lower than 2.87 in. / 73 mm to prevent it from getting stuck. If necessary, place a physical barrier to block off the problem areas.
- Keep the Robot Vacuum away from wet areas.
- The Robot Vacuum may climb on top of objects less than 0.63 in. / 16 mm tall. Remove these objects if possible.
- Anti-drop sensors prevent the Robot Vacuum from tumbling downstairs and steep drops. They may work less effectively if dirty or used on reflective/very dark-colored floors. It is recommended to place physical barriers to block off areas where the Robot Vacuum may fall.
- Remove the foam blocks beside the bumper before use.
- For best results, make sure the side brushes are attached before cleaning.
NOTE: Place physical barriers in front of fireplaces and areas that could damage the Robot Vacuum.
CHARGING
- With the appliance shut off, connect the power adapter to a wall outlet and insert the other end into the charging slot of the Robot Vacuum, as shown below.

- If the Robot Vacuum has a low charge, the power button will start flashing red.
- During the charging process the power button will flash green.
- When the product is fully charged the power button will stay green.
- When charging the appliance for the first time, please make sure to do so for at least 6 hours.
- If you disconnect the power adapter when the product is turned on and charged, the power button will begin flashing red and green to remind you that the power switch is not turned off. If you will not be using the Robot Vacuum, please remember to turn the switch off.
- Please charge the appliance fully after every use.

| Color | Status |
| Flashing red | The battery is low in charge |
| Flashing green | The battery is charging |
| Flashing red and green | Reminder that powert switch has not been shut off |
| Permanently green | The battery is fully charged |
| Permanently orange | Vacuum is operating |
USING THE APPLIANCE
- Turn on the main power switch on the bottom of the Robot Vacuum. See below for reference.

- Switch on the appliance and press the START/STOP button on the remote.
- When the Robot Vacuum is working properly, the light in the power button will stay orange. Pressing the power button or turning off the power will stop the appliance.
- Refer to the REMOTE CONTROL section to select the desired sweeping modes.

Ionic Air Purifier Function
The robot vacuum comes with an Ionic Air Purifier function, which is activated when the Robot Vacuum is sweeping.

- Please switch off the power when appliance will no longer be used.
- The Robot Vacuum should not start vacuuming while it is being charged.
REMOTE CONTROL
The remote control functions differently depending on which of the below modes the robot vacuum is in. You can switch between the modes using the Start/Pause button.
- Standby mode: The vacuum is on but paused.
- Operating mode: The vacuum is in on and sweeping.

NOTE: Please add two AAA batteries to remote before first use.
- "Start/Pause" button
- Pressing this button starts the vacuum, putting it in operating mode. The vacuum will start sweeping in random directions if no other buttons are pressed.
- Pressing this button while the vacuum is sweeping pauses the vacuum, putting it in standby mode.
- Directional buttons
![]() Up
Up - Under operating mode, the vacuum will move forward if when pressed.
- Under standby mode, the vacuum will not respond to this command.
![]() Down
Down - Under operating mode, the vacuum will move backwards if when pressed.
- Under standby mode, the vacuum will not respond to this command.
![]() Left
Left - Under operating mode, the vacuum will rotate left when pressed.
- Under standby mode, the vacuum will not respond to this command.
![]() Right
Right - Under operating mode, the vacuum will rotate right when pressed.
- Under standby mode, the vacuum will not respond to this command.
- "Focus"
- Under operating mode, the vacuum will start sweeping outwards as shown below.
![]()
- Under standby mode, the vacuum will not respond to this command.
- Under operating mode, the vacuum will start sweeping outwards as shown below.
- "Random"
- Under operating mode, the vacuum will start sweeping in random directions without a fixed pattern.
- Under standby mode, the vacuum will not respond to this command.
- "Auto"
- Under operating mode, the vacuum will start sweeping in a zigzag pattern as shown below.
![]()
- Under standby mode, the vacuum will not respond to this command.
- Under operating mode, the vacuum will start sweeping in a zigzag pattern as shown below.
- "Respond"
- a. Under operating mode or standby mode, the vacuum will beep to allow you to find it if you press this button.
 Up
Up  Down
Down  Left
Left  Right
Right 

NOTE:
- After you select a sweeping mode, the Robot Vacuum can change to another mode automatically depending on the environment. This is done to achieve the best sweeping results possible.
- Under any sweeping mode the Robot Vacuum will stop working if you press the START/STOP button on either the remote or the power button on the appliance.
CLEANING AND MAINTENANCE
Follow the instructions below regularly to clean and maintain the Robot Vacuum.
- If side brushes are dirty, please wash them carefully with clean water and let them dry naturally before using again. If they are damaged and cannot operate correctly, they should be replaced.
NOTE:
- When changing the side brushes, please make sure you correctly place them with their corresponding letter ("L" or "R")
- After the appliance is done sweeping, please remember to wash the side brushes to ensure its proper operation.
- 2. To clean the dust container and filters, follow the instructions and the associated images below.
Follow the instructions below along with the corresponding images.- Press down towards the end of the cover as indicated. The cover will open automatically.
![]()
- After removing the dust container, please make sure to check if the suction channel of the appliance is not obstructed in any way.
![]()
- Remove the efficient filter.
![]()
- Remove the preliminary filter.
![]()
- Pour all the dust out of the dust container onto a trashcan.
![]()
- Proceed to clean the dust container, preliminary filter, and efficient filter fully. Our suggestion is to clean the efficient filter every 15-30 days of use. The maximum service life of the efficient filter is 24 months. The efficient filter is not to be cleaned using a brush, but instead it should be blown using a dryer, or slightly knocked to remove all the dust. NOTE: Please do not wash it with water.
![]()
- Assemble all parts again carefully. Please make sure both filters are assembled properly to prevent any damage to the appliance.
![]()
- Press down towards the end of the cover as indicated. The cover will open automatically.


NOTE:
- Please clean the dust container and suction channel every time after sweeping.
- After all components are washed with water, make sure to let them dry naturally, but not under the sun. As soon as they are thoroughly dried, they should be put back into the Robot Vacuum to prevent affecting the functions and life of the appliance.
- If any of the filters are damaged, they need to be replaced as soon as possible to prevent affecting the effectiveness of dust removal.
Cleaning the Sensor Lenses

Use a soft damp cloth to wipe the sensors gently. See image below for reference on where the sensors are located.
TROUBLESHOOTING
| Issue | Reason | Solution |
Power button flashes red and the Device is beeping | Unstable surface. | Put the unit back on the floor. On a stable, flat, hard surface. |
Power button flashes green and the Device is beeping | Side brush is blocked. | Check the status of the side brush. Make sure nothing is blocking it. Remove anything that may be preventing them from operating normally. |
| Power button flashes red and orange and the Robot Vacuum is beeping. | The wheels are blocked. | Check the left and right wheels to make sure nothing is blocking them. Remove anything that may be preventing them from operating normally. |
Power button flashes green and orange | Front bumper error. | Make sure the path is clear and the front bumper is unobstructed. |
| Power button flashes orange for 60 seconds and the Robot Vacuum beeps for 10 seconds. | Charging failure. | Replace adapter or batteries. |
If additional assistance is needed, please contact our Customer Assistance at 1-888-525-6745.
www.KALORIK.com

Documents / Resources
References
Download manual
Here you can download full pdf version of manual, it may contain additional safety instructions, warranty information, FCC rules, etc.
Download Kalorik RVC 46588 - Robot Vacuum with Ionic Air Purifier Manual
Advertisement


Need help?
Do you have a question about the RVC 46588 and is the answer not in the manual?
Questions and answers