Sunbeam Fresh Protect SAP1000WH - Air Purifier Manual
- User manual (7 pages)
Advertisement
- 1 Sunbeam's Safety Precautions
- 2 Get to know your air purifier
- 3 Control panel and features
- 4 Features of your air purifier
- 5 Getting started
- 6 Operating instructions
- 7 Care and maintenance
- 8 How to replace the True HEPA filter
- 9 How to Replace the UV Light Bulb
- 10 Troubleshooting and support
- 11 Documents / Resources
Sunbeam's Safety Precautions
When using electrical appliances, basic safety precautions should always be followed to reduce the risk of fire, electric shock, and injury to persons. These precautions include:
- Read all instructions before using the appliance.
- Read the maintenance instructions before opening the appliance.
- To avoid fire or shock hazard, plug the appliance directly into appropriate electrical outlet.
- If the filter is covered by a bag when shipped, remove plastic bag before use and keep away from children.
- Keep the cord out of heavy traffic areas. To avoid fire hazard, never put the cord under rugs, near heat registers, radiators, stoves, or heaters.
- To protect against electrical hazards, do not immerse the appliance or use near water or other liquids.
- This appliance is not intended for use by children or by persons with reduced physical, sensory, or mental capabilities, or lack of experience and knowledge, unless they have been given supervision or instruction concerning use of the appliance by a person responsible for their safety. Close supervision is necessary when any appliance is used near children. Children should be supervised to ensure that they do not play with the appliance. Keep the appliance and its cord out of reach of children.
- Always turn the appliance off before unplugging it.
- Always unplug the air purifier before moving or cleaning the unit, opening the filter chamber cover, changing the filters and whenever the unit is not in use. To disconnect the unit, be sure to pull the plug and not the cord.
- Never drop or insert any objects into the openings of the unit.
- Do not operate any appliance with a damaged cord or plug. If the air purifier fails to operate or the unit has been dropped or damaged in any manner, return appliance to manufacturer for examination and/or repair. Appliances that are obviously damaged must not be operated.
- Use appliance only for intended household use as described in this manual. Any other use not recommended by the manufacturer may cause fire, electric shock, or injury to persons.
- Do not use outdoors.
- Never place on a soft surface such as a bed or sofa as this could cause the unit to tip over and block the air inlet or outlet grills.
- Keep unit away from heated surfaces and open flames.
- Do not place anything on top of unit.
- Prior to cleaning or other maintenance, the appliance must be disconnected from the supply mains.
- Never use detergents, glass cleaner, furniture polish, paint thinner or other household solvents to clean any part of the appliance.
- This appliance should only be used in a room with temperatures between 10°C and 40°C.
![]()
To reduce the risk of fire or electric shock, do not use this appliance with any solid-state speed control device.- Do not place the appliance on a walkway or where someone may trip over it. Misplacement of the appliance may cause a trip and fall.
![]()
To prevent risk of electric shock, remove cord plug from outlet before opening appliance. To prevent risk of fire, inspect and clean equipment regularly as noted in this manual.- This appliance contains a UV -C emitter.
- Unintended use of the appliance or damage to the housing may result in the escape of dangerous UV -C radiation.
![warning]() UV -C radiation may, even in little doses, cause harm to the eyes and skin. Do not operate the UV -C emitter outside the appliance.
UV -C radiation may, even in little doses, cause harm to the eyes and skin. Do not operate the UV -C emitter outside the appliance.- The appliance must be disconnected from the supply mains before replacing the UV -C emitter.
![]()
The lamp in the product contains Mercury. Do not place in trash. Dispose of according to local, state or federal laws.


 UV -C radiation may, even in little doses, cause harm to the eyes and skin. Do not operate the UV -C emitter outside the appliance.
If you have any concerns regarding the performance and use of your appliance, please visit the Sunbeam website or contact the Sunbeam Consumer Service Line.
Ensure the above safety precautions are understood.
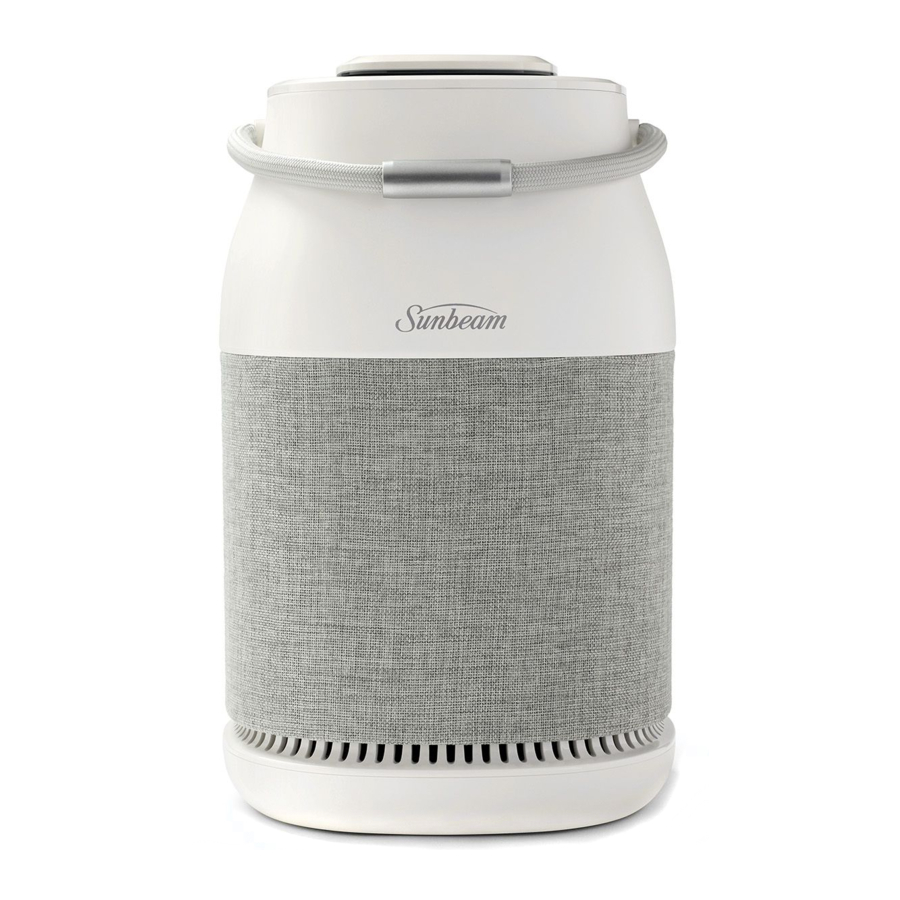
Get to know your air purifier

- Filtered air outlet vent
- Control panel
- Carry handle
- Fabric filter
- 360° air intake grille
- Filter cover
- Filter cover knob
- 3-in-1 True HEPA filter (activated carbon filter and pre-filter included)
- UV housing and bulb
- DC Jack at rear base on the unit
- Power Adaptor.
Only use this detachable power adaptor with this air purifier.
Control panel and features


On/Off button
Turns unit on or off.

Fan speed settings
Adjusts the speeds between 1 (low), 2, 3 (high).

UV -Protect™ UV Light
Turns the UV light on and off depending on your preference.

Ioniser
Turns the ioniser on and off depending on your preference.

Filter replacement indicator
Illuminates in red when it's time to replace your filter.

Timer
Sets a timer for 4, 8 or 12 hours.

Night light
Turns the night light on and off.

Night mode
Dims the display lights so you can sleep comfortably.
Features of your air purifier
True HEPA filter
Your air purifier features a True HEPA filter which removes up to 99.97% of airborne dust and pollen as small as 0.3 microns and helps reduce smoke, mould spores and pet dander from the air passing through the filter.
Pre-filter
The pre-filter captures large particles from dust, hair, pet dander to help extend the filter's efficiency and life.
Activated carbon filter
Designed to reduce and neutralize odours, vapours and gases from cooking, smoke, chemicals, pets, and other unwanted scents.
Fabric filter
The vacuum-friendly outer fabric catches larger particles, extending the life of the main filter.
Ioniser
This appliance has an ioniser feature which releases negative ions into outgoing filtered air to help the air purification process.
What are Ions?
Ions are tiny particles that carry a positive or negative charge. They exist naturally around us in the air, water, and ground. Both positive and negative ions are colourless, odourless, and completely harmless.
How does the ioniser work?
Negative ions help air purification by attaching themselves to very small airborne particles in the room. These particles take on a negative charge and may join with positively charged particles such as dust, pollen, smoke, and pet dander to form larger particles. The larger particles are then more easily captured by the filter system.

Notes:
Your ioniser may produce an occasional popping or cracking sound. This is normal and occurs when a small buildup of ions is discharged.
After extended use, you may notice dust around the grilles or panels.
- This is caused by negative ions exiting the air outlet, evidence of the ioniser's air cleaning effectiveness.
- You can remove the dust with a soft brush or clean, damp cloth. Larger particles may be attracted to positively charged surfaces throughout the home, like walls or floors.
- This may occur more frequently when the filter is nearing the end of its useful product life and unable to capture as many charged particles.
- Excessive amounts of pet dander, dust, or smoke may decrease the life expectancy of the filters and interfere with the ionisation process.
PRODUCT SPECIFICATIONS
| CADR | Smoke 191m 3 /h Dust 193m 3 /h Pollen 205m 3 /h | Noise level on high speed | 59 dB max |
| Fan speeds | 3 | Power consumption | 38W |
Getting started
Installing the True HEPA filter
- Turn OFF and unplug the air purifier.
- Locate the filter cover on the bottom of the unit.
- Rotate the knob counterclockwise to remove the cover and expose the filter (Figure 1-2).
![]()
- Remove the plastic bag from the filter and re-insert the filter (Figure 3).
![]()
- Re-align the filter cover and turn the knob clockwise to close.
- Your unit is equipped with one 3-in1 True HEPA filter that lasts up to 12 months depending on usage.


Operating instructions
- Place the unit on a dry, stable, and firm surface. Make sure not to block the top air outlet vent and air intake grille.
- Connect the power adaptor to the power jack located on the rear base of the unit. Plug the power adaptor into the supply socket. Note: The display lights will initially flash on and then turn off. The power button
![]() will remain illuminated when the unit is plugged in.
will remain illuminated when the unit is plugged in. - Tap the power button
![]() to turn the unit ON.
to turn the unit ON. - When starting up, the appliance will operate in fan speed 3 by default.
- To select a desired fan speed, tap the fan button
![]() to cycle through the speeds 1 (low), 2 and 3 (high) until the desired speed setting is illuminated.
to cycle through the speeds 1 (low), 2 and 3 (high) until the desired speed setting is illuminated. - To set the timer for 4, 8 or 12 hours, tap the timer button
![]() until the desired setting is illuminated. When the set time has elapsed, the appliance will automatically switch off. To deactivate the timer, tap the timer button repeatedly until the timer setting lights are turned off.
until the desired setting is illuminated. When the set time has elapsed, the appliance will automatically switch off. To deactivate the timer, tap the timer button repeatedly until the timer setting lights are turned off. - To turn the ioniser ON, press the
![]() button once until the white LED light next to the button is illuminated. Press the button again to turn the ioniser OFF.
button once until the white LED light next to the button is illuminated. Press the button again to turn the ioniser OFF. - To turn UV ON, press the
![]() button once until the white LED light next to the button is illuminated. Press the
button once until the white LED light next to the button is illuminated. Press the ![]() button again to turn the UV OFF.
button again to turn the UV OFF. - To turn night mode ON, tap the
![]() button once. The
button once. The ![]() button will illuminate and turn the display lights off. Tap the
button will illuminate and turn the display lights off. Tap the ![]() button again to turn night mode OFF. Note: Night mode will maintain your previous fan speed setting.
button again to turn night mode OFF. Note: Night mode will maintain your previous fan speed setting. - To turn the night light ON, press the
![]() button. To turn the night light OFF, press the
button. To turn the night light OFF, press the ![]() button once more.
button once more. ![]()
Always turn OFF and unplug the unit when not in use.
 will remain illuminated when the unit is plugged in.
 to cycle through the speeds 1 (low), 2 and 3 (high) until the desired speed setting is illuminated.
 until the desired setting is illuminated. When the set time has elapsed, the appliance will automatically switch off. To deactivate the timer, tap the timer button repeatedly until the timer setting lights are turned off.
 button once until the white LED light next to the button is illuminated. Press the button again to turn the ioniser OFF.
 button once until the white LED light next to the button is illuminated. Press the
  button once. The
  button. To turn the night light OFF, press the
 Care and maintenance
- Before cleaning the air purifier, always turn OFF and unplug the unit.
- Clean the exterior surface with a clean, damp cloth.
- The top air outlet vent can be cleaned of dust with a small, soft brush.
- If you would like to clean the inside of your filter compartment, ONLY use a dry, soft cloth to wipe it down.

Do not allow moisture to come into contact with the main housing of the air purifier. NEVER use detergents, glass cleaner, furniture polish, paint thinner, or other household solvents to clean any part of the appliance.
HOW TO CLEAN THE FABRIC FILTER
It is recommended to clean the outer fabric filter every 3 months or when dust appears.
- Turn the unit OFF and unplug.
- Gently vacuum the dust from the fabric or wipe clean with a damp cloth.
How to replace the True HEPA filter
It is recommended to replace the 3-in1 True HEPA filter every 12 months depending on usage.
- The filter replacement indicator light
![]() will illuminate red when it is time to replace the filter.
will illuminate red when it is time to replace the filter. - Turn OFF and unplug the air purifier.
- Locate the filter cover on the bottom of the unit.
- Rotate the knob counterclockwise to remove the cover and expose the filter (Figure 1-2 see above).
- Remove and discard the filter and re-insert a new filter (Figure 3 see above).
- Re-align the filter cover and turn the knob clockwise to close.
- Plug the unit and turn the power ON.
- To reset the filter status on the air purifier, press & hold the filter replacement button
![]() for 3 seconds. The filter icon
for 3 seconds. The filter icon ![]() will turn off.
will turn off.
 will illuminate red when it is time to replace the filter.
Information on where to purchase replacement filters can be found on our website at www.sunbeam.com.au.
Only use the original Sunbeam filter model SAPF360D specially intended for this appliance. Do not use any other filters.
How to Replace the UV Light Bulb
It is recommended to replace the UV light bulb every 12 months.

The UV bulb has a maximum wattage of 3.5 Watts.
Always disconnect the power before replacing the UV bulb or servicing.
- Turn the unit OFF and unplug the air purifier.
- Locate the filter cover on the bottom of the unit.
- Rotate the knob counterclockwise to remove the cover and expose the filter (Figure 1-2).
![]()
- Remove the filter and set aside (Figure 3).
![]()
- Remove the UV bulb housing by using a screwdriver to remove the four screws (Figure 4-5).
![]()
- Carefully remove the UV bulb by rotating the bulb counterclockwise (Figure 6). Discard the old UV bulb.
![]()
- Install the new UV bulb by rotating the bulb clockwise.
- Re-install the UV bulb housing by using a screwdriver to secure the four screws.
- Re-insert the filter.
- Re-align the filter cover and turn the knob clockwise to close.


Only use the original Sunbeam UV Bulb model specially intended for this appliance.
Do not use any other bulbs. Contact Sunbeam Customer Care for ordering replacement parts.
Troubleshooting and support
For troubleshooting and FAQs visit www.sunbeam.com.au.
| Problem | Cause | Solution |
| The air purifier is not working. | The appliance is not plugged in. | Check if unit is properly plugged in and outlet is working. |
| The appliance is not switched on. | Make sure unit is turned ON. | |
| Incorrect power adaptor used. | Use the power adaptor that is supplied with the air purifier. | |
| The filter is not properly installed. | Make sure filters are properly installed. | |
| The filter cover is not fully assembled. | Check that the filter cover is correctly assembled by re-aligning the filter cover and turn the knob clockwise to close. | |
| The air flow has decreased. | The air intake grille and filtered air outlet may be obstructed. | Turn OFF and unplug the appliance. Remove any obstructions blocking the air intake grille, fabric pre-filter and filtered air outlet. |
| The filter is nearing the end of its useful product life. | Check the condition of the filters and replace if necessary. | |
| Pre-installed filter is covered by a protective plastic packaging. | Check filter to remove any plastic packaging and re-install the filter. | |
| The air purifier is making a loud noise. | Pre-installed filter is covered by a protective plastic packaging. | Check filter to remove any plastic packaging and re-install the filter. |
| The ioniser may produce an occasional popping or cracking sound. | This is normal and occurs when a small buildup of ions is discharged. |

Documents / ResourcesDownload manual
Here you can download full pdf version of manual, it may contain additional safety instructions, warranty information, FCC rules, etc.
Download Sunbeam Fresh Protect SAP1000WH - Air Purifier Manual
Advertisement


Need help?
Do you have a question about the Fresh Protect SAP1000WH and is the answer not in the manual?
Questions and answers