G3 Onyx - Bellowed-Boot Shim Installation And User Manual
Also See for Onyx:
- Installation instructions (4 pages) ,
- Installation and user instructions (2 pages) ,
- Installation and user instructions (2 pages)
Advertisement
Table of Contents
Contents
G3 Onyx - Bellowed-Boot Shim Installation And User Manual
Important warnings and instructions

- This product is intended for use only with the following ski boots with flexible bellows: Scarpa® F1, F1 Race, F1 Carbon, Scarpa® F3, Scarpa® Terminator X and Terminator X Pro.
- Use of a bellowed boot with the G3 Onyx binding without the Bellowed-Boot Shim will affect the safety release and is not recommended
- Refer to the ONYX User Operating Instructions for important warnings and instructions regarding the use of Onyx bindings. Visit www.genuineguidegear.com for the latest information
- Refer to the Onyx Mounting and Installation Instructions for binding mounting and assembly instructions. Visit www.genuineguidegear.com for the latest information.
- The use of any accessory, such as the bellowed-boot shim, with the Onyx binding will affect the binding release values.
- Winter Backcountry travel is inherently dangerous. There is always the risk of serious injury or death. You are solely responsible for your actions and decisions. Familiarize yourself with the use of this product, its limitations and capabilities. Learn proper skiing techniques, avalanche awareness and exercise good judgment in conjunction with using this product properly. Use this equipment and ski at your own risk
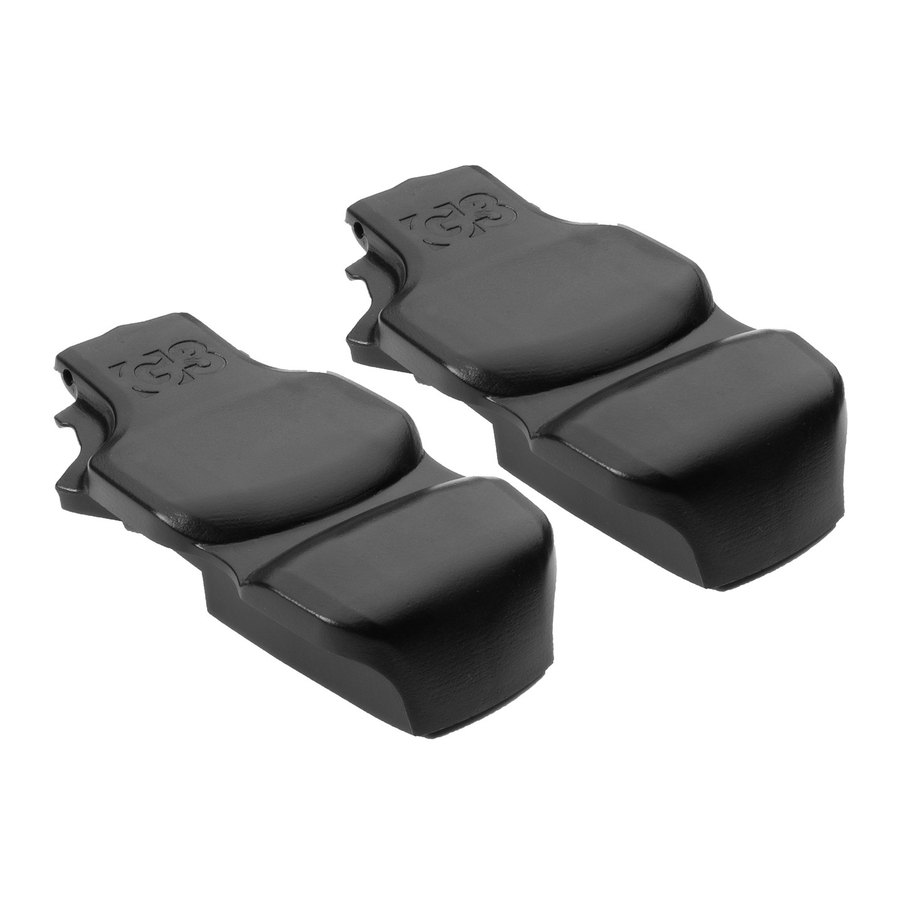
ONXY Bellowed-boot Shim Overview
Key Components

- Bellowed-Boot Shim
- T-stud
- Screw
- T10 Torx key
- Drilling template
Installation of shim
- Note the positions of the binding toe on the ski (+7.5mm, 0,-7.5mm)
- Remove the Onyx binding toe from the ski
- Using the T10 Torx key, remove the screw shown from the underside of the binding

- Using the T10 Torx key, remove the long screw shown and remove the plastic Step-In Platform

- Re-install the Onyx binding toe onto the base plate. Locate the toe in the original position and torque the toe positioning screws to 5.6 N∙m (50 in∙lbf)

- Place the drilling template against the rear edge of the toe base plate. Mark the drilling location with a pen or centre-punch. Drill in the marked location with a Ø3.5mm x 9mm or Ø4.1mm x 9mm drill. (Ø4.1mm for skis with metal topsheet)

- Remove chips or dust from the hole. The hole should be glued with waterproof glue and/or tapped if recommended by the ski manufacturer.
- Position the T-Stud over the hole and insert the screw. Torque to 4 N∙m (35 in∙lbf) with a #3 Pozidrive driver.

- Slide the shim over the Tstud and align to the Onyx binding toe. Insert the long screw removed earlier through the binding toe and shim. Torque to 1.7 N∙m (15 in∙lbf)


Using bellowed boots with the Onyx binding will affect the binding safety release
When using the Onyx Crampon with the Bellowed-boot Shim the low climbing height should always be used

Maintenance and Storage
- After every use the binding and shim should be cleaned with a damp rag to remove any dirt or dust.
Do not use any other kind of lubricants, grease, solvents, cleaning products or pressurized devices.
Warranty
- Please visit www.genuineguidegear.com/service/g3-product-warranty for complete warranty information.
Further Information
- The G3 website www.genuineguidegear.com has the most current information regarding all G3 products. Please go to the website to find any recent updates and additional information on how to use the product.

Documents / Resources
References
Download manual
Here you can download full pdf version of manual, it may contain additional safety instructions, warranty information, FCC rules, etc.
Download G3 Onyx - Bellowed-Boot Shim Installation And User Manual
Advertisement


Need help?
Do you have a question about the Onyx and is the answer not in the manual?
Questions and answers