G3 ONYX Installation And User Instructions
Brake installation
Hide thumbs
Also See for ONYX:
- Installation instructions (4 pages) ,
- Installation and user instructions (2 pages) ,
- Installation manual
Advertisement
Quick Links
Important warnings and instructions
1.
Important Warnings
• Ski brake installation should be performed by an authorized dealer.
• Refer to the ONYX User Operating Instructions for important warnings and
instructions regarding the use of Onyx bindings.
• Refer to the Onyx Mounting and Installation Instructions included with the binding
for binding mounting and assembly instructions.
• Only G3 Onyx ski brakes should be used with Onyx bindings.
2.
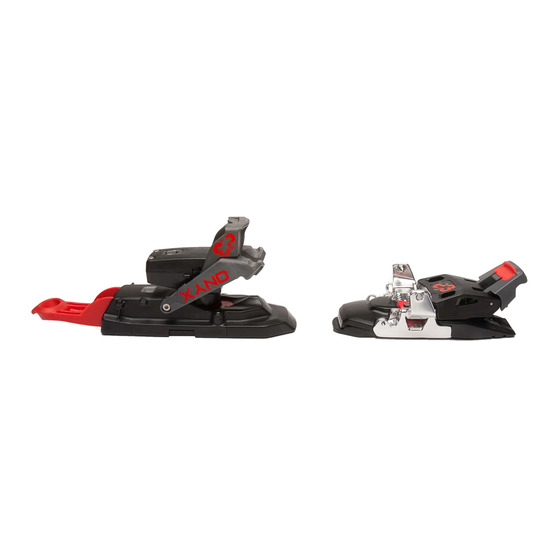
ONXY Brake Overview
2.1. Key Components
1.
Heel Assembly
2.
Brake
3.
Heel cowling screws
4.
Heel mode lever
5.
Brake Platform
2.2. Installation of the ski brake to the heel assembly
Note: Binding must be mounted to ski before installing the ski brake.
Refer to the Onyx Mounting and Installation Instructions included with
the binding for binding mounting and assembly instructions.
• If the front heel
cowling
(6)
is
installed, remove it
from
the
heel
assembly
(1)
by
removing the heel
cowling screws (3)
as
shown
and
sliding it off the
heel assembly.
©2009 G3 Genuine Guide Gear Inc.
Brake Installation and User Instructions
• The use of a ski brake doesn't guarantee that a ski will be controlled under all
circumstances (problems may arise when skiing in deep snow).
• Only use a brake that is properly sized for the width of the ski.
• The use of any accessory, such as the ski brake, with the Onyx binding will affect
the binding release values.
• Winter Backcountry travel is inherently dangerous. There is always the risk of
serious injury or death. You are solely responsible for you actions and decisions.
Familiarize yourself with the use of this product, its limitations and capabilities. Learn
proper skiing techniques, avalanche awareness and exercise good judgment in
conjunction with using this product properly. Use this equipment and ski at your own
risk.
• Switch the heel
to tour mode by
using
the
heel
mode lever (4)
•
Install the Onyx
Ski Brake (2) by
sliding it onto the
heel assembly (1)
from the front.
• Secure the brake
(2)
to
the
heel
assembly
(1)
by
installing the heel
cowling screws (3)
with either a #1
phillips
or
a
#1
Pozidrive
screwdriver.
• Torque the heel
cowling screws (3)
to 1.1Nm.
CAUTION: The use of any accessory, such as the ski brake, with the Onyx
binding will affect the binding release values
091005 Rev -
Advertisement

Related Manuals for G3 ONYX


Summary of Contents for G3 ONYX
- Page 1 (problems may arise when skiing in deep snow). • Only use a brake that is properly sized for the width of the ski. • The use of any accessory, such as the ski brake, with the Onyx binding will affect Important Warnings the binding release values.
- Page 2 Do not use any other kind of lubricants, grease, solvents, cleaning products or pressurized devices. • Store G3 Onyx bindings in ski mode (toe and heel) in an environment where there aren’t large fluctuations in temperature and humidity from standard conditions. Avoid environments with excessive heat (ie.
Need help?
Do you have a question about the ONYX and is the answer not in the manual?
Questions and answers