Table of Contents
Advertisement
Quick Links
Advertisement
Table of Contents

Related Manuals for Daikin 4AMX80E7V3B


Summary of Contents for Daikin 4AMX80E7V3B
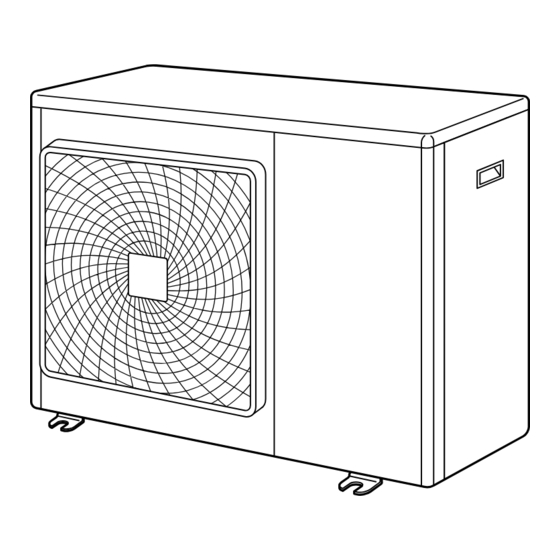
- Page 1 INSTALLATION MANUAL R410A Split series 4AMX80E7V3B...
- Page 2 S102 50 Hz 230 V H05VV...
- Page 3 3PW25914-2C...
-
Page 4: Table Of Contents
Be sure to use a dedicated power circuit. Never use a power OTHER DAMAGE TO THE EQUIPMENT. BE SURE ONLY supply shared by another appliance. TO USE ACCESSORIES MADE BY DAIKIN WHICH ARE For wiring, use a cable long enough to cover the entire distance SPECIFICALLY DESIGNED FOR USE WITH THE with no connection. -
Page 5: Accessories
Since drain flows out of the outdoor unit, do not place anything under the unit which must be kept away from moisture. NOTE Units cannot be installed hanging from ceiling or stacked. 4AMX80E7V3B Installation manual R410A Split series 4PW38479-1A... -
Page 6: Indoor/Outdoor Unit Installation Drawings
20 mm above the foundation surface. level mounting base (or a plastic pedestal). Install the outdoor unit in a level position. Failure to do so may result in water leakage or accumulation. Installation manual 4AMX80E7V3B R410A Split series 4PW38479-1A... -
Page 7: Outdoor Unit Installation Guidelines
If the outdoor unit is positioned higher than the indoor units (See figure 2) If the outdoor unit is positioned otherwise (i.e. lower than one or more indoor units) (See figure 3) Level difference: ≤7.5 m Level difference: ≤15 m 4AMX80E7V3B Installation manual R410A Split series 4PW38479-1A... -
Page 8: Refrigerant Piping
Connect the projection side (on which the worm pin is pressed) of the charging hose coming from the gauge manifold to the gas stop valve’s service port. Installation manual 4AMX80E7V3B R410A Split series 4PW38479-1A... -
Page 9: Important Information Regarding The Refrigerant Used
Bending radius should be 30 to 40 mm or larger. Flare's inner surface must be flaw-free. The pipe end must be evenly flared in a perfect circle. Make sure that the flare nut is fitted. 4AMX80E7V3B Installation manual R410A Split series 4PW38479-1A... -
Page 10: How To Use Reducers
Be sure to attach the gasket When using the reducer packing shown above, be careful not to overtighten the nut, or the smaller pipe may be damaged. (Approx. 2/3 - 1x the normal torque) Installation manual 4AMX80E7V3B R410A Split series 4PW38479-1A... -
Page 11: Wiring
Not executing the connections properly may cause heat and fire. 4AMX80E7V3B Installation manual R410A Split series 4PW38479-1A... -
Page 12: Night Quiet Mode Setting
This function is useful if the customer is worried about the effects of the operating noise on the neighbours. Running units in night quiet mode however, reduces the cooling/ heating capacity. Installation manual 4AMX80E7V3B R410A Split series 4PW38479-1A... -
Page 13: Test Run And Final Check
During cooling operation, frost may form on the gas stop valve or other parts. This is normal. Operate the indoor units in accordance with the included operation manual. Check that they operate normally. 4AMX80E7V3B Installation manual R410A Split series 4PW38479-1A... -
Page 14: Items To Check
ISPOSAL REQUIREMENTS Dismantling of the unit, treatment of the refrigerant, of oil and of other parts must be done in accordance with relevant local and national legislation. Installation manual 4AMX80E7V3B R410A Split series 4PW38479-1A... - Page 15 NOTES NOTES...
- Page 16 4PW38479-1A...
Need help?
Do you have a question about the 4AMX80E7V3B and is the answer not in the manual?
Questions and answers