Table of Contents

Subscribe to Our Youtube Channel
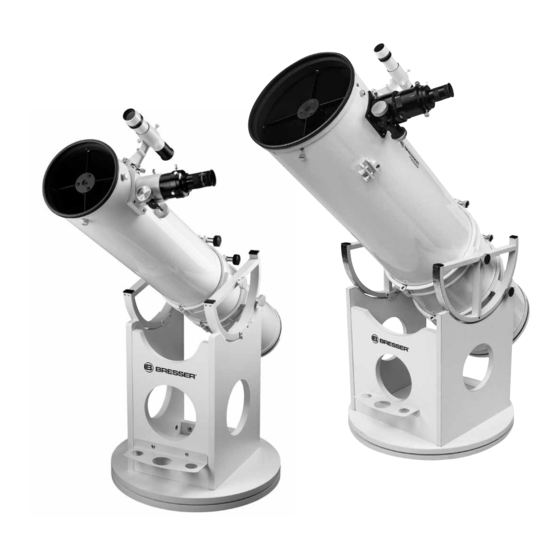
Related Manuals for Bresser DOB-254


Summary of Contents for Bresser DOB-254
- Page 1 DOB-150 / 203 / 254 / 305 150/1200 (6") · f/8 203/1218 (8") · f/6 254/1270 (10") · f/5 305/1525 (12") · f/5 Dobson Telescope · Parabolic Newtonian Reflector Art. No. 4716416 / 4716420 / 4716425 / 4716430 INSTRUCTION MANUAL...
- Page 2 Allgemeine Warnhinweise · General Safety Informations · Avertissements généraux Algemene veiligheid informatie · Avvertenze generali · Advertencias generales de seguridad Informações gerais de segurança · Общие предупреждения van storingen contact op met de speciaalzaak. Diese Bedienungsanleitung ist als Le présent mode d‘emploi doit être Deze neemt contact op met het servicecentrum Teil des Gerätes zu betrachten.
- Page 3 (bolsas de plástico, cintas de goma, etc.)! ¡Existe RISCO de ferimentos! для последующего использования. PELIGRO DE ASFIXIA! Nunca direccione este aparelho directamente При продаже или передаче устройства руководство по эксплуатации para o sol ou para perto do sol. RISCO DE ¡PELIGRO DE INCENDIO! CEGUEIRA! необходимо...
-
Page 4: Parts Overview
Parts Overview Fig. 2 Inset A C 1% 1& Inset B - 4 -... - Page 5 OTA (Optical Tube Assembly) (Fig. 2) 1. Eyepiece 2. Eyepiece extension 2a. Eyepiece holder 3. Aperture www.bresser.de/download/Messier/Dobson 4. LED viewfinder 5. OTA bracket (2x) with clamp screw (5a) 6. Fixing screws (4x) 7. Altitude wheels (2x) with lateral guids (7a) Basis (Fig.
-
Page 6: Assembling The Base
Setup Assembling the base NOTE! You additionally need a suitable Phillips screwdriver, an Allen wrench and an open-end wrench or ring wrench for assembling. Use an old carpet or another soft surface to avoid any damages to the component parts. Required IMPORTANT! Note that the studs are height-adjustable. - Page 7 Setup STEP 5 (Fig. 7): Fig. 7 1. Set up the front part (Fig. 1, F) and put it with the drill holes of the quick fasteners (Fig. 1, M) over the threaded bolts (Fig. 1, L) of the left side part (Fig.
- Page 8 Setup Attaching the OTA Fig. 10 STEP 8 (Fig. 10): 1. Attach both altitude wheels (Fig. 1, H) with the fixing screws (Fig. 1, T) to the right and left side of the OTA. NOTE! Make sure that the 'noses' on one side (Fig. 10, X) are pointing in the direction of the clamp screws (Fig.
-
Page 9: Installing Accessories
Installing accessories Inserting the eyepiece (Fig. 12) Fig. 12 1. Insert the 1 ¼" eyepiece (Fig. 1, J) into the eyepiece holder (Fig. 12, 15). 2. Tighten the clamp screw (Fig. 12, 17) slightly. 3. Look through the eyepiece and turn the focusing wheel of the focusing drive (Fig. 12, 13) right or left to focus the image. -
Page 10: Using A Dobsonian Telescope
Usage Using a Dobsonian telescope 1. Never lubricate the Teflon pads on the ground plate. Your Dobsonian has been designed with some inherent friction. You want the telescope to move easily when you position it, but you also want it to stay in the position you place it. - Page 11 Usage Calculating the magnification The magnification, or power of a telescope is determined by two factors: the focal length of the eyepiece and the focal length of the telescope. Your telescope is supplied with one eyepiece. The focal length of the eyepiece, 25mm, is printed on its side.
- Page 12 Usage Observation Allow for a temperature adjustment for about 90 minutes before starting an observation. Because when bringing the telecope e.g. from a heated car or house to a place outside so called tube seeing may occur. This means that the primary mirror is warmer than the air and will produce air turbulence. After the temperature adjustment the telecope will produce a sharp image.
- Page 13 Usage Saturn Saturn has a diameter about 9 times the Earth's diameter and appears as small roundish disc. You can see the rings of Saturn on both sides of the planetary disc. Galilei, who was the first human observer of this planet in 1610 couldn´t know that the planet had rings – he described that Saturn had „ears“. The rings of Saturn mainly consist of billions of icy particles –...
-
Page 14: Useful Tips
Usage Useful tips By the way, you might have noticed something strange when you looked through your eyepiece. The image is upside down, and it is also reversed. That means reading words can be a problem or viewing objects on the ground can be a problem. But it has no affect on astronomical objects. Because of the Earth's rotation all objects seem to drift across the field of view. -
Page 15: Maintenance And Cleaning
Maintenance and Cleaning Maintenance Your telescope is a precision instrument that will provide many years of fun. When you are treating this telescope with the same care as for example a expensive camera, it is very unlikely that you will ever need to return it for service or maintenance. - Page 16 Maintenance and Cleaning these offsets have been performed at the factory prior to shipment of your telescope. It is only necessary for you to confirm that the telescope has not been badly jarred out of collimation, and to perform the final fine-tuning of Step 4, below. To check and, if necessary, set the optical collimation, follow these steps: 1.
-
Page 17: Technical Data
Technical data BRESSER DOB-150 150/1200 (6") DOB-203 203/1218 (8") DOB-254 254/1270 (10") DOB-305 305/1525 (12") Messier Dobson 4716416 4716420 4716425 4716430 Tube made of metal with adjustable brackets and GRP tube with adjustable tube clamps Tube (OTA) altitude wheels made of aluminium... - Page 18 Entsorgung · Disposal · Elimination · Afval · Saltimento · Eliminación · Eliminação Утилизация Entsorgen Sie die Verpackungsmaterialien sortenrein. Beachten Sie Smaltire i materiali di imballaggio in maniera differenziata. Per lo bei der Entsorgung des Geräts die aktuellen gesetzlichen Bestim- smaltimento dell’apparecchio osservare le disposizioni di legge mungen! Informationen zur fachgerechten Entsorgung erhalten Sie bei attuali.
- Page 19 покупки. Подробные условия гарантии, информацию о расширенной informations concernant la prolongation de la garantie et les prestations гарантии и о наших сервисных центрах можно получить на нашем сайте de service sur www.bresser.de/warranty_terms. www.bresser.de/warranty_terms. De reguliere garantieperiode bedraagt 10 jaar en begint op de dag van aankoop.
- Page 20 (de per E-Mail. préférence via e-mail). E-Mail: service@bresser.de E-Mail: sav@bresser.fr Telefon*: +49 28 72 80 74 210 Téléphone*: 00 800 6343 7000 BRESSER GmbH BRESSER France SARL Kundenservice Pôle d’Activités de Nicopolis Gutenbergstr. 2 314 Avenue des Chênes Verts 46414 Rhede 83170 Brignoles Deutschland France *Lokale Rufnummer in Deutschland (Die Höhe der Gebühren je *Prix d'un appel local depuis la France ou Belgique Telefonat ist abhängig vom Tarif Ihres Telefonanbieters);...
Need help?
Do you have a question about the DOB-254 and is the answer not in the manual?
Questions and answers