Axis M1124-E User Manual
Hide thumbs
Also See for M1124-E:
- Installation manual (136 pages) ,
- User manual (73 pages) ,
- User manual (64 pages)

Related Manuals for Axis M1124-E


Summary of Contents for Axis M1124-E
- Page 1 AXIS M11–E Network Camera Series AXIS M1124–E Network Camera AXIS M1125–E Network Camera User Manual...
-
Page 2: Table Of Contents
AXIS M11–E Network Camera Series Table of Contents About this manual ......... . -
Page 3: About This Manual
AXIS M11–E Network Camera Series About this manual About this manual This user manual describes multiple products. Some of the instructions may not be relevant for your product. -
Page 4: Product Overview
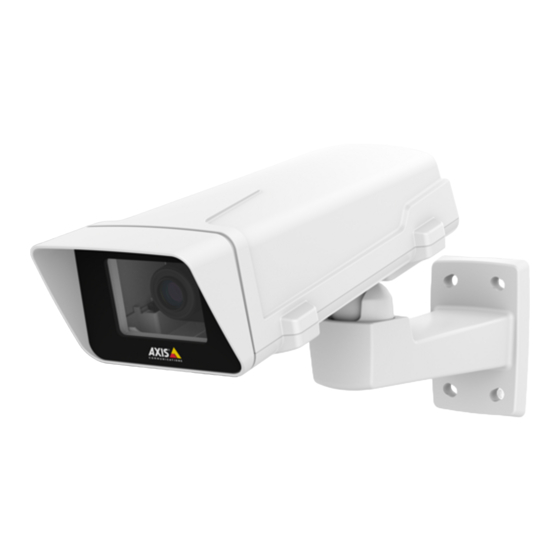
AXIS M11–E Network Camera Series Product overview Product overview Top cover Front window Network camera Holder screw (2x) Drill-outs for extra cables holes Cable gasket Desiccant bag Safety wire... - Page 5 AXIS M11–E Network Camera Series Product overview Zoom puller Focus ring Power connector Control button Network connector Power LED Status LED Network LED microSD card slot 10 Iris connector 11 I/O connector 12 ¼ ″ Screw mount...
-
Page 6: Find The Device On The Network
Find the device on the network Find the device on the network To find Axis devices on the network and assign them IP addresses in Windows®, use AXIS IP Utility or AXIS Device Manager. Both applications are free and can be downloaded from axis.com/support For more information about how to find and assign IP addresses, see the document How to assign an IP address and access your device on the device page at axis.com... -
Page 7: Access The Device
Bonjour as a browser bookmark, go to Safari > Preferences. If you do not know the IP address, use AXIS IP Utility or AXIS Device Manager to find the device on the network. 2. Enter the username and password. If you access the device for the first time, you must set the root password. See Set a secure password for the root account on page 7 . -
Page 8: Setup
AXIS M11–E Network Camera Series Setup Setup Webpage overview Live view control bar Live view Product name Controls Video control bar Settings toggle... - Page 9 AXIS M11–E Network Camera Series Setup Settings tabs Need more help? You can access the built-in help from the device’s webpage. The help provides more detailed information on the device’s features and their settings.
-
Page 10: Image Quality
AXIS M11–E Network Camera Series Setup Image quality Level the camera To adjust the view in relation to a reference area or object, use the leveling guide in combination with a mechanical adjustment of the camera. 1. Go to Settings > System > Orientation and click 2. - Page 11 Use corridor format to better utilize the full field of view in a long and narrow area, for example a staircase, hallway, road, or tunnel. 1. Depending on your device, turn the camera or the 3-axis lens in the camera 90° or 270°.
- Page 12 AXIS M11–E Network Camera Series Setup 3. Click 4. Rotate the view 90° or 270°. Find out more at axis.com/axis-corridor-format Improve facial recognition To better recognize the face of a person passing by the camera, you can set the optimal pixel resolution with the camera’s pixel counter.
-
Page 13: Privacy Masks
This example explains how to display the text “Motion detected” when the device detects motion: Make sure the AXIS Video Motion Detection application is running: 1. Go to Settings > Apps > AXIS Video Motion Detection. 2. Start the application if it is not already running. -
Page 14: Ptz (Pan Tilt Zoom)
7. Go to System > Events > Rules and add a rule. 8. Type a name for the rule. 9. In the list of conditions, select AXIS Video Motion Detection. 10. In the list of actions, select Use overlay text. -
Page 15: Streaming And Storage
H.264 or MPEG-4 Part 10/AVC Note H.264 is a licensed technology. The Axis product includes one H.264 viewing client license. Installing additional unlicensed copies of the client is prohibited. To purchase additional licenses, contact your Axis reseller. H.264 can, without compromising image quality, reduce the size of a digital video file by more than 80% compared to the Motion JPEG format and by as much as 50% compared to the MPEG-4 standard. -
Page 16: Events
Make sure the AXIS Video Motion Detection application is running: 1. Go to Settings > Apps > AXIS Video Motion Detection. 2. Start the application if it is not already running. 3. Make sure you have set up the application according to your needs. - Page 17 8. In the list of storage options, select SD card. 9. Click Save. Record video when a PIR detector senses motion This example explains how to connect an Axis PIR detector to the camera, and set up the camera to start recording when the detector senses motion. Required hardware •...
- Page 18 This example explains how to set up the camera to go to a preset position when it detects motion in the image. Make sure the AXIS Video Motion Detection application is running: 1. Go to Settings > Apps > AXIS Video Motion Detection. 2. Start the application if it is not already running.
-
Page 19: Applications
Applications Applications AXIS Camera Application Platform (ACAP) is an open platform that enables third parties to develop analytics and other applications for Axis products. To find out more about available applications, downloads, trials and licenses, go to axis.com/applications To find the user manuals for Axis applications, go to axis.com Note •... -
Page 20: Troubleshooting
Using firmware from the active track is recommended if you want to access the newest features, or if you use Axis end-to-end system offerings. The LTS tracks are recommended if you use third-party integrations, which are not continuously validated against the latest active track. -
Page 21: Upgrade The Firmware
Axis device. Check all cabling and reinstall the device. Possible IP address conflict The static IP address in the Axis device is used before the DHCP server sets a dynamic address. with another device on the... -
Page 22: Performance Considerations
IP addresses obtained from a DHCP server are dynamic and may change. If the IP address has been changed by DHCP changed, use AXIS IP Utility or AXIS Device Manager to locate the device on the network. Identify the device using its model or serial number, or by the DNS name (if the name has been configured). - Page 23 Heavy network utilization due to poor infrastructure affects the bandwidth. • Viewing on poorly performing client computers lowers perceived performance and affects frame rate. • Running multiple AXIS Camera Application Platform (ACAP) applications simultaneously may affect the frame rate and the general performance.
-
Page 24: Specifications
AXIS M11–E Network Camera Series Specifications Specifications To find the latest version of the product’s datasheet, go to the product page at axis.com and locate Support & Documentation. LED indicators Note The Status LED can be configured to flash while an event is active. -
Page 25: Connectors
AXIS M11–E Network Camera Series Specifications Connectors Network connector RJ45 Ethernet connector with Power over Ethernet (PoE). I/O connector Use the I/O connector with external devices in combination with, for example, motion detection, event triggering, and alarm notifications. In addition to the 0 V DC reference point and power (DC output), the I/O connector provides the interface to: Digital input - For connecting devices that can toggle between an open and closed circuit, for example PIR sensors, door/window contacts, and glass break detectors. - Page 26 AXIS M11–E Network Camera Series Specifications Power connector 2-pin terminal block for DC power input. Use a Safety Extra Low Voltage (SELV) compliant limited power source (LPS) with either a rated output power limited to ≤100 W or a rated output current limited to ≤5 A.
- Page 27 User Manual Ver. M2.2 AXIS M11–E Network Camera Series Date: April 2019 © Axis Communications AB, 2019 Part No. T10139125...
Need help?
Do you have a question about the M1124-E and is the answer not in the manual?
Questions and answers