Table of Contents
Advertisement
Quick Links
- 1 C2150 Initialization (Learn Cycle)
- 2 Adjusting Parameters (Procedure for Changing Preset Parameters)
- 3 Lock Error Codes (Trouble Shooting Guide)
- 4 Encoder Error Codes (Trouble Shooting Guide)
- 5 In Case of Difficulty (Trouble Shooting the C2150)
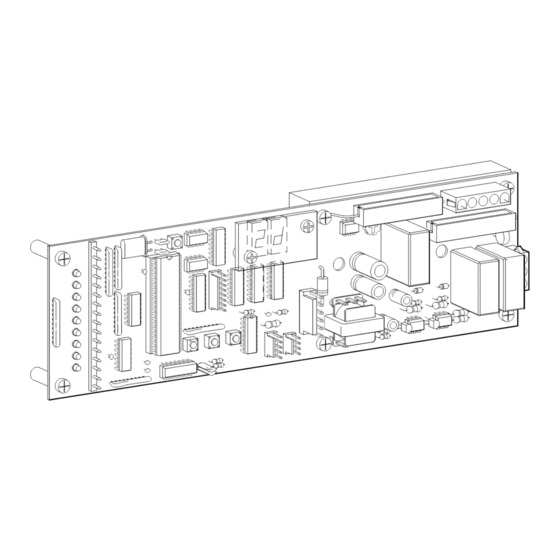
- 6 Terminal Cn2 (Description of Terminal Block Connections)
- 7 G.wiring Diagram List
- 8 Bracket Attachment (Correct Attachment of Power Arms)
- Download this manual
Advertisement
Table of Contents
Troubleshooting


Need help?
Do you have a question about the 2000B Series and is the answer not in the manual?
Questions and answers