Taylor 390 Manual
Hide thumbs
Also See for 390:
- Operator's manual (36 pages) ,
- Original operating instructions (41 pages)
Advertisement
Quick Links
4.8 BEVERAGE EQUIPMENT:
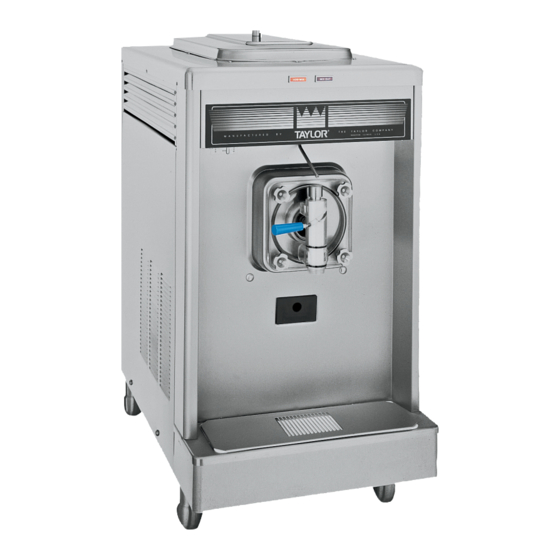
4.8.6.3 ICED CAPPUCCINO MACHINE
Taylor MODEL: 390
LOCATION:
Front of House
WHEN CLEANED:
Daily, Weekly, Monthly, Seasonal
TOOLS/SUPPLIES REQUIRED:
• Salmon Cloth
• 2 or 3-Compartment Sink
• Sink Detergent
• Sanitizer
• Food Grade Lubricant (Taylor Lube or Dow Corning 111)
• 2 Clean, Sanitized Pails (one for product, one for cleaning)
• Paper Towel
• Cleaning Brushes
• O-Ring Remover
• Iced Cappuccino Parts Tray
• C-Safe Circuit Breaker Lockout Kit
O-Ring Remover Tool –
TDL Tune-Up Kit #78116
4.8.6.3 Iced Cappuccino Machine
Taylor 390
All manuals and user guides at all-guides.com
White Bristle (Gong Brush) – TDL #71091
Use on Hopper, Parts Tray, Rear Drip Pan, Beater,
Front Bearing, Front Drip Tray, Freezing Cylinder
Double Ended – TDL Kit #71092
Use on All O-Rings, All Holes in Metal Parts, O-Ring
Grooves on All Parts, Core in Draw Valve, Prime Plug Port
Hole in Freezer Door, Retaining Pin, Door Stud Nuts.
1
Black Bristle – TDL Kit #71092
Use on Rear Shell Bearing
White Bristle – TDL Kit #71092
Use on Product Entry Ports in
back of Freezer Door, Scraper
Blade, Draw Handle, Drive
Shaft, Drive Shaft Seal
Issue Date: February 21, 2008
Last Modified: October 31, 2008
Advertisement

Related Manuals for Taylor 390


Summary of Contents for Taylor 390
- Page 1 • Salmon Cloth • 2 or 3-Compartment Sink • Sink Detergent • Sanitizer • Food Grade Lubricant (Taylor Lube or Dow Corning 111) • 2 Clean, Sanitized Pails (one for product, one for cleaning) • Paper Towel • Cleaning Brushes •...
-
Page 2: Operator Parts Identification
This unit has a 20 quart (18.9 Litre) mix hopper and the freezing cylinder holds 7 quarts (6.6 Litres) of Iced Cappuccino Mix (equivalent of three batches total). 4.8.6.3 Iced Cappuccino Machine Issue Date: February 21, 2008 Taylor 390 Last Modified: October 31, 2008... -
Page 3: Beater Assembly
(1"OD x .139W) Ice Buster 047735 Beater Shaft Seal 032560 053100 O-Ring 025307 O-Ring (7/8 OD x .139W) (.291 ID x .080W) Torque Arm 014500 4.8.6.3 Iced Cappuccino Machine Issue Date: February 21, 2008 Taylor 390 Last Modified: October 31, 2008... - Page 4 15 seconds, to be replenished. To prevent damage to the unit, indicating the proper blend time. refrigeration discontinues automatically. 4.8.6.3 Iced Cappuccino Machine Issue Date: February 21, 2008 Taylor 390 Last Modified: October 31, 2008...
- Page 5 All manuals and user guides at all-guides.com 4.8 BEVERAGE EQUIPMENT: TAYLOR 390 PARTS TRAY Place parts in the assigned area when cleaning the machine Torque Beater Shaft Draw Valve Beater Shaft Torque Arm Assembly O-Ring O-Rings (2) Draw Valve Freezer Door...
- Page 6 NOTE: If the drip pan is filled with an excessive amount of mix, it is an indication that the drive shaft O-Ring, seal or both should be replaced or were not properly lubricated. 4.8.6.3 Iced Cappuccino Machine Issue Date: February 21, 2008 Taylor 390 Last Modified: October 31, 2008...
- Page 7 Use the small white bristle brush to clean the mix inlet hole. INLET HOLE 4.8.6.3 Iced Cappuccino Machine Issue Date: February 21, 2008 Taylor 390 Last Modified: October 31, 2008...
- Page 8 8. Remove the torque assembly from the freezing cylinder and dismantle all parts from the freezer door. Remove the front bearing and valve handle pin. 4.8.6.3 Iced Cappuccino Machine Issue Date: February 21, 2008 Taylor 390 Last Modified: October 31, 2008...
- Page 9 NOTE: If preferred, the O-Ring Remover Tool can be used to take off the O- Rings from both the draw valve and the beater shaft (as shown). 12. Remove the door gasket from the freezer door. 4.8.6.3 Iced Cappuccino Machine Issue Date: February 21, 2008 Taylor 390 Last Modified: October 31, 2008...
- Page 10 2 or 3-compartment sink for cleaning. Wash, rinse and sanitize all parts. Brush Cleaning 16. Using the black bristle brush, clean the rear shell bearing at the back of the freezing cylinder. 4.8.6.3 Iced Cappuccino Machine Issue Date: February 21, 2008 Taylor 390 Last Modified: October 31, 2008...
- Page 11 NOTE: Use your index finger to wipe off any excess lubricant at the contact point of the shaft seal and rear freezing cylinder Square 4.8.6.3 Iced Cappuccino Machine Issue Date: February 21, 2008 Taylor 390 Last Modified: October 31, 2008...
- Page 12 5. Begin assembling the freezer door. Place the reversible door gasket onto the freezer door and then slide the front bearing onto the hub ensuring that the flanged end is touching the door. 4.8.6.3 Iced Cappuccino Machine Issue Date: February 21, 2008 Taylor 390 Last Modified: October 31, 2008...
- Page 13 Replace the four stud nuts onto the studs and tighten them equally in a criss-cross pattern to insure the door is snug. DO NOT over-tighten. INSERT INTO HOLE 4.8.6.3 Iced Cappuccino Machine Issue Date: February 21, 2008 Taylor 390 Last Modified: October 31, 2008...
- Page 14 When the sanitizer stops flowing from the door spout, move the draw handle to the left and place the control switch in the “OFF” position. 4.8.6.3 Iced Cappuccino Machine Issue Date: February 21, 2008 Taylor 390 Last Modified: October 31, 2008...
- Page 15 20. Place the hopper cover into position. Move the control switch in the “FREEZE” position. When the unit cycles off, the product will be at serving viscosity (approximately seven minutes). 4.8.6.3 Iced Cappuccino Machine Issue Date: February 21, 2008 Taylor 390 Last Modified: October 31, 2008...
- Page 16 Please contact TFI Canada Toll Free at 1-800-387-2529 if you have any questions or concerns relating to this product. Press #1 for Parts and #2 for Service 4.8.6.3 Iced Cappuccino Machine Issue Date: February 21, 2008 Taylor 390 Last Modified: October 31, 2008...
Need help?
Do you have a question about the 390 and is the answer not in the manual?
Questions and answers