Sign In
Upload
Download
Table of Contents
Contents
Add to my manuals
Delete from my manuals
Share
URL of this page:
HTML Link:
Bookmark this page
Add
Manual will be automatically added to "My Manuals"
Print this page
×
Bookmark added
×
Added to my manuals
Manuals
Brands
Bosch Manuals
Oven
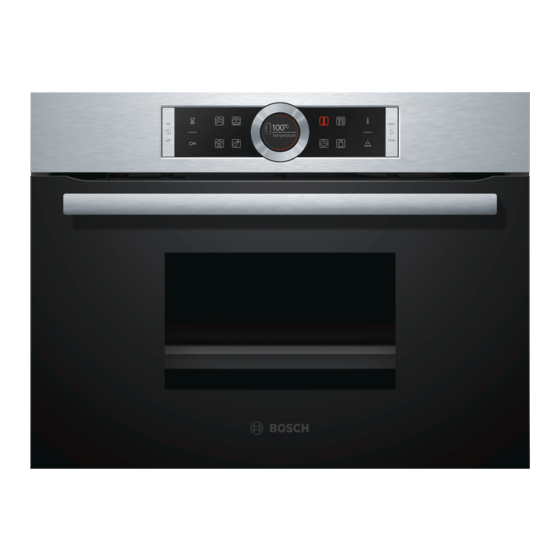
CDG634A 0 Series
Instruction manual
Bosch CDG634A 0 Series Instruction Manual
Hide thumbs
Also See for CDG634A 0 Series
:
User manual and installation instructions
(40 pages)
1
2
Table Of Contents
3
4
5
6
7
8
9
10
11
12
13
14
15
16
17
18
19
20
21
22
23
24
25
26
27
28
29
30
31
32
33
34
35
36
page
of
36
Go
/
36
Contents
Table of Contents
Troubleshooting
Bookmarks
Table of Contents
Table of Contents
Intended Use
Important Safety Information
Causes of Damage
Environmental Protection
Tips for Saving Energy
Environmentally-Friendly Disposal
Getting to Know Your Appliance
Control Panel
Controls
Display
Heating Types
Further Information
Cooking Compartment Functions
Accessories
Accessories Included
Inserting Accessories
Optional Accessories
Before Using for the First Time
Initial Use
Calibrating the Appliance and Cleaning the Cooking
Compartment
Cleaning the Accessories
Operating the Appliance
Switching the Appliance on and off
Starting the Operation
Filling the Water Tank
Setting the Type of Heating and Temperature
After each Use
Time-Setting Options
Setting the Cooking Time
Setting the End Time
Setting the Timer
Dishes
Applying Settings for Dishes
Instructions for the Dishes
Table
Childproof Lock
Activating and Deactivating
Basic Settings
Changing the Basic Settings
List of Basic Settings
Power Cut
Changing the Time
Cleaning
Cleaning Agents
Descale
Detaching and Refitting the Appliance Door
Removing and Installing the Door Panels
Trouble Shooting
Rectifying Faults Yourself
Replacing the Cooking Compartment Bulb
Replacing the Glass Cover or Seals
Changing the Door Seal
Customer Service
E Number and FD Number
Settings Table and Tips
Accessories
Ovenware
Cooking Time and Quantity
Distributing Food Evenly
Pressure-Sensitive Food
Cooking a Menu
Vegetables
Side Dishes and Pulses
Poultry and Meat
Fish
Soup Vegetables, Miscellaneous
Dessert, Compote
Reheating Food
Defrosting
Prove Dough
Extracting Juice
Preserving
Frozen Products
Test Dishes
Advertisement
Quick Links
Download this manual
Steam oven
CDG634A.0
[en] Instruction manual
Steam oven
Table of
Contents
Previous
Page
Next
Page
1
2
3
4
5
Advertisement
Table of Contents
Need help?
Do you have a question about the CDG634A 0 Series and is the answer not in the manual?
Ask a question
Questions and answers
Related Manuals for Bosch CDG634A 0 Series
Kitchen Appliances Bosch CDG634A 0 Series User Manual And Installation Instructions
(40 pages)
Oven Bosch CDG634B.1 Instruction Manual
(36 pages)
Oven Bosch CDG634BS1B Installation Instructions Manual
(17 pages)
Oven Bosch CDG634A.0 Instruction Manual
(36 pages)
Oven Bosch CDG634B 1W Series Instruction Manual
(36 pages)
Oven Bosch CDG634AS0 Instruction Manual
(36 pages)
Oven Bosch CDG634B 3W Series Instruction Manual
(36 pages)
Oven Bosch CMG633B 1B Series User Manual And Installation Instructions
(40 pages)
Oven Bosch CSG656R 2 Series Instruction Manual
(68 pages)
Oven Bosch CMG7361 1M Series User Manual And Installation Instructions
(48 pages)
Oven Bosch CBG855N 0 Series User Manual And Installation Instructions
(36 pages)
Oven Bosch CSG7584 1 Series User Manual And Installation Instructions
Combi steam oven (56 pages)
Oven Bosch CMG636B 2I Series User Manual
(44 pages)
Oven Bosch CMG656B 1 Series User Manual And Installation Instructions
(44 pages)
Oven Bosch CMG633B 1M Series Instruction Manual
Compact oven with microwave function (52 pages)
Oven Bosch CMG6764 1 Series Instruction Manual
(68 pages)
This manual is also suitable for:
Cdg634as0
Cdg634as0/68
Table of Contents
Print
Rename the bookmark
Delete bookmark?
Delete from my manuals?
Login
Sign In
OR
Sign in with Facebook
Sign in with Google
Upload manual
Upload from disk
Upload from URL


Need help?
Do you have a question about the CDG634A 0 Series and is the answer not in the manual?
Questions and answers